Unlock the Secret World of Microgreens: Your Gateway to Nutrient-Packed Superfoods
Some of our posts on Microgreensguru.com contain affiliate links. If you click on an affiliate link and make a purchase, we may receive a commission. Clicking on an affiliate link that earns a commission does NOT result in additional charges or costs you extra. Earnings from affiliate links help keep this website running. See our full affiliate disclosure here.
Ever wondered what those tiny, vibrant greens adorning your fancy restaurant dish are?
They’re microgreens, and they’re about to revolutionize your meals and potentially your health. These miniature powerhouses pack a nutritional punch that’ll make your regular salad greens jealous.
Curious?
You should be.
Microgreens aren’t just a chef’s secret weapon; they’re your ticket to elevating your home cooking and nutrition game. Stick around, and you’ll discover why these little leaves are making such a big impact in the culinary world.
What Are Microgreens, Anyway?
Picture this: you’re at a fancy restaurant, and the chef places a beautifully plated dish in front of you. Nestled atop your entrée are delicate, colorful sprigs that look almost too pretty to eat. Those, my friends, are microgreens.
But what exactly are they?
Well, microgreens are like the kindergarteners of the plant world. They’re young vegetable greens, typically harvested just 7-21 days after germination, when they’re only 1-3 inches tall. These little guys are the stage between sprouts and baby greens, sporting their first set of true leaves.

Now, don’t confuse microgreens with sprouts. While both are young plants, microgreens are grown in soil or another growing medium and harvested above the ground. Sprouts, on the other hand, are germinated in water and consumed whole, seed, and all. It’s like comparing a toddler to a newborn – both young, but at different stages of development.
Microgreens: Nature’s Tiny Powerhouses
Nutrient Dense
Microgreens can contain up to 40 times more nutrients than their mature counterparts, packing a powerful punch in a small package.
Quick Growing
Ready to harvest in just 7-21 days, microgreens offer a fast turnaround from seed to plate, perfect for impatient gardeners.
Flavor Packed
With intense flavors ranging from mild to peppery, microgreens add a gourmet touch and unique taste to any dish.
Versatile Use
From salads to smoothies, sandwiches to garnishes, microgreens can elevate virtually any dish with their nutrition and flavor.
The Nutritional Goldmine in Your Salad Bowl
Here’s where things get really exciting. These tiny greens aren’t just cute garnishes – they’re nutritional powerhouses. In fact, some varieties of microgreens can contain up to 40 times more nutrients than their fully-grown counterparts. That’s right, these little overachievers are showing up their adult versions in a big way.
Let’s break it down:
- Vitamin Bonanza: Microgreens are loaded with vitamins A, C, E, and K. It’s like a multivitamin grew legs and decided to make itself delicious.
- Mineral Rich: They’re also packed with minerals like potassium, iron, zinc, and magnesium. Your body will be doing a happy dance.
- Antioxidant Superheroes: These little greens are bursting with antioxidants, which help fight off those pesky free radicals that can damage our cells.
- Fiber Friendly: Despite their small size, microgreens provide a good amount of fiber, which is great for your digestive health.
- Low Calorie, High Nutrition: If you’re watching your calorie intake but don’t want to skimp on nutrition, microgreens are your new best friend.
Microgreens: Market Insights and Culinary Trends
Microgreens Market Overview
The global microgreens market is projected to reach $2.04 billion by 2028, driven by increasing awareness of their nutritional benefits.
Restaurant Usage of Microgreens
In a survey of 52 restaurants, 61.54% were familiar with microgreens, 13.46% currently use them, and 67.31% expressed interest in introducing them.
Popular Microgreen Varieties in Restaurants
Beet microgreens are most demanded (42.86%), followed by peas (28.57%), arugula (14.29%), and radish (14.29%). Over 25 types are available.
The best part? You don’t need to eat a truckload of microgreens to reap these benefits. Even a small handful can give your meal a serious nutritional boost.
A Rainbow of Flavors on Your Plate
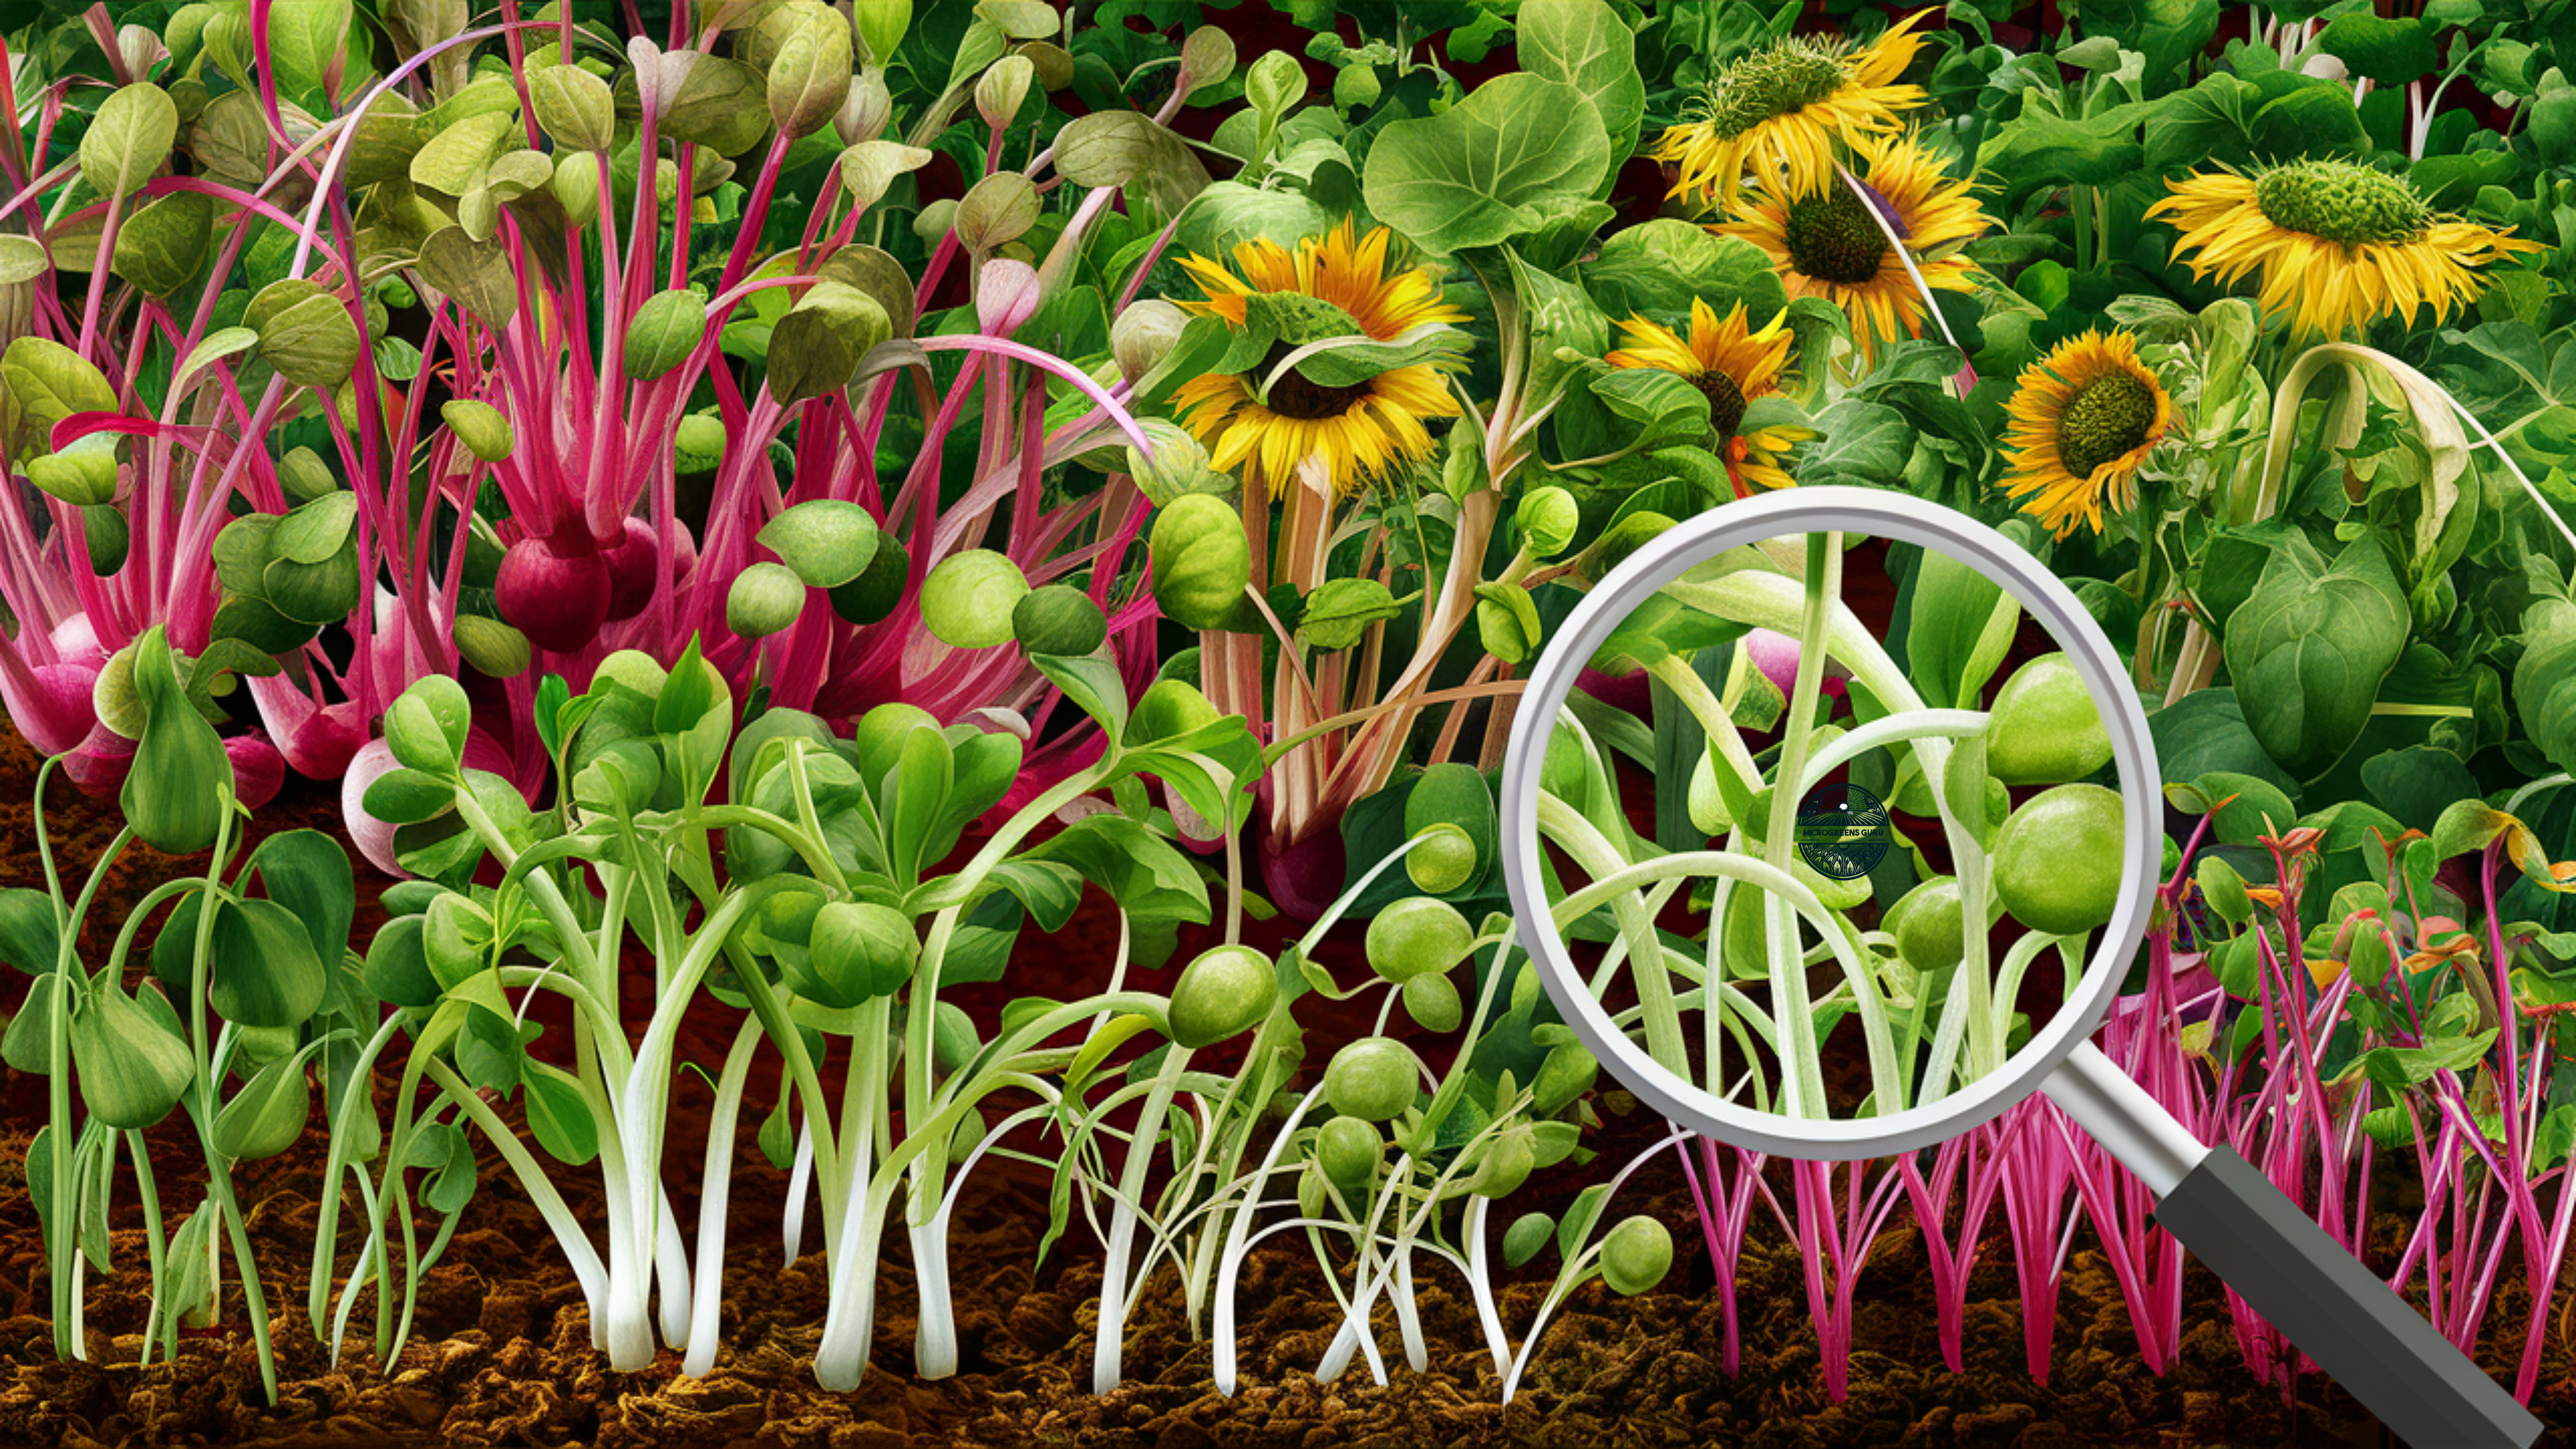
Now, let’s talk flavor. If you think all greens taste the same, microgreens are about to blow your mind. With over 25 different varieties available, each type of microgreen brings its own unique flavor profile to the table.
Want a peppery kick? Try some arugula or radish microgreens. Craving something sweet? Corn or pea shoot microgreens might be your jam. Looking for a mild, fresh taste? Sunflower or broccoli microgreens could be right up your alley.
The flavor intensity of microgreens often surpasses that of their mature counterparts. It’s like they’re trying to prove themselves before they grow up. And let me tell you, they’re doing a fantastic job.
In my years of growing and tasting microgreens, I’ve found that mixing different varieties can create a flavor explosion in your mouth. It’s like being a culinary artist, but instead of paints, you’re working with living, nutritious greens.
Microgreens Comparison Table
| Microgreen | Nutritional Highlight | Flavor Profile | Growing Time (Days) |
|---|---|---|---|
| Broccoli | High in Vitamin C | Mild, slightly spicy | 7-10 |
| Broccoli microgreens are known for their high concentration of sulforaphane, a compound with potential cancer-fighting properties. They’re easy to grow and versatile in many dishes. | |||
| Radish | Rich in Vitamin E | Spicy, peppery | 5-7 |
| Radish microgreens grow quickly and offer a spicy kick to salads and sandwiches. They’re also a good source of antioxidants and may help improve digestion. | |||
| Sunflower | High in protein | Nutty, slightly sweet | 10-14 |
| Sunflower microgreens are prized for their nutty flavor and substantial texture. They’re an excellent source of plant-based protein and essential amino acids. | |||
| Pea Shoots | High in Vitamin A | Sweet, pea-like | 8-12 |
| Pea shoots are tender and sweet, tasting like fresh peas. They’re rich in vitamins and add a delightful crunch to salads and stir-fries. | |||
Getting Started with Microgreens: Your Step-by-Step Guide
Alright, now that we’ve covered the “what” and “why” of microgreens, let’s dive into the “how.” Don’t worry if you’ve never grown anything before – microgreens are incredibly beginner-friendly. Here’s a step-by-step guide to get you started:
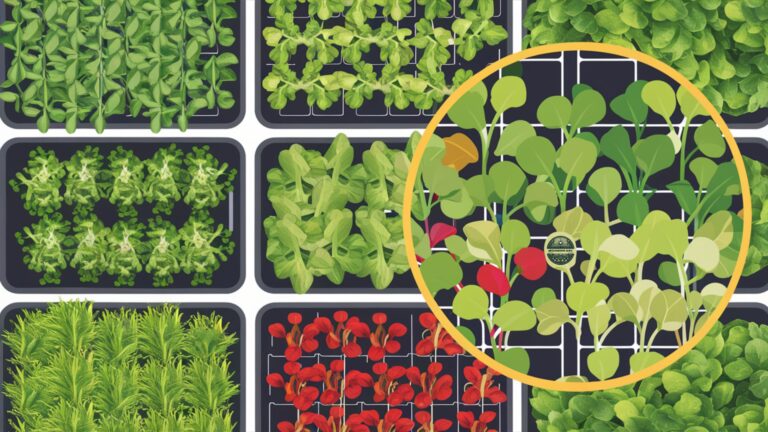
- Choose Your Seeds: Start simple with easy-to-grow varieties like broccoli, radish, or sunflower. As you gain confidence, you can experiment with different types.
- Gather Your Supplies: You’ll need a shallow tray, good-quality potting soil, and a spray bottle. A grow light can be helpful, but a sunny windowsill can work too.
- Prepare Your Tray: Fill your tray with about an inch of moistened potting soil. Pat it down gently to create a smooth surface.
- Sow Your Seeds: Sprinkle your seeds evenly over the soil. Don’t be shy – you can sow them more densely than you would for full-grown plants.
- Cover and Wait: Lightly mist the seeds and cover the tray with a clear lid or plastic wrap. This creates a mini greenhouse effect.
- Germination: Keep the soil moist but not waterlogged. Most seeds will germinate within 2-3 days.
- Let There Be Light: Once you see sprouts, remove the cover and place your tray in a spot with plenty of light.
- Water and Watch: Keep the soil moist with regular misting or gentle watering. Watch in amazement as your microgreens grow!
- Harvest Time: When your microgreens have developed their first set of true leaves (usually 7-14 days after planting), they’re ready to harvest. Simply snip them just above the soil line with clean scissors.
Remember, growing microgreens is as much an art as it is a science. Don’t be discouraged if your first attempt isn’t perfect – each crop is a learning experience.
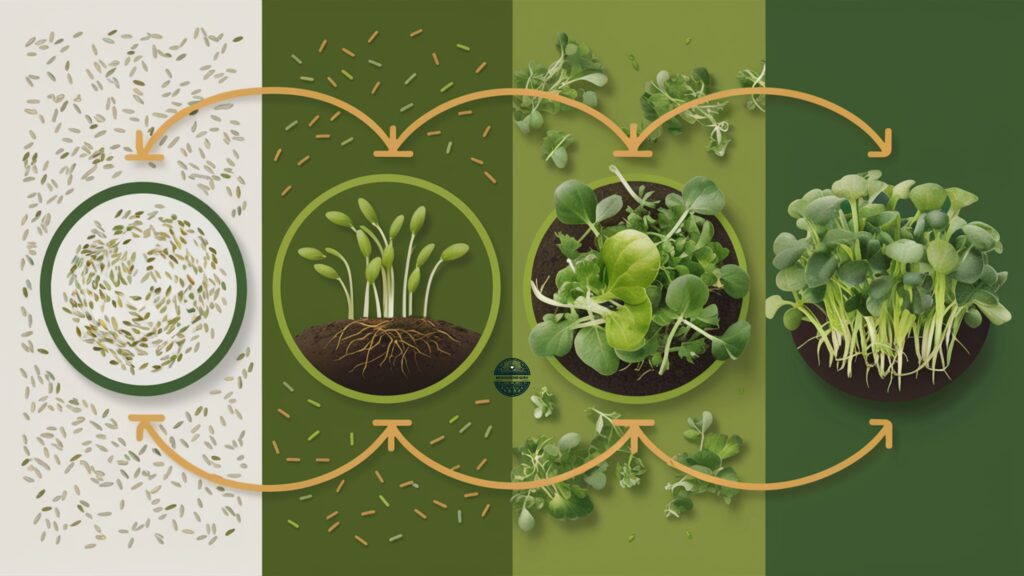
Microgreens: From Seed to Plate Timeline
Day 1: Planting
Choose your seeds and sow them densely in a shallow tray filled with moist potting soil. Cover the tray to create a mini greenhouse effect.
Days 2-3: Germination
Keep the soil moist but not waterlogged. Most seeds will begin to sprout within 2-3 days. Remove the cover once you see sprouts emerging.
Days 4-6: Early Growth
Ensure your microgreens receive adequate light, either from a sunny window or grow lights. Continue to mist or water gently to keep the soil moist.
Days 7-14: Development
Watch as your microgreens develop their first true leaves. Different varieties will grow at different rates, but most will be ready to harvest within this timeframe.
Days 14-21: Harvest Time
When your microgreens have developed their first set of true leaves, they’re ready to harvest. Simply snip them just above the soil line with clean scissors.
Post-Harvest: Enjoyment
Rinse your harvested microgreens gently and pat dry. Use them immediately in salads, sandwiches, as garnishes, or store them in the refrigerator for up to a week.
Microgreens in the Kitchen: From Garden to Plate
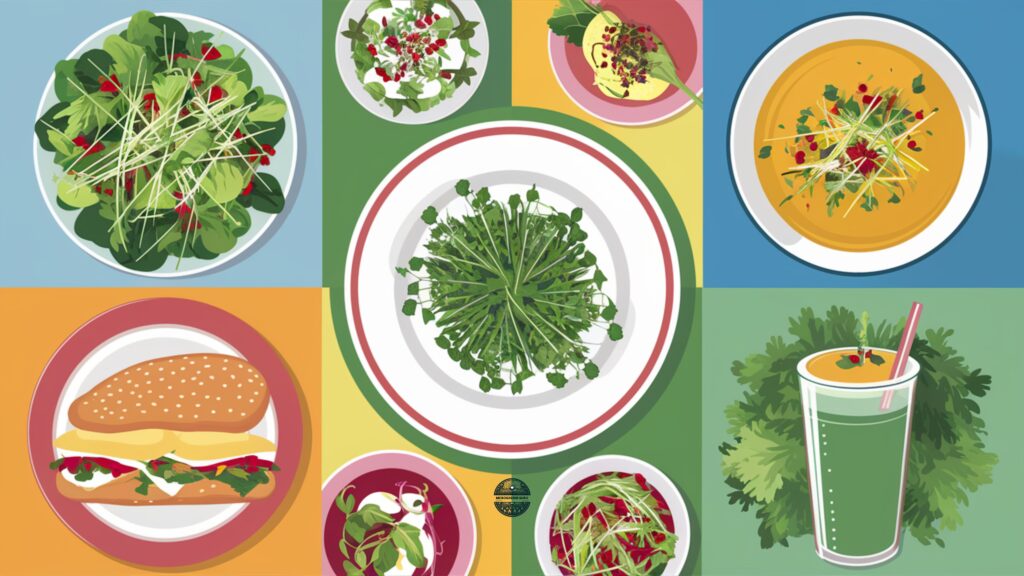
Now that you’ve grown your microgreens, it’s time for the fun part – eating them! These versatile greens can add a burst of flavor and nutrition to almost any dish. Here are some ideas to get you started:
- Salad Superstar: Mix a handful of microgreens into your regular salad for an instant nutrient boost and flavor kick.
- Sandwich Sensation: Use microgreens as a replacement for lettuce in sandwiches and wraps. They add a delightful crunch and freshness.
- Smoothie Secret: Toss a handful of mild-flavored microgreens like sunflower or pea shoots into your morning smoothie. You’ll barely taste them, but you’ll reap the nutritional benefits.
- Soup Topper: Sprinkle some microgreens on top of soups or stews just before serving. They add a fresh contrast to warm, hearty dishes.
- Pesto with a Twist: Replace some or all of the basil in your favorite pesto recipe with microgreens for a unique flavor profile.
- Garnish Guru: Use microgreens as a garnish for everything from omelets to stir-fries. They add a pop of color and freshness to any dish.

Remember, microgreens are best consumed raw to preserve their nutritional value. If you do cook with them, add them at the very end of the cooking process to maintain their delicate texture and flavor.
The Microgreens Lifestyle: Beyond the Plate
Incorporating microgreens into your life goes beyond just eating them. Here are some ways microgreens can positively impact your lifestyle:
- Sustainable Living: Growing your own microgreens reduces your carbon footprint by cutting down on food transportation and packaging waste.
- Connection to Nature: Nurturing these tiny plants can help you feel more connected to nature, even if you live in an urban environment.
- Stress Relief: The act of growing and caring for plants can be incredibly calming and therapeutic.
- Educational Tool: If you have kids, growing microgreens can be a fun and educational project to teach them about plant life cycles and nutrition.
- Year-Round Gardening: Unlike traditional gardening, you can grow microgreens indoors all year round, ensuring a constant supply of fresh, homegrown produce.
- Culinary Creativity: Having a variety of microgreens at your fingertips can inspire you to get creative in the kitchen and try new flavor combinations.
Microgreens have certainly changed my life for the better. From improving my diet to sparking a new passion, these tiny greens have had a big impact. I hope this guide inspires you to start your own microgreen journey and discover the benefits for yourself.
FAQs: Your Burning Microgreen Questions Answered
Q: Where do I start with microgreens? A: For beginners, it’s best to start with one easy-to-grow variety. Broccoli, radish, or sunflower microgreens are great options for first-timers. Start with a single container and a good-quality potting mix. As you gain confidence, you can experiment with different seeds and growing setups.
Q: Are microgreens still profitable? A: Microgreens can indeed be a profitable venture, particularly for small-scale growers targeting local markets or restaurants. However, success depends on factors like production costs, local demand, and effective marketing strategies. With the right approach, microgreens can provide a steady income stream.
Q: Is it good to eat microgreens every day? A: Absolutely! Incorporating microgreens into your daily diet can significantly boost your nutrient intake. They’re packed with vitamins, minerals, and antioxidants, yet low in calories. Regular consumption may support gut health, aid in weight management, and contribute to overall well-being.
Q: Is it cheaper to grow or buy microgreens? A: While there’s an initial investment in supplies, growing your own microgreens is generally more cost-effective in the long run. Home-grown microgreens are significantly cheaper per serving than store-bought ones. Plus, you’ll enjoy fresher produce and have control over the growing conditions.
Q: How long do microgreens last after harvesting? A: With proper storage, most microgreens can stay fresh for 5-7 days after harvesting. To maximize shelf life, store them in the refrigerator in a container lined with a slightly damp paper towel. Keep them in the crisper drawer for best results.
Microgreen Product Recommendations: Get Started with Microgreens Today!
Ready to jump into the world of microgreens? Here are some products I recommend to help you get started:
- Seed Starting Trays: These 10×20 inch trays are perfect for growing microgreens. They’re durable, reusable, and come with drainage holes for optimal growth.
- Organic Microgreen Seeds Variety Pack: This pack includes a variety of popular microgreen seeds, all organic and non-GMO. It’s a great way to experiment with different flavors.
- LED Grow Light: This full-spectrum LED grow light is ideal for indoor microgreen growing, ensuring your greens get the light they need year-round.
- Organic Potting Mix: This lightweight, well-draining potting mix is perfect for microgreens. It’s organic and provides the nutrients your microgreens need to thrive.
- Spray Bottle: A fine-mist spray bottle is essential for keeping your microgreens properly hydrated without overwatering.
These products are available on Amazon, and the seeds can also be purchased from True Leaf Market, a trusted supplier of high-quality microgreen seeds.
Remember, investing in good quality supplies can make your microgreen growing experience much more enjoyable and successful!
Further Reading: Dive Deeper into the World of Microgreens
Want to learn more about microgreens? Check out these articles for more in-depth information:
- Types of Microgreens: The Definitive Guide to Growing, Harvesting, and Enjoying – Explore the vast world of microgreen varieties and their unique characteristics.
- Microgreens for Gut Health: How Tiny Greens Promote Gut Microbiome Diversity – Discover the fascinating connection between microgreens and your digestive health.
- From Seed to Success: The Ultimate Handbook for Starting Your Own Microgreens Empire – If you’re interested in turning your microgreen hobby into a business, this guide is a must-read.
- Revolutionize Your Diet with Organic Microgreens: A Complete Guide to Growing and Harvesting – Learn how to incorporate organic microgreens into your diet for maximum health benefits.
- Microgreens vs Sprouts: Understanding the Difference – Dive deeper into the distinctions between microgreens and sprouts, and learn when to use each.
These articles will help you expand your knowledge and take your microgreen journey to the next level. Happy reading, and happy growing!
Test Your Microgreens Knowledge
Final Thoughts: Your Microgreen Adventure Awaits
And there you have it, folks – your comprehensive introduction to the wonderful world of microgreens. From their impressive nutritional profile to their culinary versatility, microgreens offer a unique opportunity to enhance your diet, explore new flavors, and even try your hand at indoor gardening.
Remember, like any new endeavor, growing microgreens comes with a learning curve. Don’t be discouraged if your first crop isn’t perfect – each tray you grow is a chance to learn and improve. Before you know it, you’ll be a microgreen master, impressing your friends and family with your homegrown, nutrient-packed greens.
So, why not give it a try?
Pick up some seeds, set up a small growing area, and watch the magic happen. Your taste buds, your body, and maybe even your wallet will thank you. Welcome to the micro revolution – it’s going to be a deliciously nutritious ride!
Now, I’d love to hear from you!
Have you tried growing or eating microgreens before?
What was your experience like?
If you’re new to microgreens, what excites you most about getting started? Do you have any questions about growing, harvesting, or using microgreens in your cooking?
Share your thoughts, experiences, and questions in the comments below.
Your feedback not only helps me create better content but also helps our community of microgreen enthusiasts grow and learn together. So, don’t be shy – let’s start a conversation about these tiny greens with big potential!

Cal Hewitt is the Founder and Lead Cultivator at Microgreens Guru, a website dedicated to empowering individuals to grow, consume, and potentially sell nutrient-dense microgreens. With 5 years of hands-on experience in microgreens cultivation, Cal brings a unique analytical perspective to the world of urban agriculture. He specializes in optimizing growth techniques for various microgreen varieties, while also focusing on sustainable and cost-effective growing methods. Cal’s passion for microgreens, ignited by a personal health journey, drives him to continuously explore and share innovative approaches to microgreens cultivation. His practical experience, combined with his commitment to education through his website and upcoming book, ensures that Microgreens Guru remains a valuable resource for both novice and experienced growers alike.


