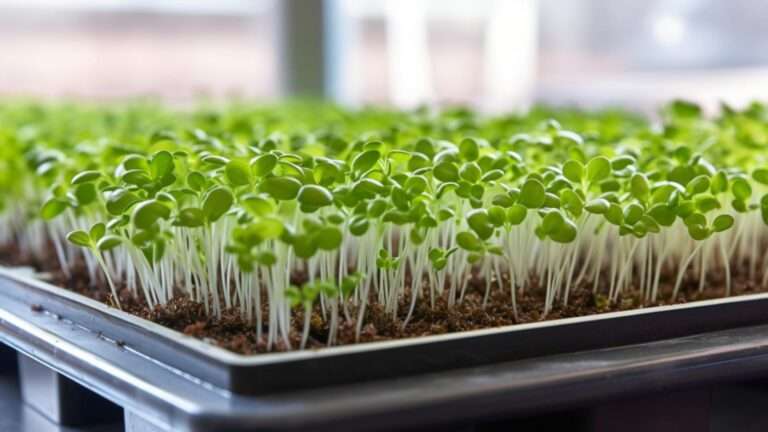
How Fast do Microgreens Grow?
Some of our posts on Microgreensguru.com contain affiliate links. If you click on an affiliate link and make a purchase, we may receive a commission. Clicking on an affiliate link that earns a commission does NOT result in additional charges or costs you extra. Earnings from affiliate links help keep this website running. See our full affiliate disclosure here.
Microgreens are a great way to get started with gardening. They are quick to grow, and you can easily harvest them yourself. Microgreens can add a flavorful and nutritional kick to your meals and are easy to grow at home. If you’re curious about how fast microgreens grow, you’re in for a treat! In this blog post, we’ll explore the growth rates of different types of microgreens and give you some tips on how to get the most out of your crop. Please keep reading to learn more about “How fast do microgreens grow?” You’ll be harvesting your own in no time and saving yourself from trips to the grocery store.
Microgreens: What’s Their Growth Rate?
Microgreens can be ready to harvest in as little as two weeks after planting, although most varieties will take closer to 3-4 weeks. The particular variety of microgreens you are growing, and the growing conditions (light, temperature, soil quality, etc.) will affect how quickly your microgreens mature.

What Time Of Year Is Best For Growing Microgreens?
You can grow microgreens year-round! However, if you live in an area with colder winters, you may need to use grow lights or move your plants indoors to ensure they get enough light. A grow light is a great option to help you when you do not have enough natural light.
What Conditions Do Microgreens Need To Grow?
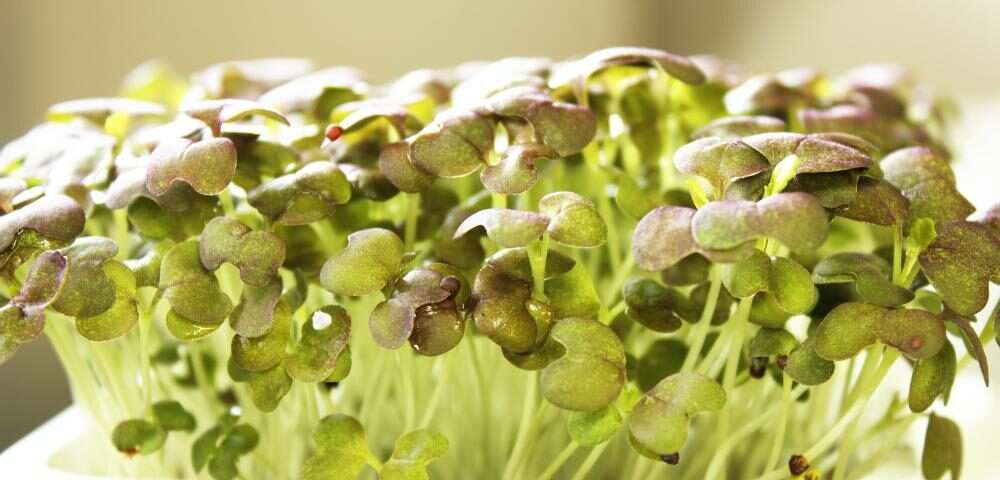
All plants need sunlight, water, and nutrients to grow. Baby greens are no different. For best results, try to give them at least 6 hours of sun per day and water them whenever the soil feels dry to the touch. Most types of microgreens will do well in a standard potting mix with added fertilizer.
Compared to Other Vegetables, How Quickly do Microgreens Grow?
Microgreens are harvested when the plant is young. They are usually about 1-3 inches in height and are packed with nutrients. Microgreens can be grown from any kind of vegetable or herb, and they are often used as a garnish or added to salads for a pop of flavor.
In general, microgreens grow pretty quickly. For example, radish microgreens will be ready to harvest in as little as two weeks, while kale microgreens can take up to three weeks. However, the growth rate of microgreens can vary depending on the type of microgreen, the growing conditions, and other factors.
One of the most significant factors affecting the growth rate of microgreens is the type of seed that is used. Some seeds germinate faster than others, which means they will start to sprout sooner. For example, alfalfa sprouts typically take 3-5 days to germinate, while broccoli sprouts can take up to 7 days. Once the seeds have germinated, the microgreens will start to grow quickly.
The growing conditions can also affect the growth rate of microgreens. If the soil is too dry, the microgreens will not be able to grow as quickly. The same is true if the temperature is too cold or too hot. Ideal growing conditions for microgreens are moist soil and a temperature between 70-75 degrees Fahrenheit.
Overall, microgreens grow relatively quickly compared to other vegetables. The type of seed used and the growing conditions can affect the growth rate, but in general, most microgreens will be ready to harvest within 2-4 weeks.
Stages of Microgreens Growth
How do I start?
Start with a small, clean container and a warm, sunny windowsill (direct sunlight from a south-facing window is ideal). Clear fruit or salad boxes, disposable pie plates, and plastic takeout containers are all suitable. If the container you’ve chosen lacks integrated drainage, drill a few drainage holes in the bottom. Next, get ready to plant:
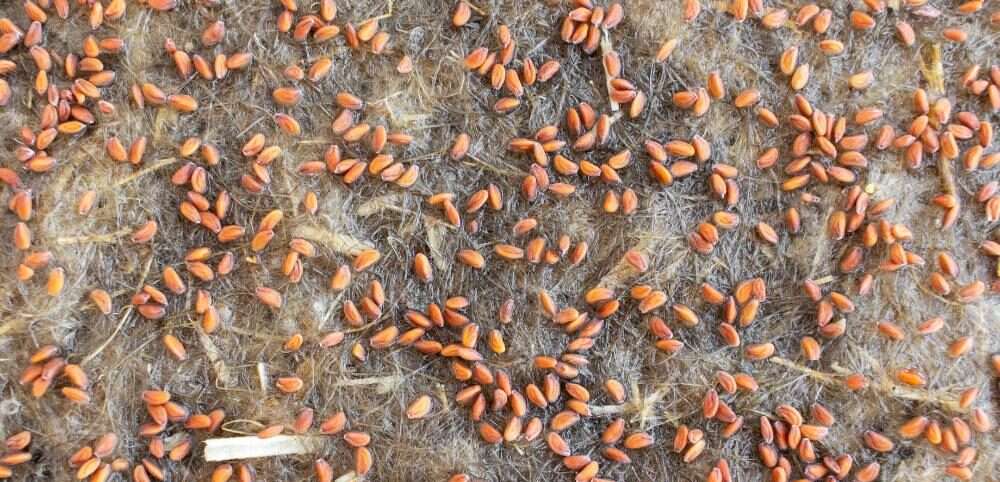
Microgreens generally follow the same growth pattern regardless of the type of plant. The process can be divided into four distinct stages:
Seeding is arguably the most important part. That is why we break it up into multiple parts.
Seeding:
- Check the seed packet for any additional instructions.
- Add a layer of moistened potting soil or mix to the bottom of the container, about an inch thick. Without over-compressing, flatten and level the soil with your hand or a small piece of cardboard.
- Sprinkle seeds over the soil in an even layer. Using your hand or the cardboard, gently press it into the ground.
- Add a thin layer of soil over the seeds. Mist water on the surface to dampen it. You can skip this step if you’d rather, and instead, cover the container with a transparent lid or plastic wrap until the seeds sprout.
- Use the mister once or twice daily to keep the soil moist but not wet while you wait for sprouts to appear, which usually takes three to seven days.
- When seeds have sprouted, remove the cover, if applicable, and keep misting the plants once or twice daily.
- For microgreens to flourish, they require four hours per day of direct sunlight. Some people might require even more during the winter. Greens that are lanky and pale indicate inadequate sunlight. This is where a grow light can help with your efforts.
- Sprouting: This is the stage where the seeds germinate and the first leaves, or cotyledons, emerge. (Many of the microgreens we grow, such as broccoli, cabbage, kohlrabi, radishes, sunflowers, etc., are eaten when they are still in the cotyledon stage. Other microgreens, including cilantro, basil, leeks, and mustard, are grown until the first true leaves appear. The cotyledons are still there and make up a sizable portion of the microgreens we eat). The time it takes for sprouting to occur can vary depending on the type of microgreen, but it is typically between 3-7 days.
- Growth: Once the seeds have sprouted, the microgreens will start to grow rapidly. They will develop their first true leaves during this stage, and the plants will become visibly larger each day. This growth phase usually lasts for 7-10 days.
- Maturity: By the time the microgreens reach maturity, they will have reached their full size. The plants will usually have multiple leaves, and their flavor will be at its peak. Depending on the type of microgreen, this stage can last for 2-3 weeks.
- Senescence: Once the microgreens are harvested, they reach senescence and start to decline. The leaves will yellow, and the plants will become less flavorful. Senescence can be prolonged by storing the microgreens in a cool, dark place, but eventually, they will lose their freshness and need to be replaced. You do not want to get to this point in the process.
Easiest Microgreens to Grow
Microgreens are one of the easiest crops to grow, whether you’re a first-time gardener or a seasoned pro. With just a little care and attention, you can have a thriving microgreen garden in no time!
There are many different types of microgreens, but some of the easiest to grow include radish greens, arugula, and spinach. Just remember to give them plenty of light and water; they should do just fine.

Radish Greens
Radish greens are one of the easiest microgreens to grow. They are fast-growing and can be harvested in as little as two weeks. When growing radish greens, make sure to sow the seeds thinly so that they have enough room to grow. A shallow tray is your best friend here. You will also need to water them regularly. Once the radishes are big enough to harvest, simply cut them off at the base with a sharp knife.
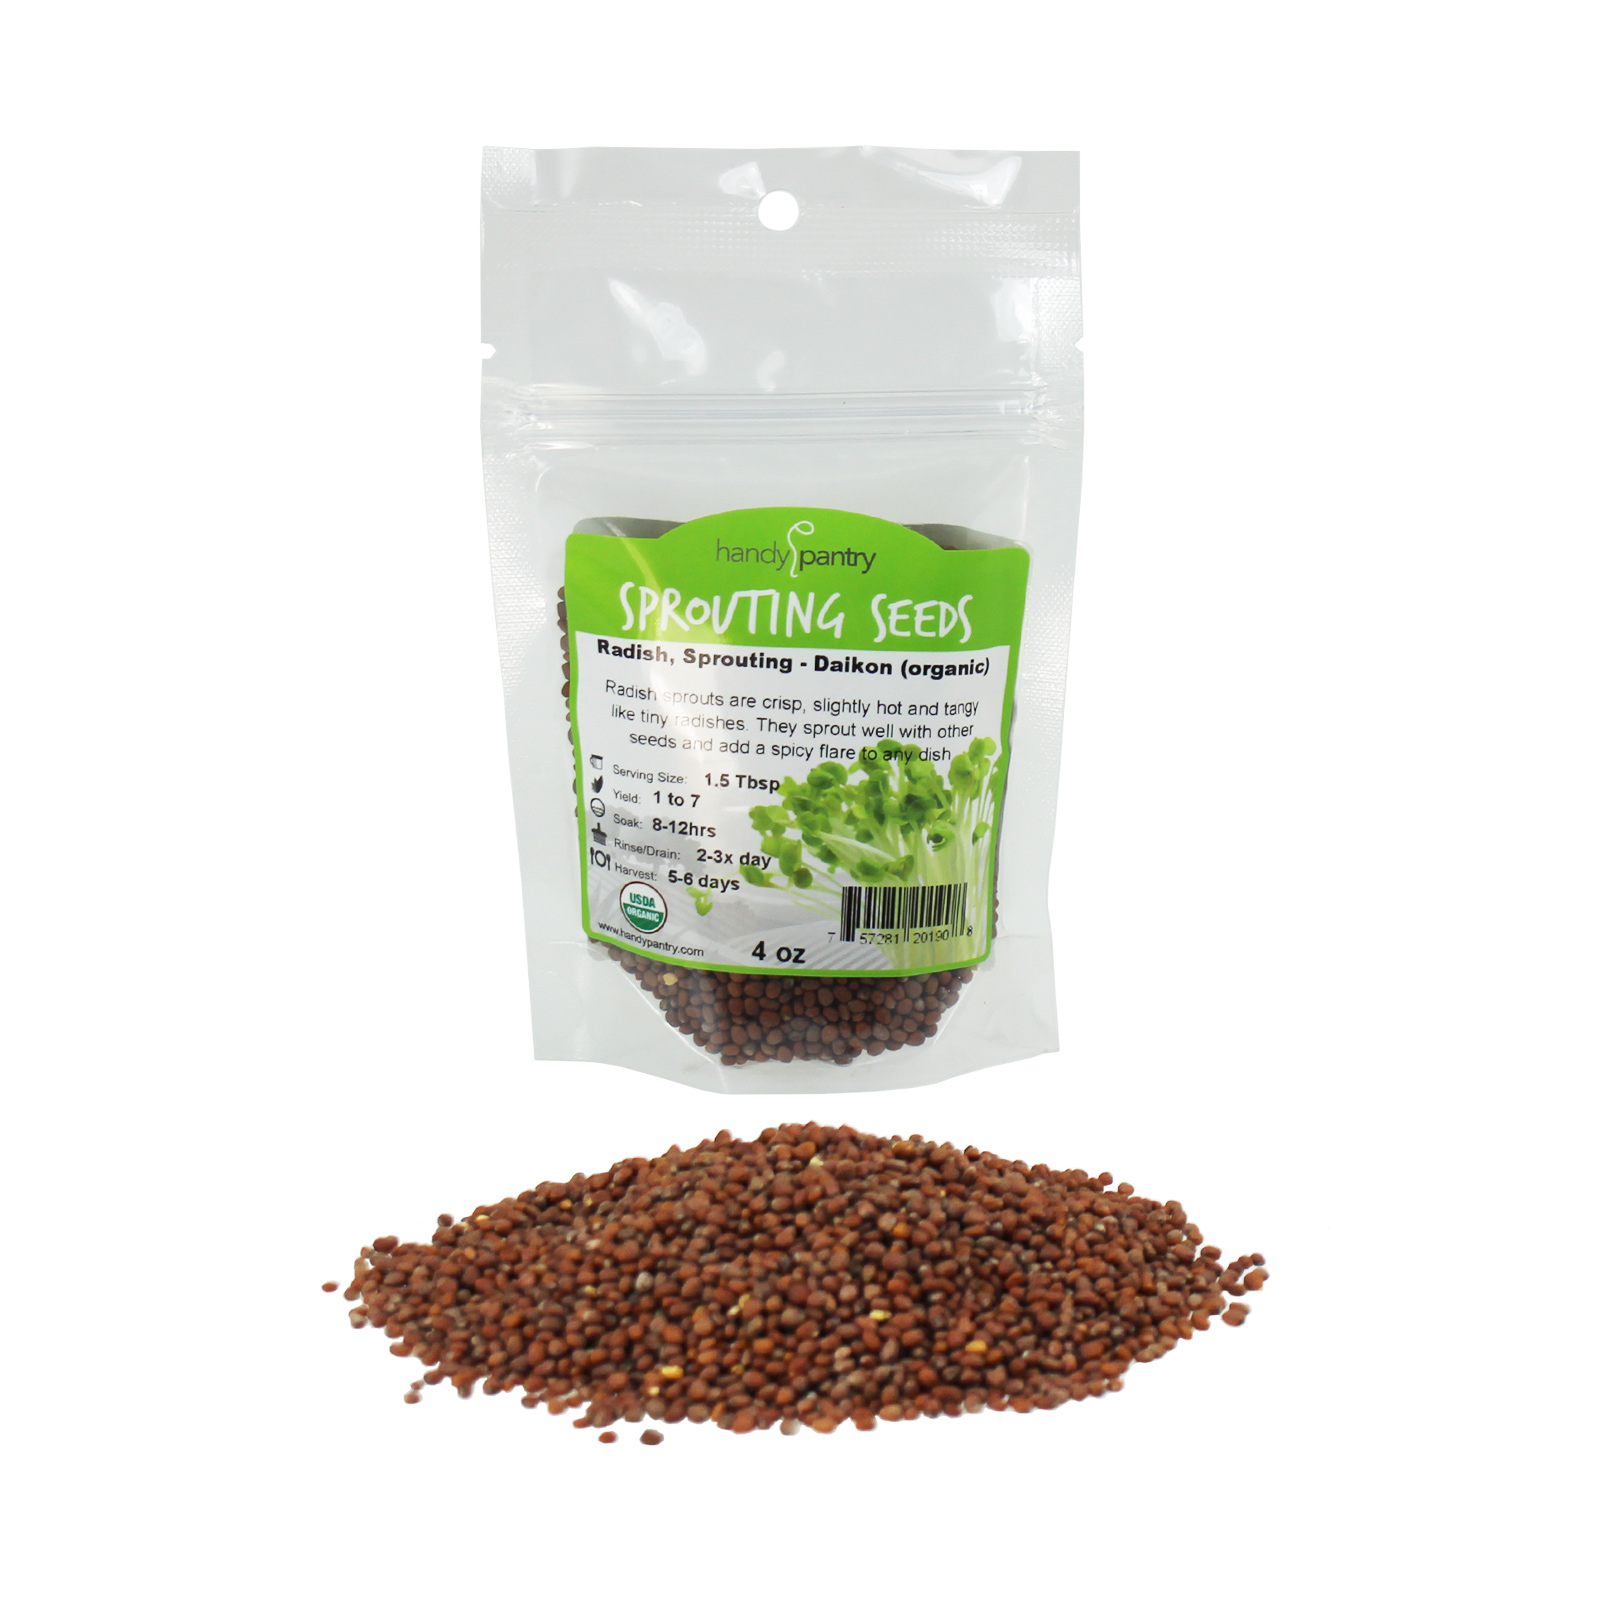
Radish Seed sprouts are high in vitamins A, B-1, B-6 and C, folic and pantothenic acids… [More]
Arugula Greens
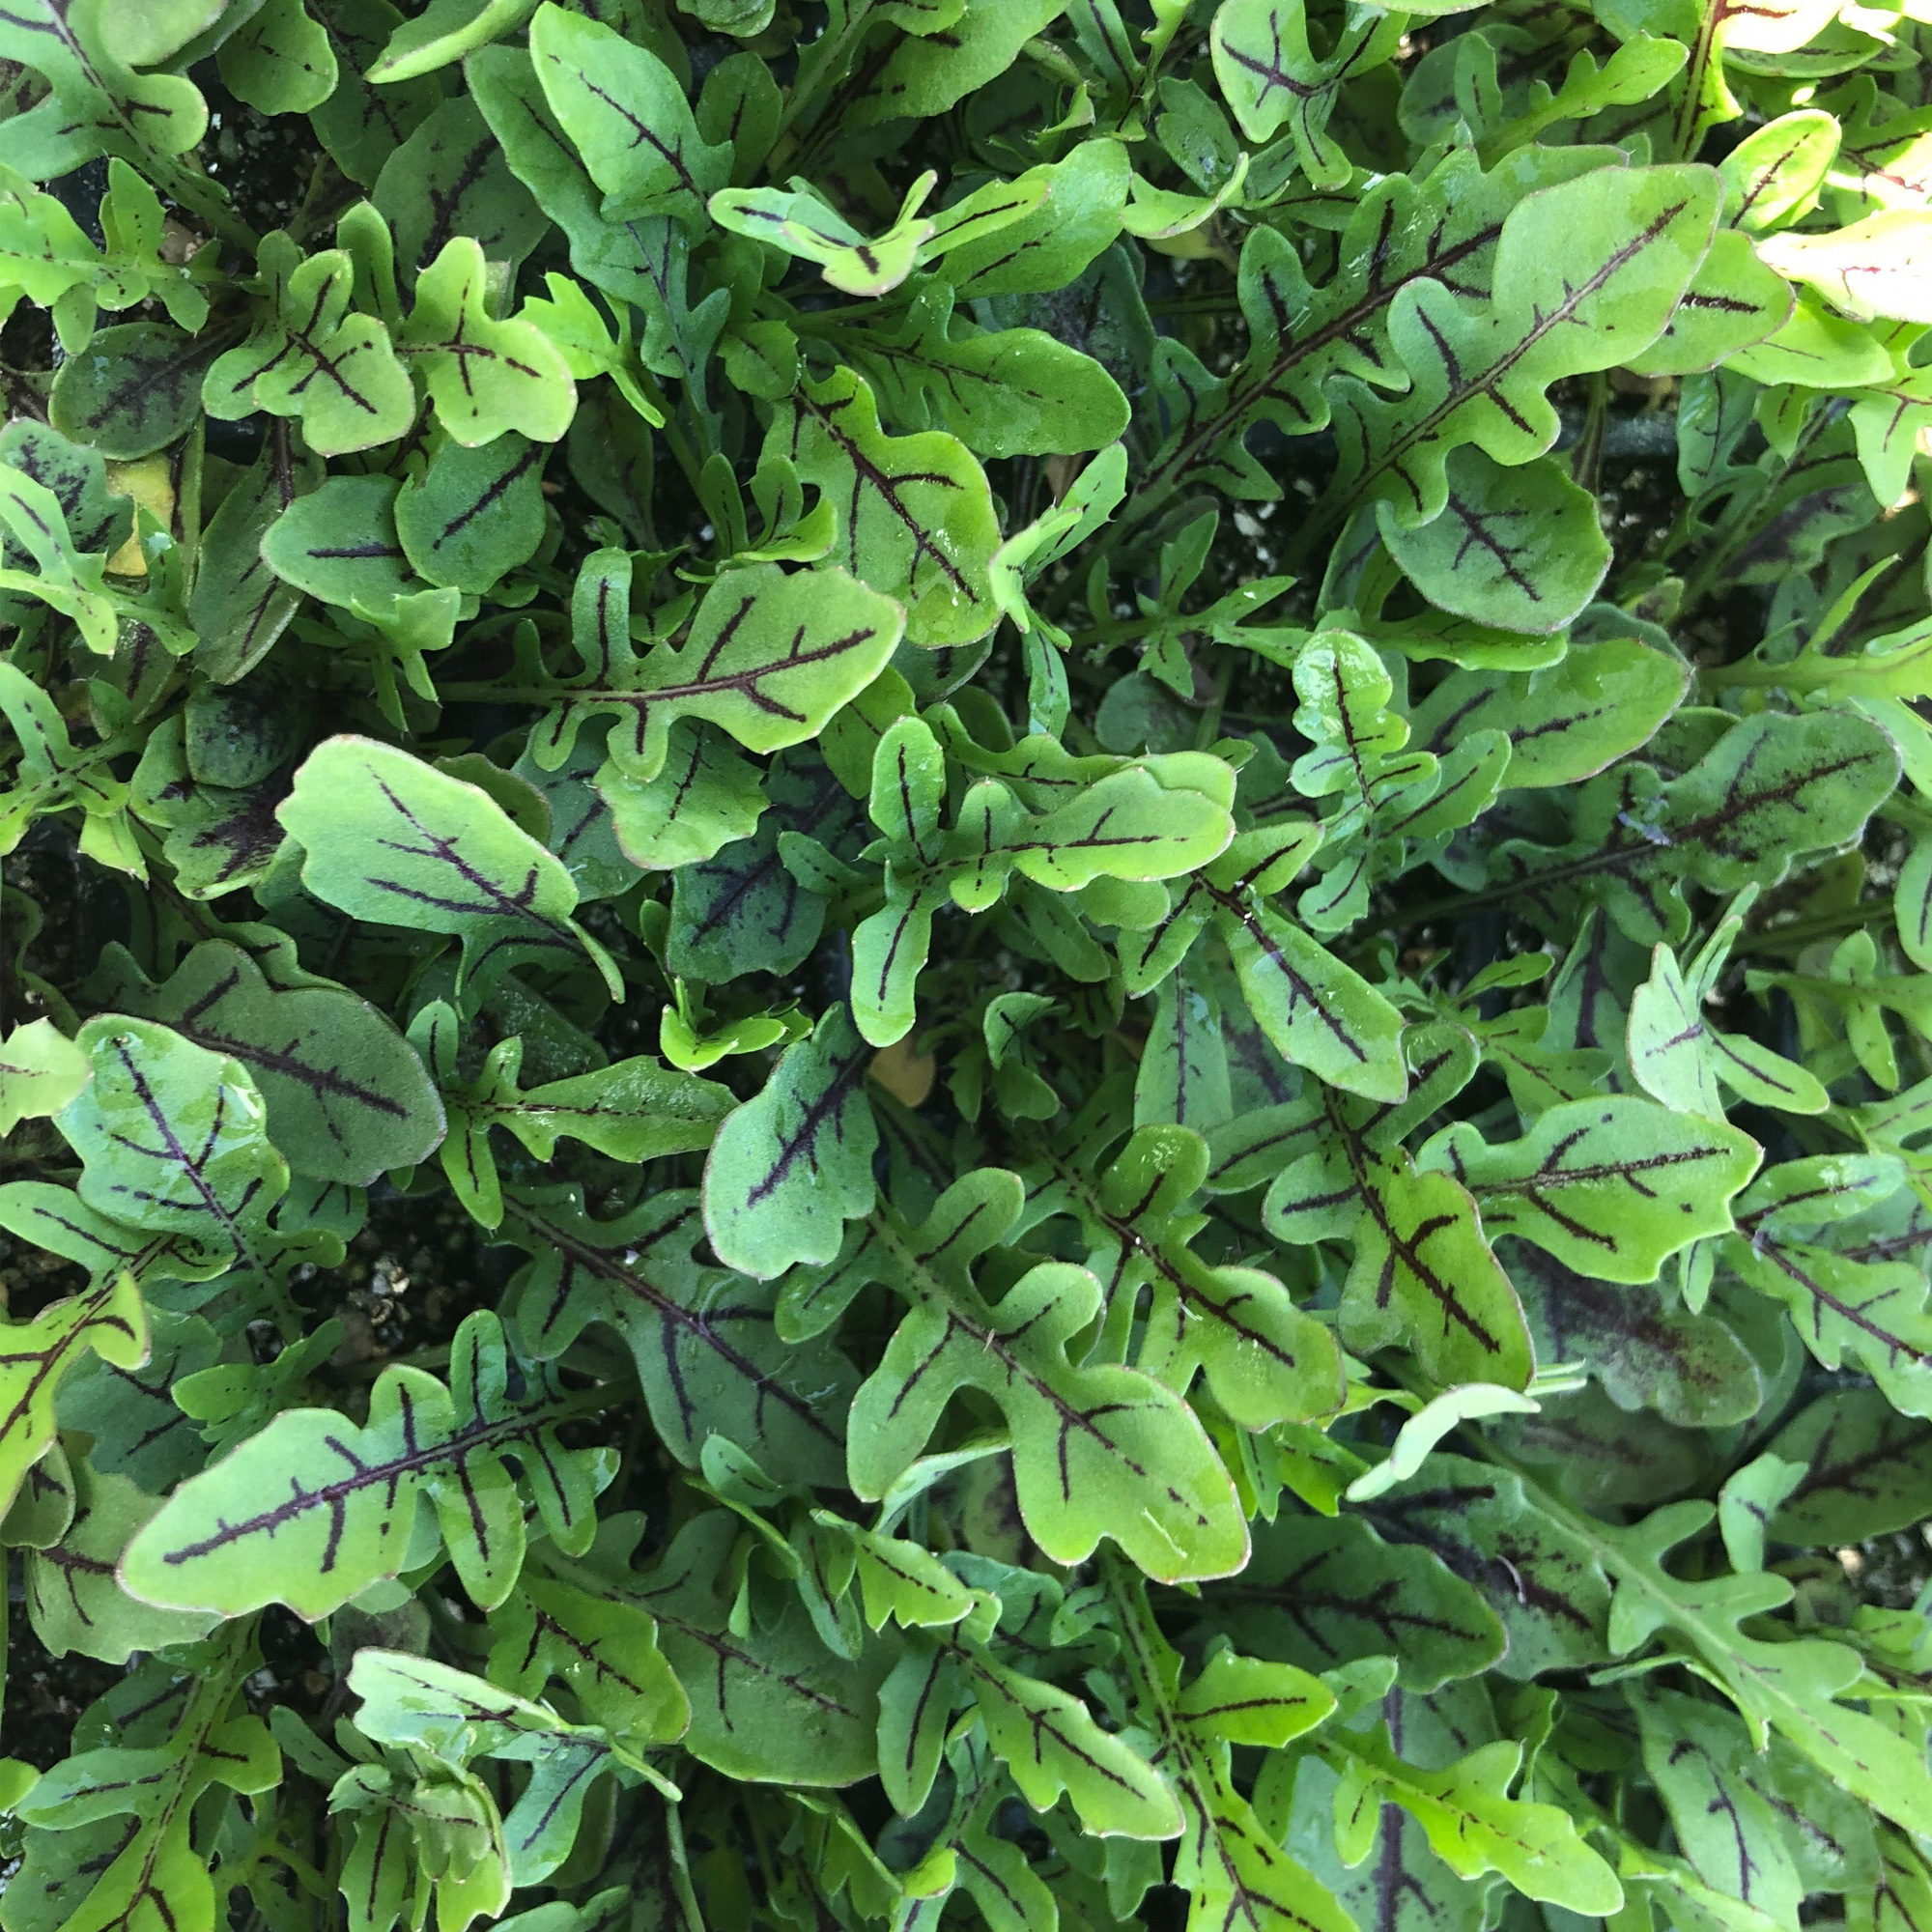
Red Streaked Arugula Seeds. 30 – 40 days to maturity. Eruca vesicaria sativa. Open Poll… [More]
Arugula greens are another easy option for growing microgreens. They take a little longer to mature than radish greens, but they are still relatively quick-growing. Arugula greens can be harvested in about three weeks. When growing arugula greens, make sure to sow the seeds thinly and water them regularly. Once the arugula leaves are big enough to harvest, cut them off at the base with a sharp knife.
Spinach Greens
Spinach greens are another type of microgreen that is easy to grow at home. They take a bit longer to mature than radish or arugula greens, but they are still relatively quick-growing compared to other types of vegetables. Spinach greens can be harvested in four weeks. When growing spinach greens, make sure to sow the seeds thinly and water them regularly. Once the spinach leaves are big enough to harvest, cut them off at the base with a sharp knife.
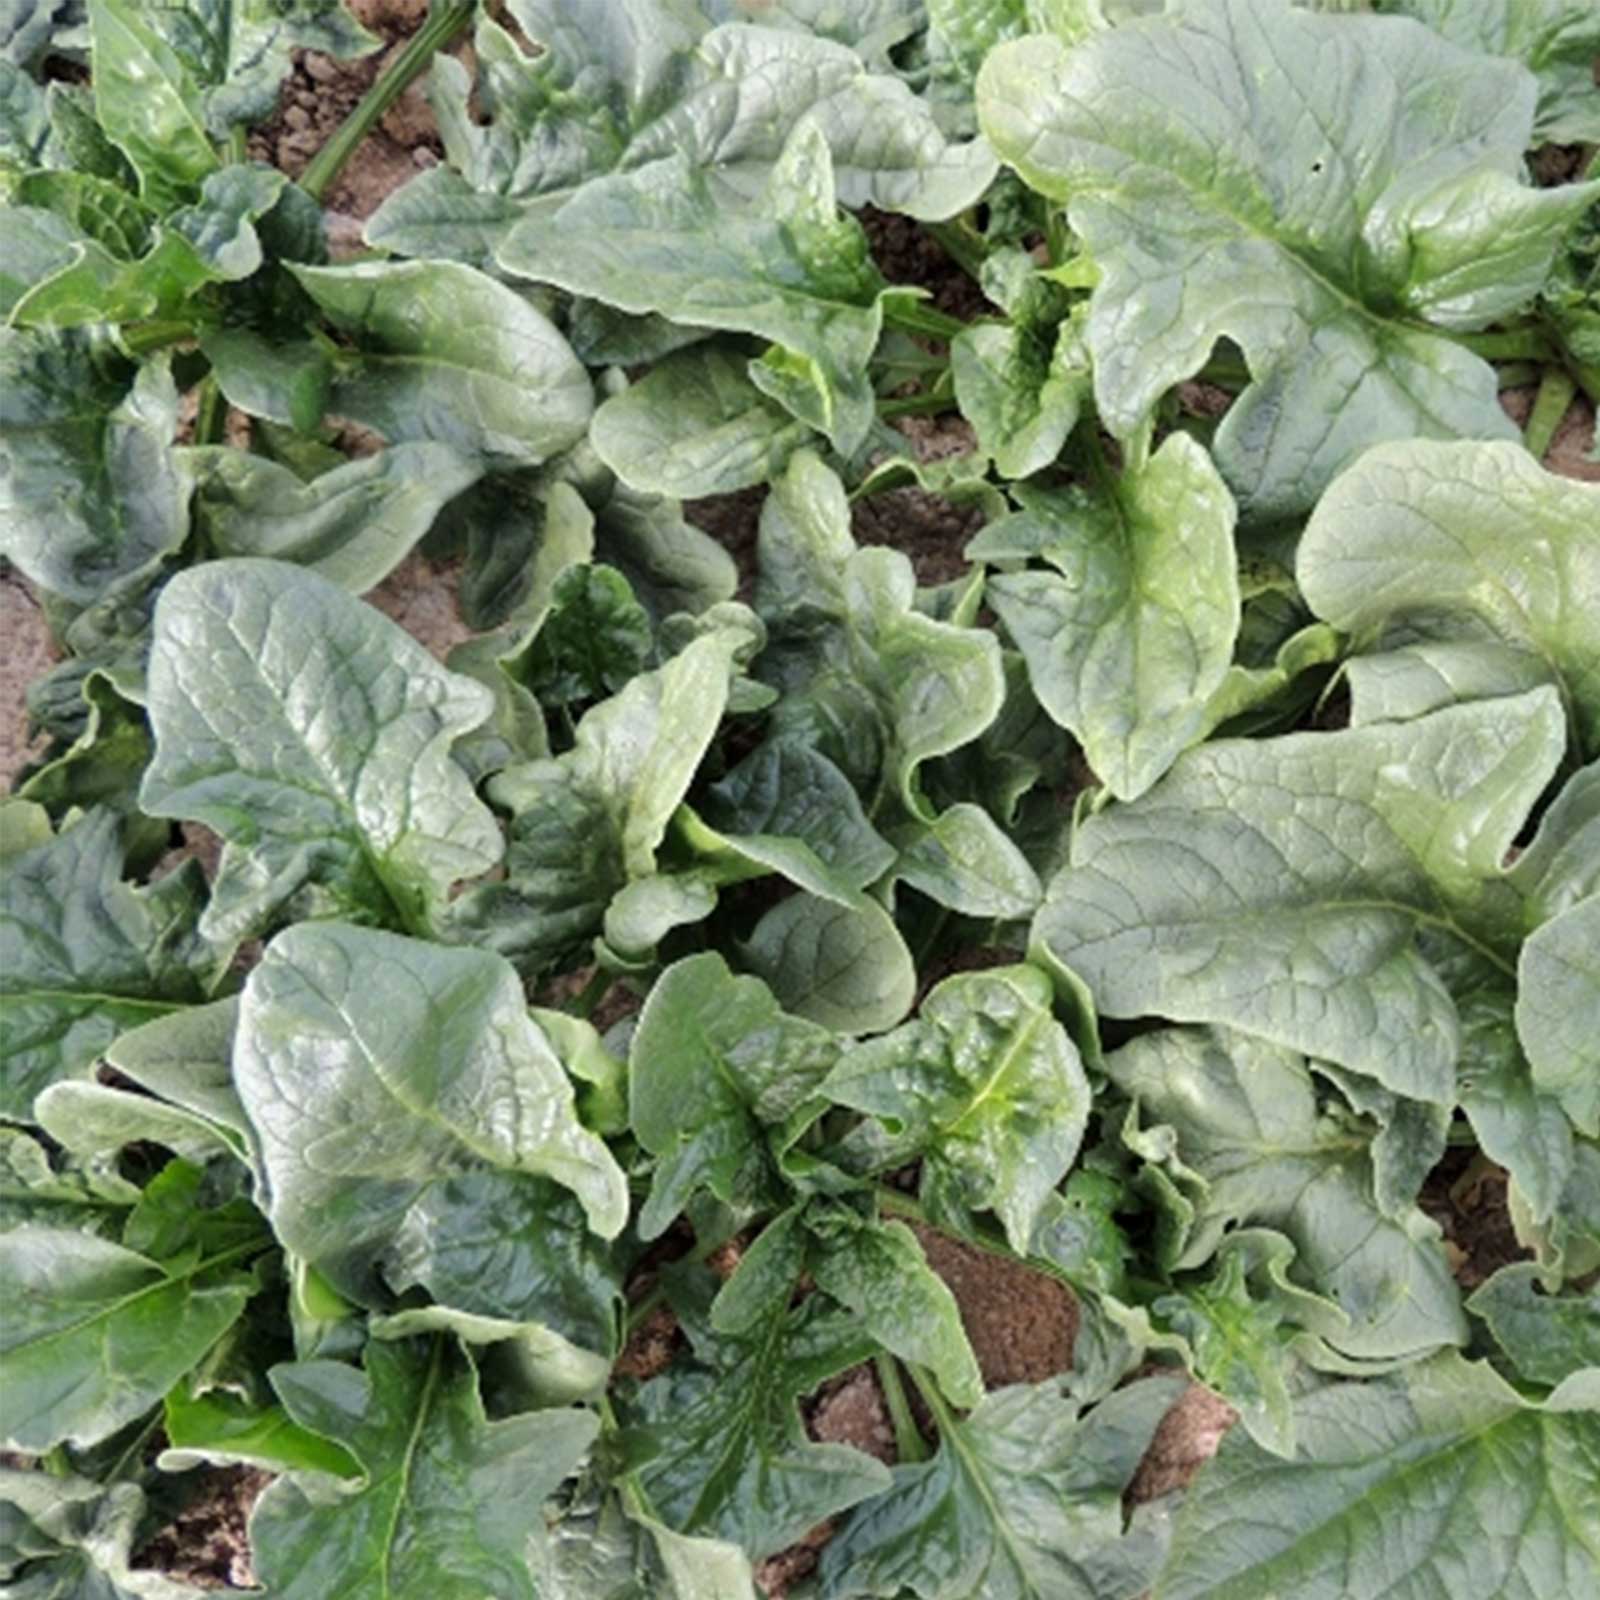
25 to 50 days. This large heirloom spinach is great for bunching due to good stems. I… [More]
Microgreens are a great way to add some extra nutrition to your diet. They are easy to grow and can be added to salads, sandwiches, and other dishes. Radish greens, arugula greens, and spinach greens are all great options for those who want to start growing their own microgreens.

Tips For Those Who Want To Start Growing Their Own Microgreens At Home
Microgreens are a type of greens harvested when they are young plants. They have a delicate flavor and are often used as a garnish or added to salads. Microgreens are easy to grow at home, and there are many different ways to do it.
What You Will Need For Your Own Microgreens
To grow microgreens at home, you will need the following:
- Soil or a growing medium
- Shallow containers
- Microgreens Seeds
- Water
- A spray bottle
- A sunny spot or artificial light
Getting Started
- The first step is to choose the type of seed you want to grow. There are many different types of microgreen seeds, so do some research to figure out which ones you want to grow. You can find microgreen seeds online or at your local nursery or gardening store.
- Once you have chosen your seeds, it’s time to start prepping your container. If you’re using a potting soil mix, ensure it is light and airy so the roots can easily take hold. You can also purchase a soilless mix, which is often made of coco coir, vermiculite, and perlite. These mixes drain well and don’t need to be watered as often as soil mixes.
- Fill your container with your chosen growing medium and moisten it with water until it is evenly dampened but not soaked through. Then, sprinkle your seeds evenly over the surface of the growing medium. Be sure not to plant too many seeds in one spot, as this can result in overcrowding once the plants start to grow.
- Once you have planted your seeds, cover them with another layer of moistened growing medium or place them in a propagator with a clear lid to keep them moist and warm as they germinate. Keep an eye on the temperature of your propagator; if it gets too hot, the seeds will die, and if it gets too cold, they will not germinate. Aim for a temperature between 70°F and 80°F.
- Place your container in a sunny spot or under grow lights, and keep the growing medium moist by watering it when the top layer starts to dry out. After 7 – 10 days, you should see the first signs of growth!
- Once your microgreens have germinated and grown their first set of true leaves (not just seed leaves), they are ready to be harvested! Use sharp scissors or a knife to cut the greens about 1 inch above the soil line, being careful not to damage any roots. Rinse the greens thoroughly before eating them.
- After harvest time, replant more seeds in their place so that you can enjoy fresh greens all season long!
- That’s it! Growing microgreens at home is easy and rewarding, and we hope these tips help you get started on your own microgreen journey!
Final Thoughts
We hope these tips help you get started on your own microgreen journey! Growing microgreens at home is easy and rewarding, and we hope you enjoy fresh greens all season long. Let your green thumb work for you.
Microgreens are a great way to add some extra nutrition to your diet. They are easy to grow and can be added to salads, sandwiches, and other dishes. In this blog post, we shared with you some of the easiest microgreens to grow in your home. We also shared how fast they grow so you can have a constant supply of fresh microgreens.
If you want to add more nutrition to your diet, then growing microgreens is a great option. They are easy to grow and can be harvested in just a few weeks. Give it a try and see how fast your microgreens grow. If you try our methods and simple steps, let us know how it went in the comments below. We would love to hear from you and the good news after your first tiny greens harvest.
Frequently Asked Questions About How fast Do Microgreens Grow?

Cal Hewitt is the Founder and Lead Cultivator at Microgreens Guru, a website dedicated to empowering individuals to grow, consume, and potentially sell nutrient-dense microgreens. With 5 years of hands-on experience in microgreens cultivation, Cal brings a unique analytical perspective to the world of urban agriculture. He specializes in optimizing growth techniques for various microgreen varieties, while also focusing on sustainable and cost-effective growing methods. Cal’s passion for microgreens, ignited by a personal health journey, drives him to continuously explore and share innovative approaches to microgreens cultivation. His practical experience, combined with his commitment to education through his website and upcoming book, ensures that Microgreens Guru remains a valuable resource for both novice and experienced growers alike.


