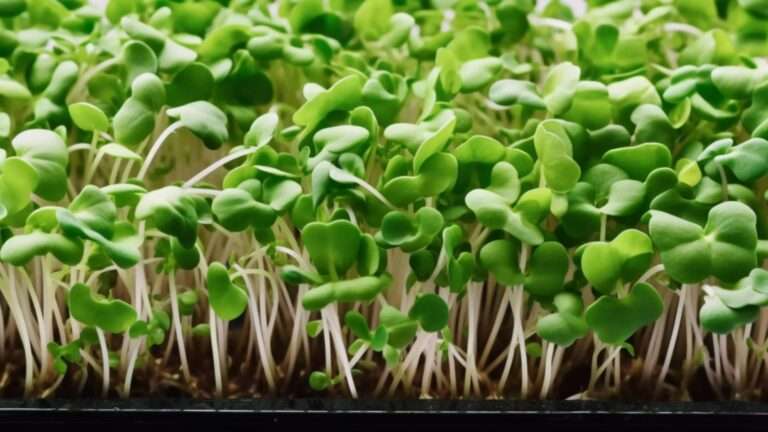
Types of Microgreens: The Definitive Guide to Growing, Harvesting, and Enjoying
Some of our posts on Microgreensguru.com contain affiliate links. If you click on an affiliate link and make a purchase, we may receive a commission. Clicking on an affiliate link that earns a commission does NOT result in additional charges or costs you extra. Earnings from affiliate links help keep this website running. See our full affiliate disclosure here.
Are you intrigued by the idea of growing your own fresh, nutritious food right at home? We’ve been there too. In fact, our team has spent countless hours researching and experimenting with different microgreen varieties – these tiny greens that are packed with essential nutrients but require minimal space to grow.
This comprehensive guide will help you navigate through the world of microgreens, offering a deep dive into their types, how to cultivate them at home, when to harvest them for maximum benefits, and ways to incorporate them into your meals.
Start reading now about different types of microgreens; your green thumb awaits!
Key Takeaways
- Microgreens are young vegetable plants that are harvested after just a few weeks, offering dense nutrients and health benefits.
- Common types of microgreens include broccoli, mesclun, beetroot, cress, arugula, carrots, peas, sunflower, amaranth, and mustard.
- Each type of microgreen has its own unique flavor profile and nutritional value.
- Growing microgreens at home is easy and can be done in small spaces.
What are Microgreens?
Microgreens are young vegetable plants that are harvested just a few weeks after germination when they have developed their first true leaves but are still small in size.

Definition and characteristics of microgreens
Microgreens sit between a sprout and a baby green in the plant life cycle. They’re young seedlings of edible vegetables and herbs, harvested at an early stage – usually just after two fully developed cotyledon leaves appear.
Their size may be small, but they’re dense with nutrients and packed full of health benefits. This makes microgreens far more than a mere garnish on your plate; they truly pack a punch when it comes to flavor and nutrition! One remarkable feature is their central stem, which we cut above the soil line during harvest.
Fast to grow with unique flavors across varieties, microgreens have quickly gained popularity among health-conscious food lovers who enjoy their quick growth and versatile use in various dishes.
Nutritional benefits of microgreens
Dive into the world of microgreens, and you’ll find a powerhouse of nutritional benefits waiting for you. These tiny, tender greens are nature’s superfood, offering nutrient-dense profiles that outshine their mature counterparts.
Dense with vitamins, minerals, and antioxidants, microgreens support digestive health and disease prevention while boosting your immune system. For instance, beet microgreens don’t just bring splashes of color to your plate; they actually contain more iron than spinach while packing greater nutritional value per calorie than full-grown beets.
Plus, kale microgreens offer higher amounts of crucial nutrients like polyphenols when compared to mature kale leaves! As part of a balanced diet or as an easy addition to smoothies and salads, these small but mighty plants help in weight management and provide energy boosts too.
So go ahead – let’s start reaping the rich rewards that come from incorporating plentiful antioxidant-rich microgreens into our meals daily!
Common Types of Microgreens
Broccoli, Mesclun, Beetroot, Cress, Arugula, Carrots, Peas, Sunflower, Amaranth, and Mustard are some of the common types of microgreens that can be grown at home.
Broccoli
Broccoli microgreens are a powerhouse of nutrition and flavor that you’ll love incorporating into your dishes. They contain five times more vitamins and carotenoids than their full-grown counterparts, boasting impressive levels of vitamins A, B, C, and E.
Not just packed with vitamins, these greens also deliver around 7 grams of carbs per 100 grams of fresh produce, providing valuable energy for our bodies. What’s even more exciting is the robust flavor they bring to any dish.
You can begin reaping the benefits between 10-12 days after germination – making them perfect for quick home gardening purposes.
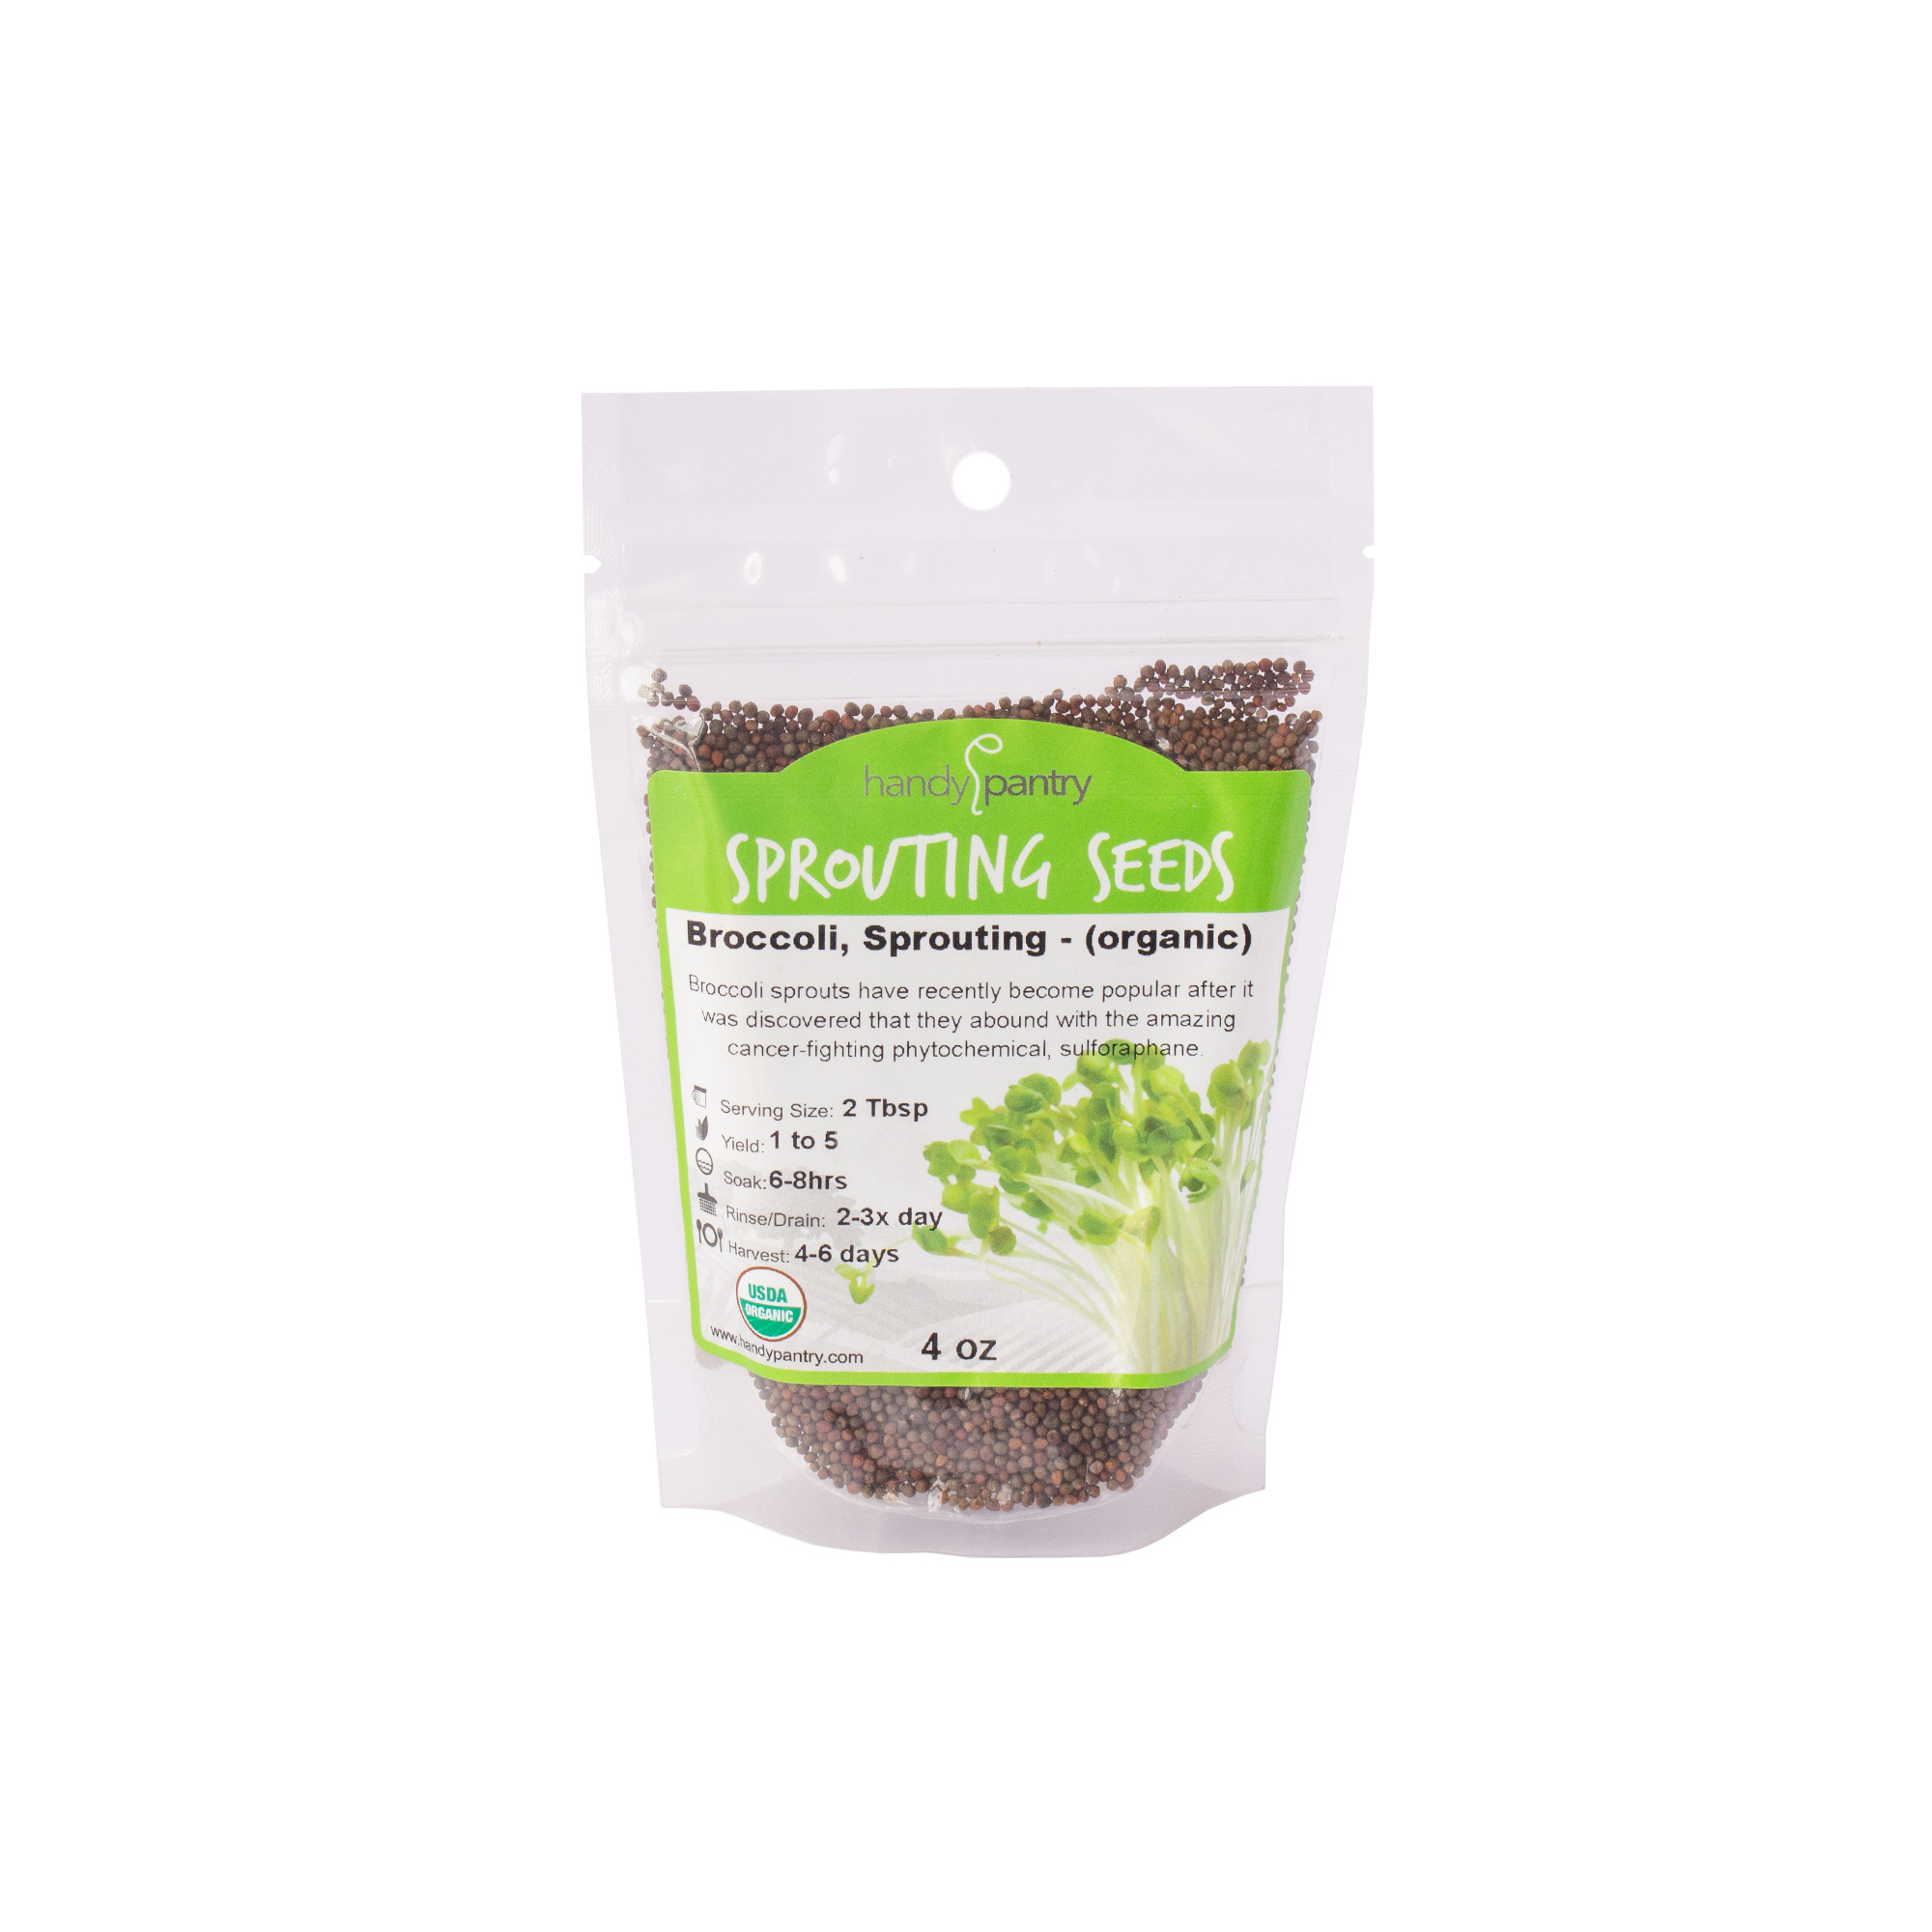
Certified Organic. Broccoli sprouting seeds. Sprouting Broccoli seeds has just recently… [More]
Besides being versatile in culinary uses, broccoli microgreens have been linked to potential cancer-fighting properties due to their high sulforaphane content.
Their easy cultivation makes them increasingly popular among both novice and experienced gardeners alike. So if you’re looking for an affordable way to enhance your meals’ nutritional value while adding a flavorful twist – broccoli microgreens might be exactly what you need.
Mesclun
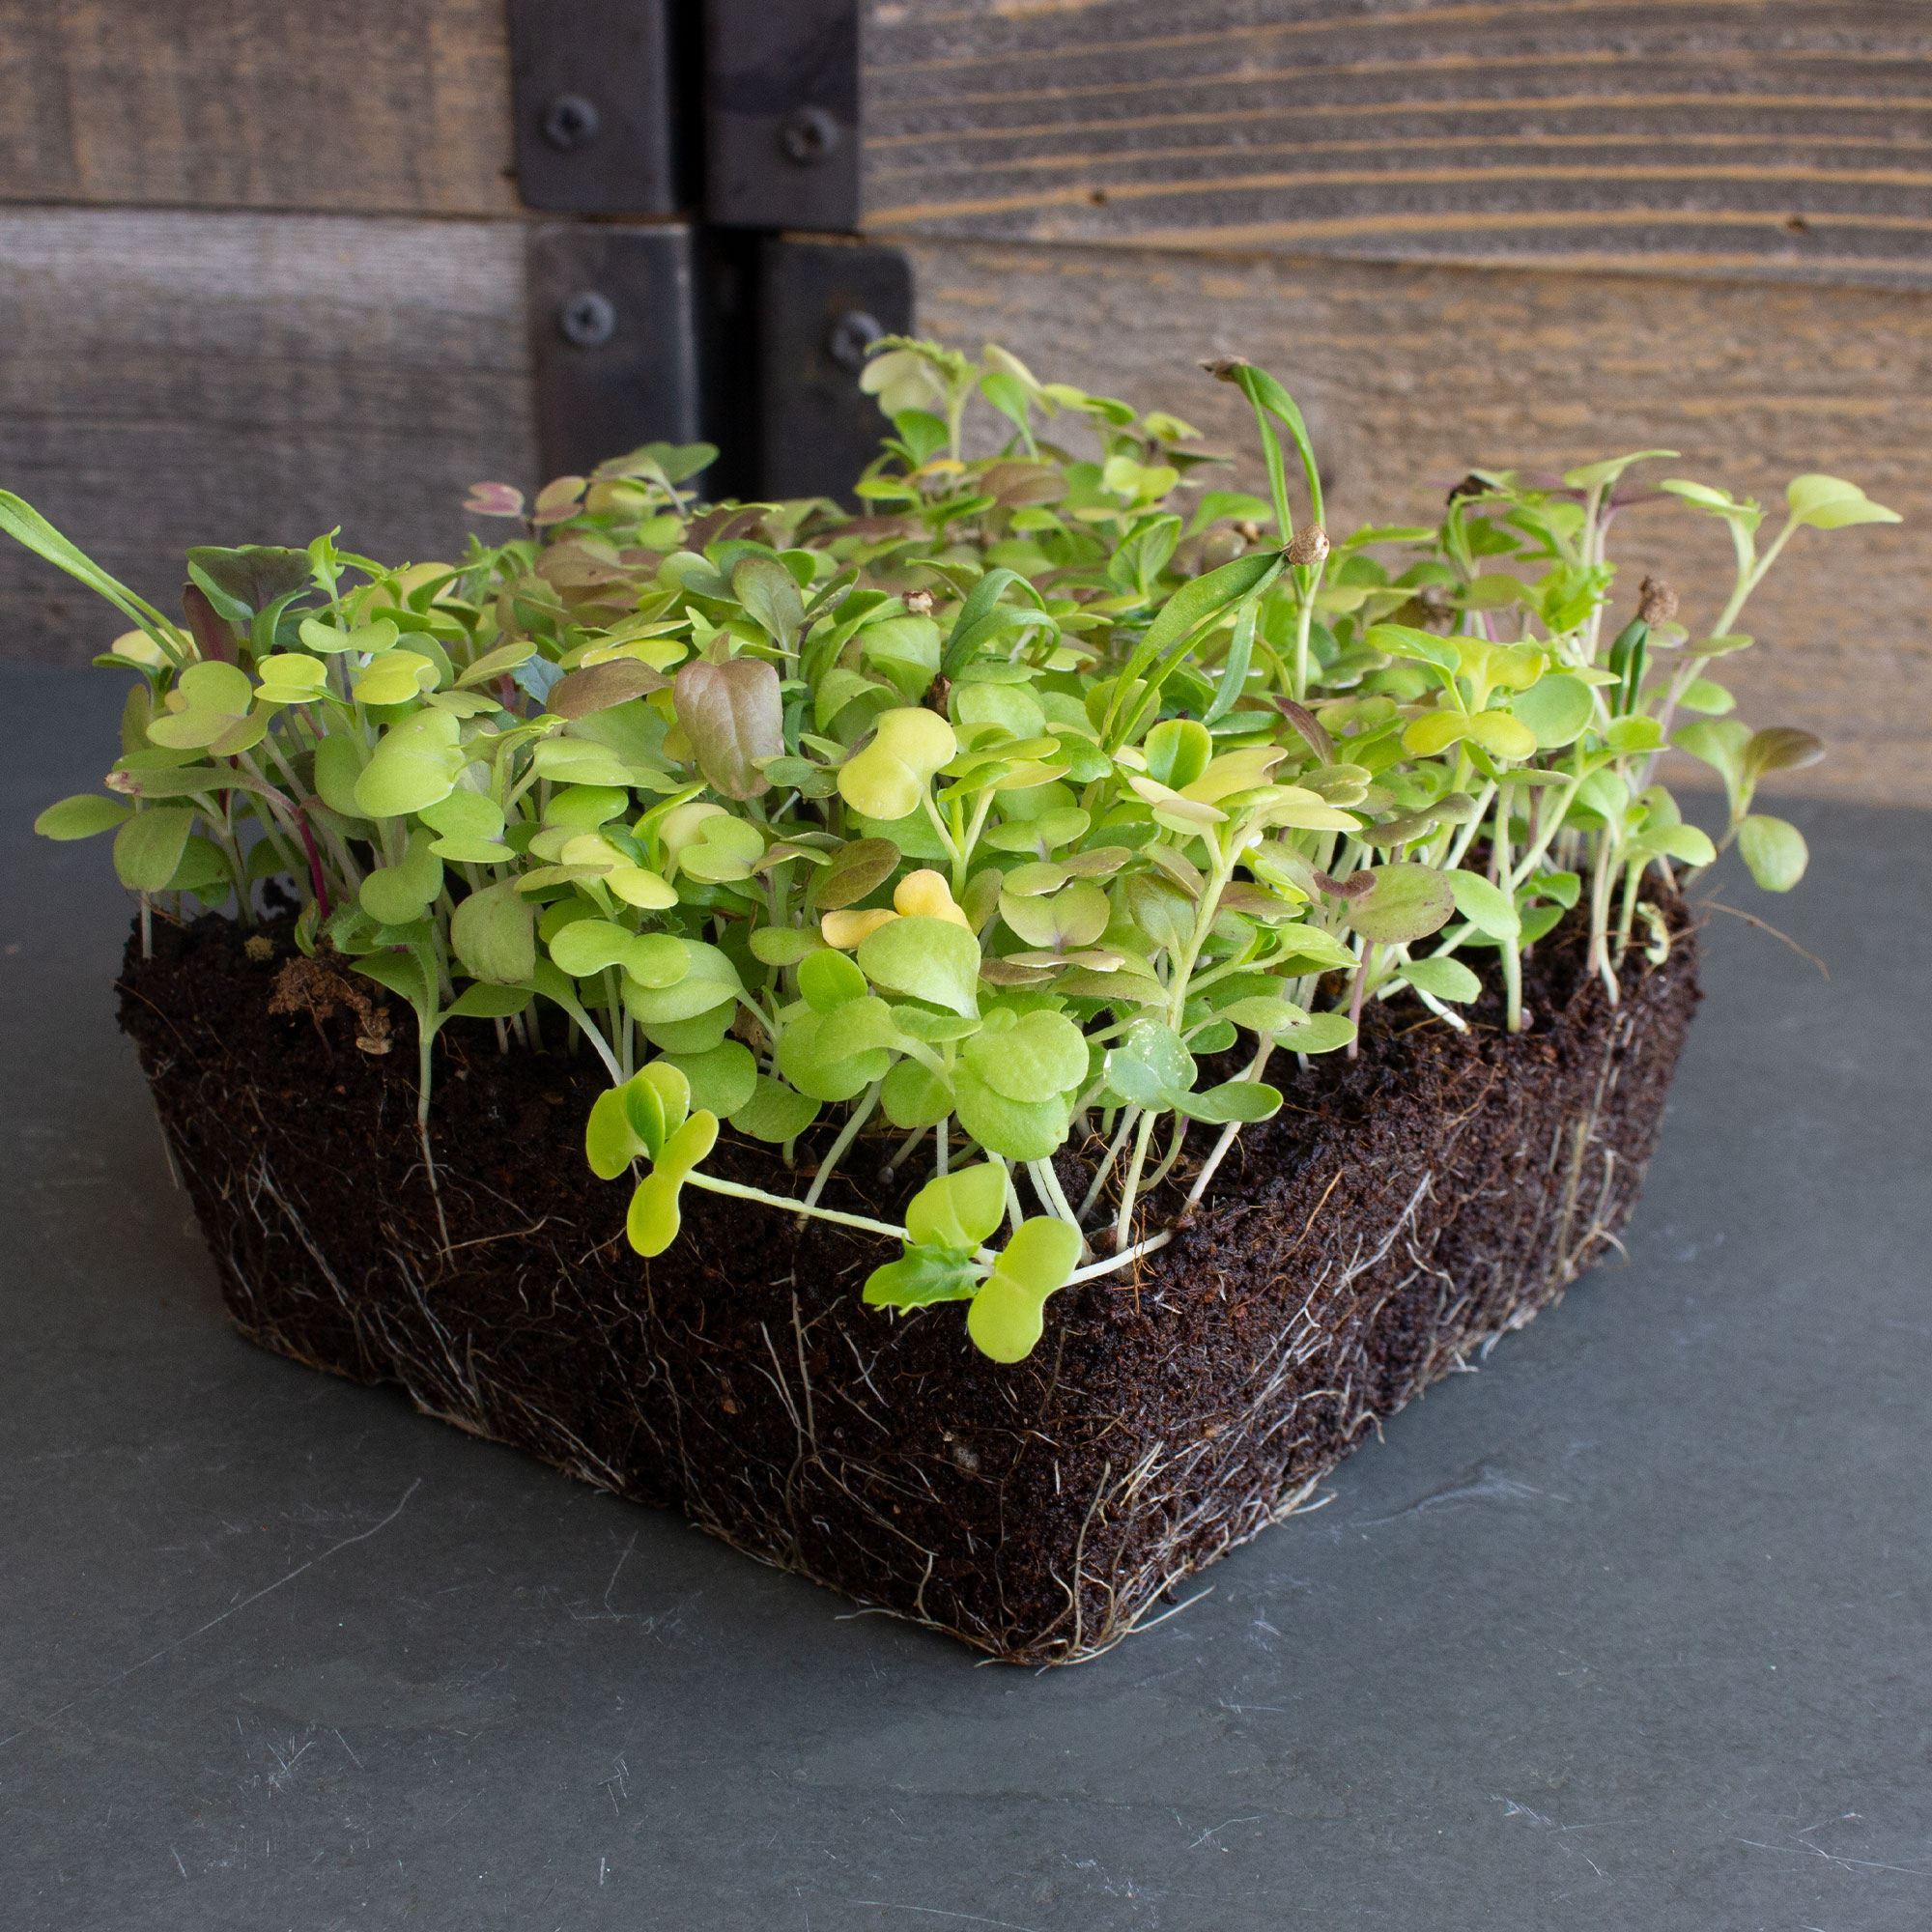
Only takes 35 to 75 days from ground to plate. A wonderful collection of greens of diff… [More]
Mesclun is a delightful mix of assorted salad greens that adds an explosion of flavor and color to any dish. This microgreen variety includes vibrant leaves such as arugula, lettuce, endive, spinach, Swiss chard, sorrel, and other leafy greens.
Despite their petite size, mesclun microgreens are packed with nutritional benefits that make them a favorite among health-conscious individuals. They are harvested when the baby greens reach about three to four weeks old, ensuring they remain small, soft, and tender.
Mesclun gets its name from the French word meaning “mixture,” which perfectly describes this blend of flavors and textures.
Whether you want to create mouthwatering salads or add a touch of sophistication to your culinary creations, mesclun microgreens are the perfect choice for adding freshness and vibrancy to your meals.
Beetroot
Beetroot microgreens are a vibrant addition to any dish, with their stunning red color and earthy flavor. These young beet plants are packed with nutrients and can easily be grown at home.
With just water, soil, beet microgreen seeds, and a container, you can have your own batch of fresh and nutritious beetroot microgreens in no time. They germinate quickly in just four days and can be grown in various mediums such as soil or coconut coir.
Beetroot microgreens are not only popular among chefs for their taste but also offer numerous health benefits due to their high nutritional content. Try adding these small but mighty greens to your salads or sandwiches for that extra burst of flavor!
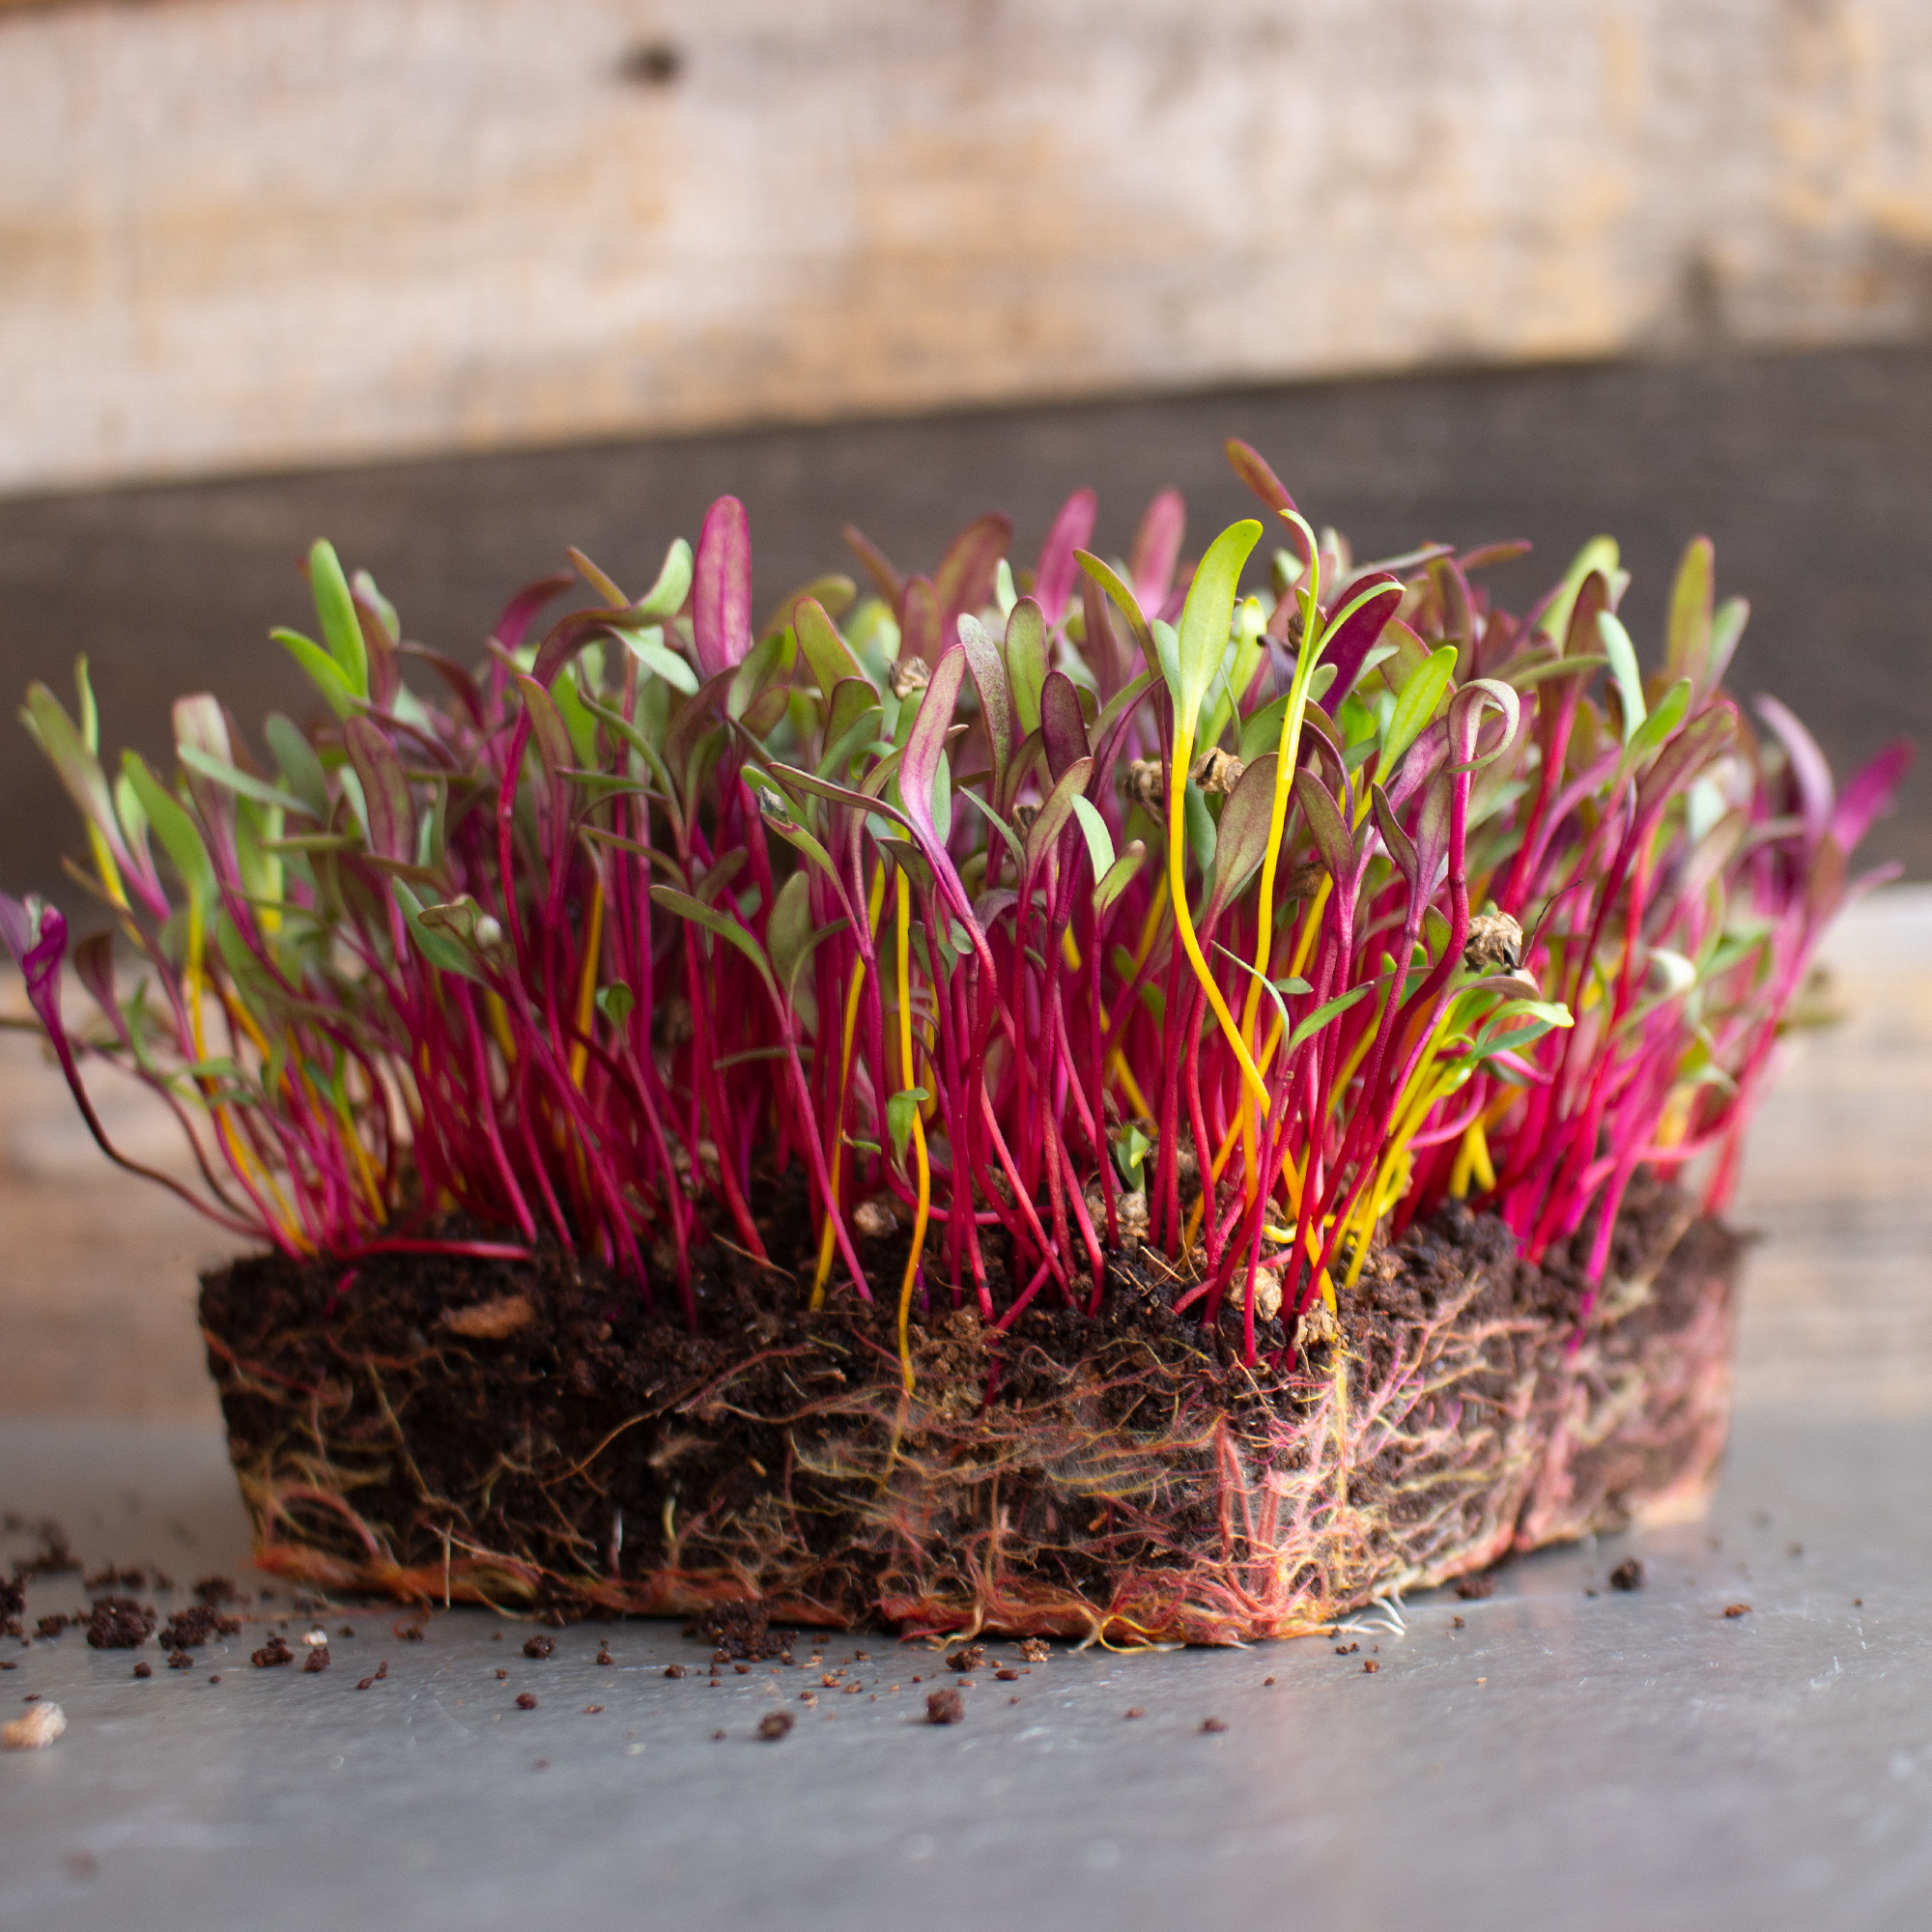
Rainbow Blend beets are an exciting variety of beet with 5 different colors in the blen… [More]
Cress
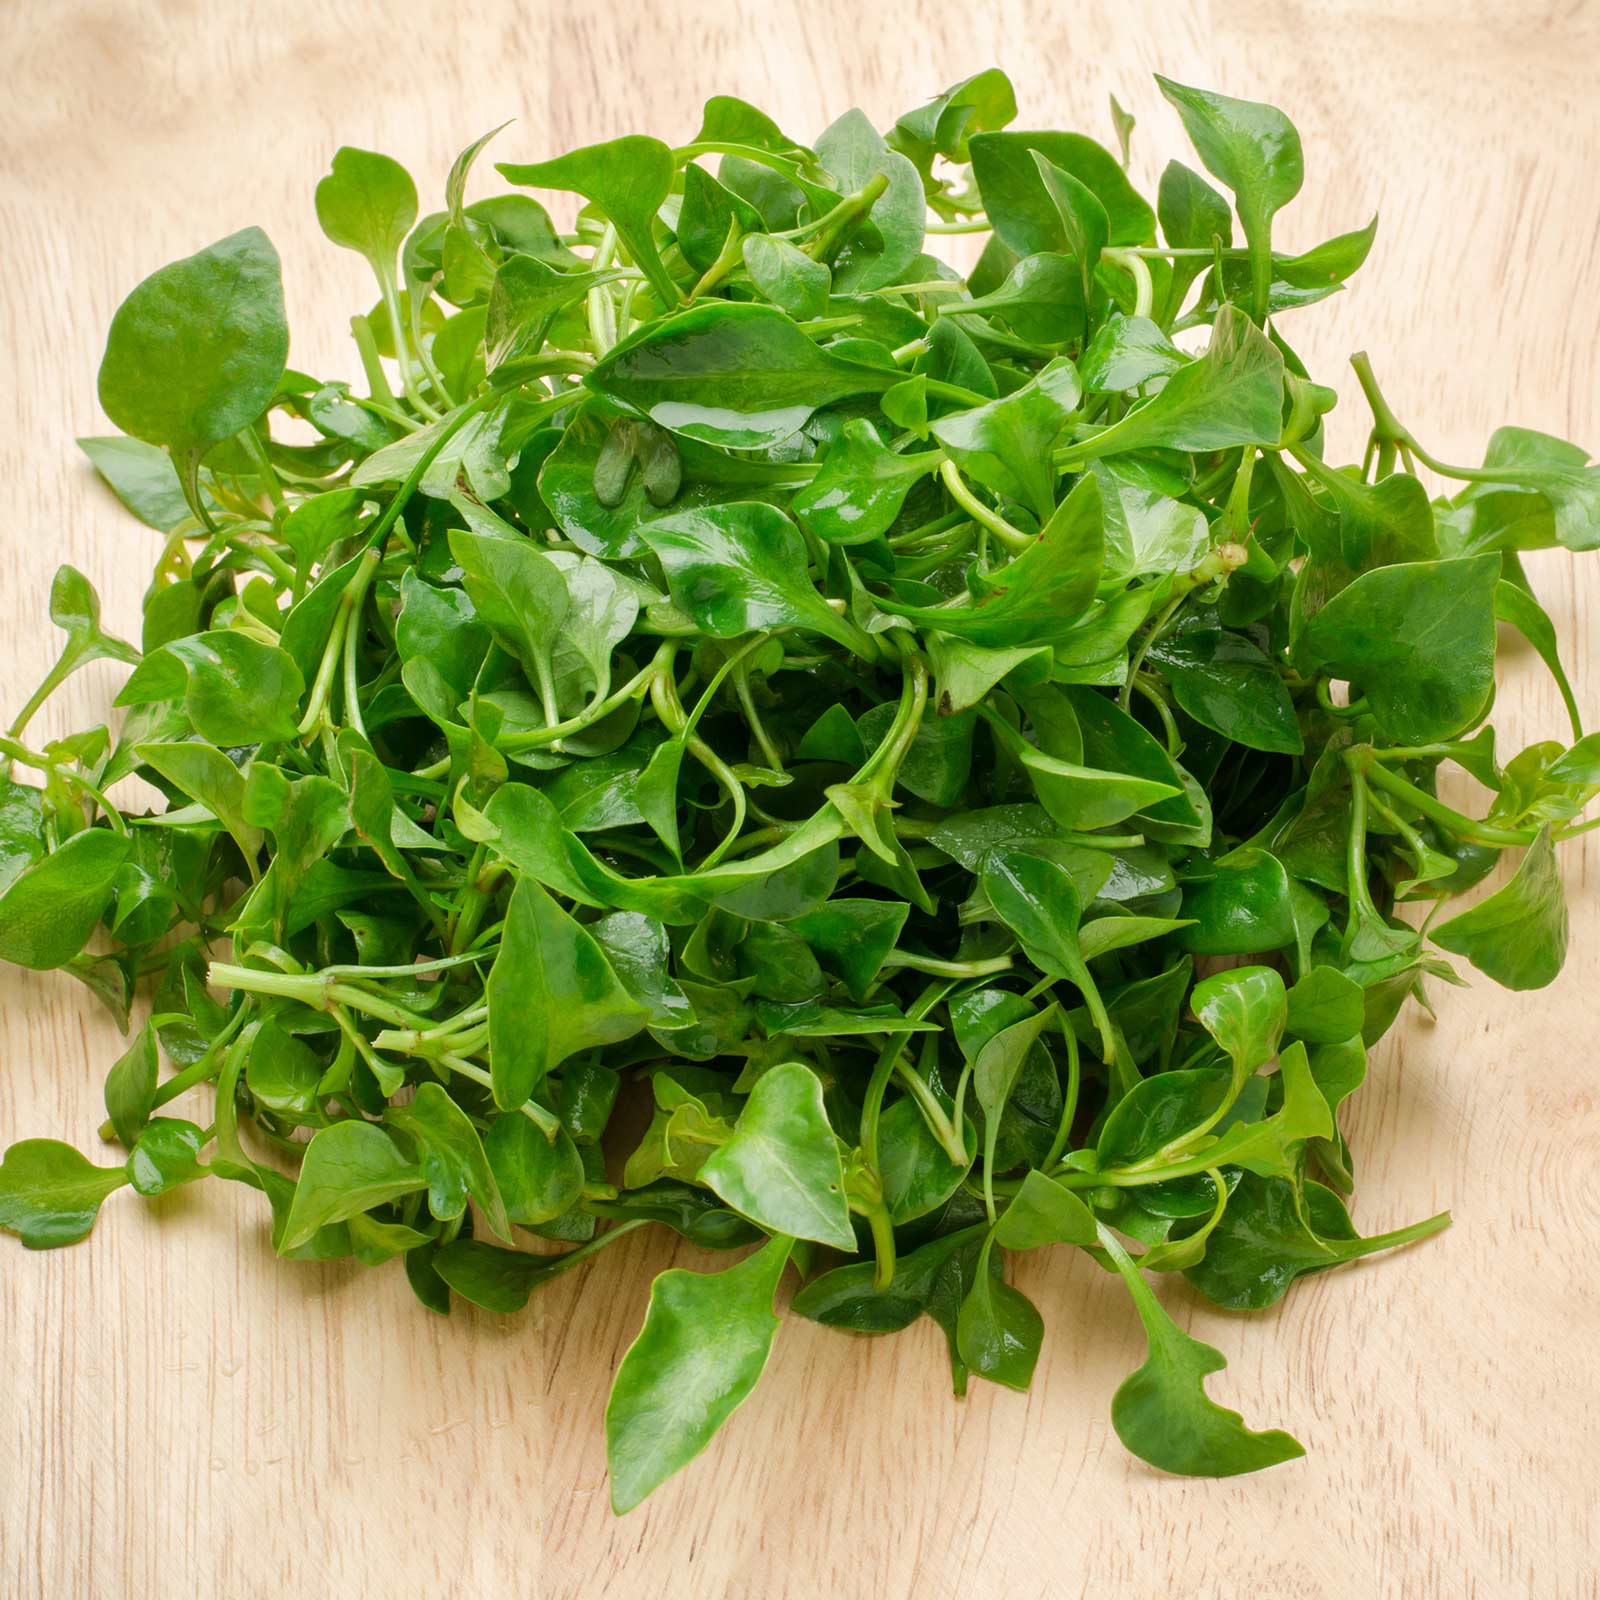
Annual. Also called Garden Cress or Peppergrass. Ruffled leaves have a peppery and refr… [More]
Cress is a fantastic microgreen variety that offers a plethora of benefits. Not only is it effortless to grow, but it’s also packed with nutrients. In fact, cress microgreens are considered one of the most nutritious greens available! They germinate in just 2 to 3 days and can be harvested in about ten weeks.
Growing cress indoors follows the same techniques as other microgreens, making it suitable for even beginner gardeners. With its fresh and tangy flavor, cress adds a delightful twist to salads, sandwiches, and more.
Plus, its vibrant green leaves make any dish visually appealing too. Whether you want to boost your health or add some extra zing to your meals, cress microgreens are definitely worth exploring!
Arugula
If you’re looking to add a distinct peppery flavor to your meals, then arugula microgreens are an excellent choice. These tiny greens are harvested just days after germination, resulting in a fresh and crisp texture that packs a spicy punch.
Belonging to the Brassicaceae family, which includes broccoli and cabbage, arugula microgreens are not only flavorful but also packed with nutrients. As fast-growing microgreens, they can be easily cultivated indoors, making them a high-yield crop for sustainable indoor gardening.
In just 5 to 9 days, you can have a tray full of these vibrant greens ready to enjoy in salads, sandwiches, or even as an appealing garnish.
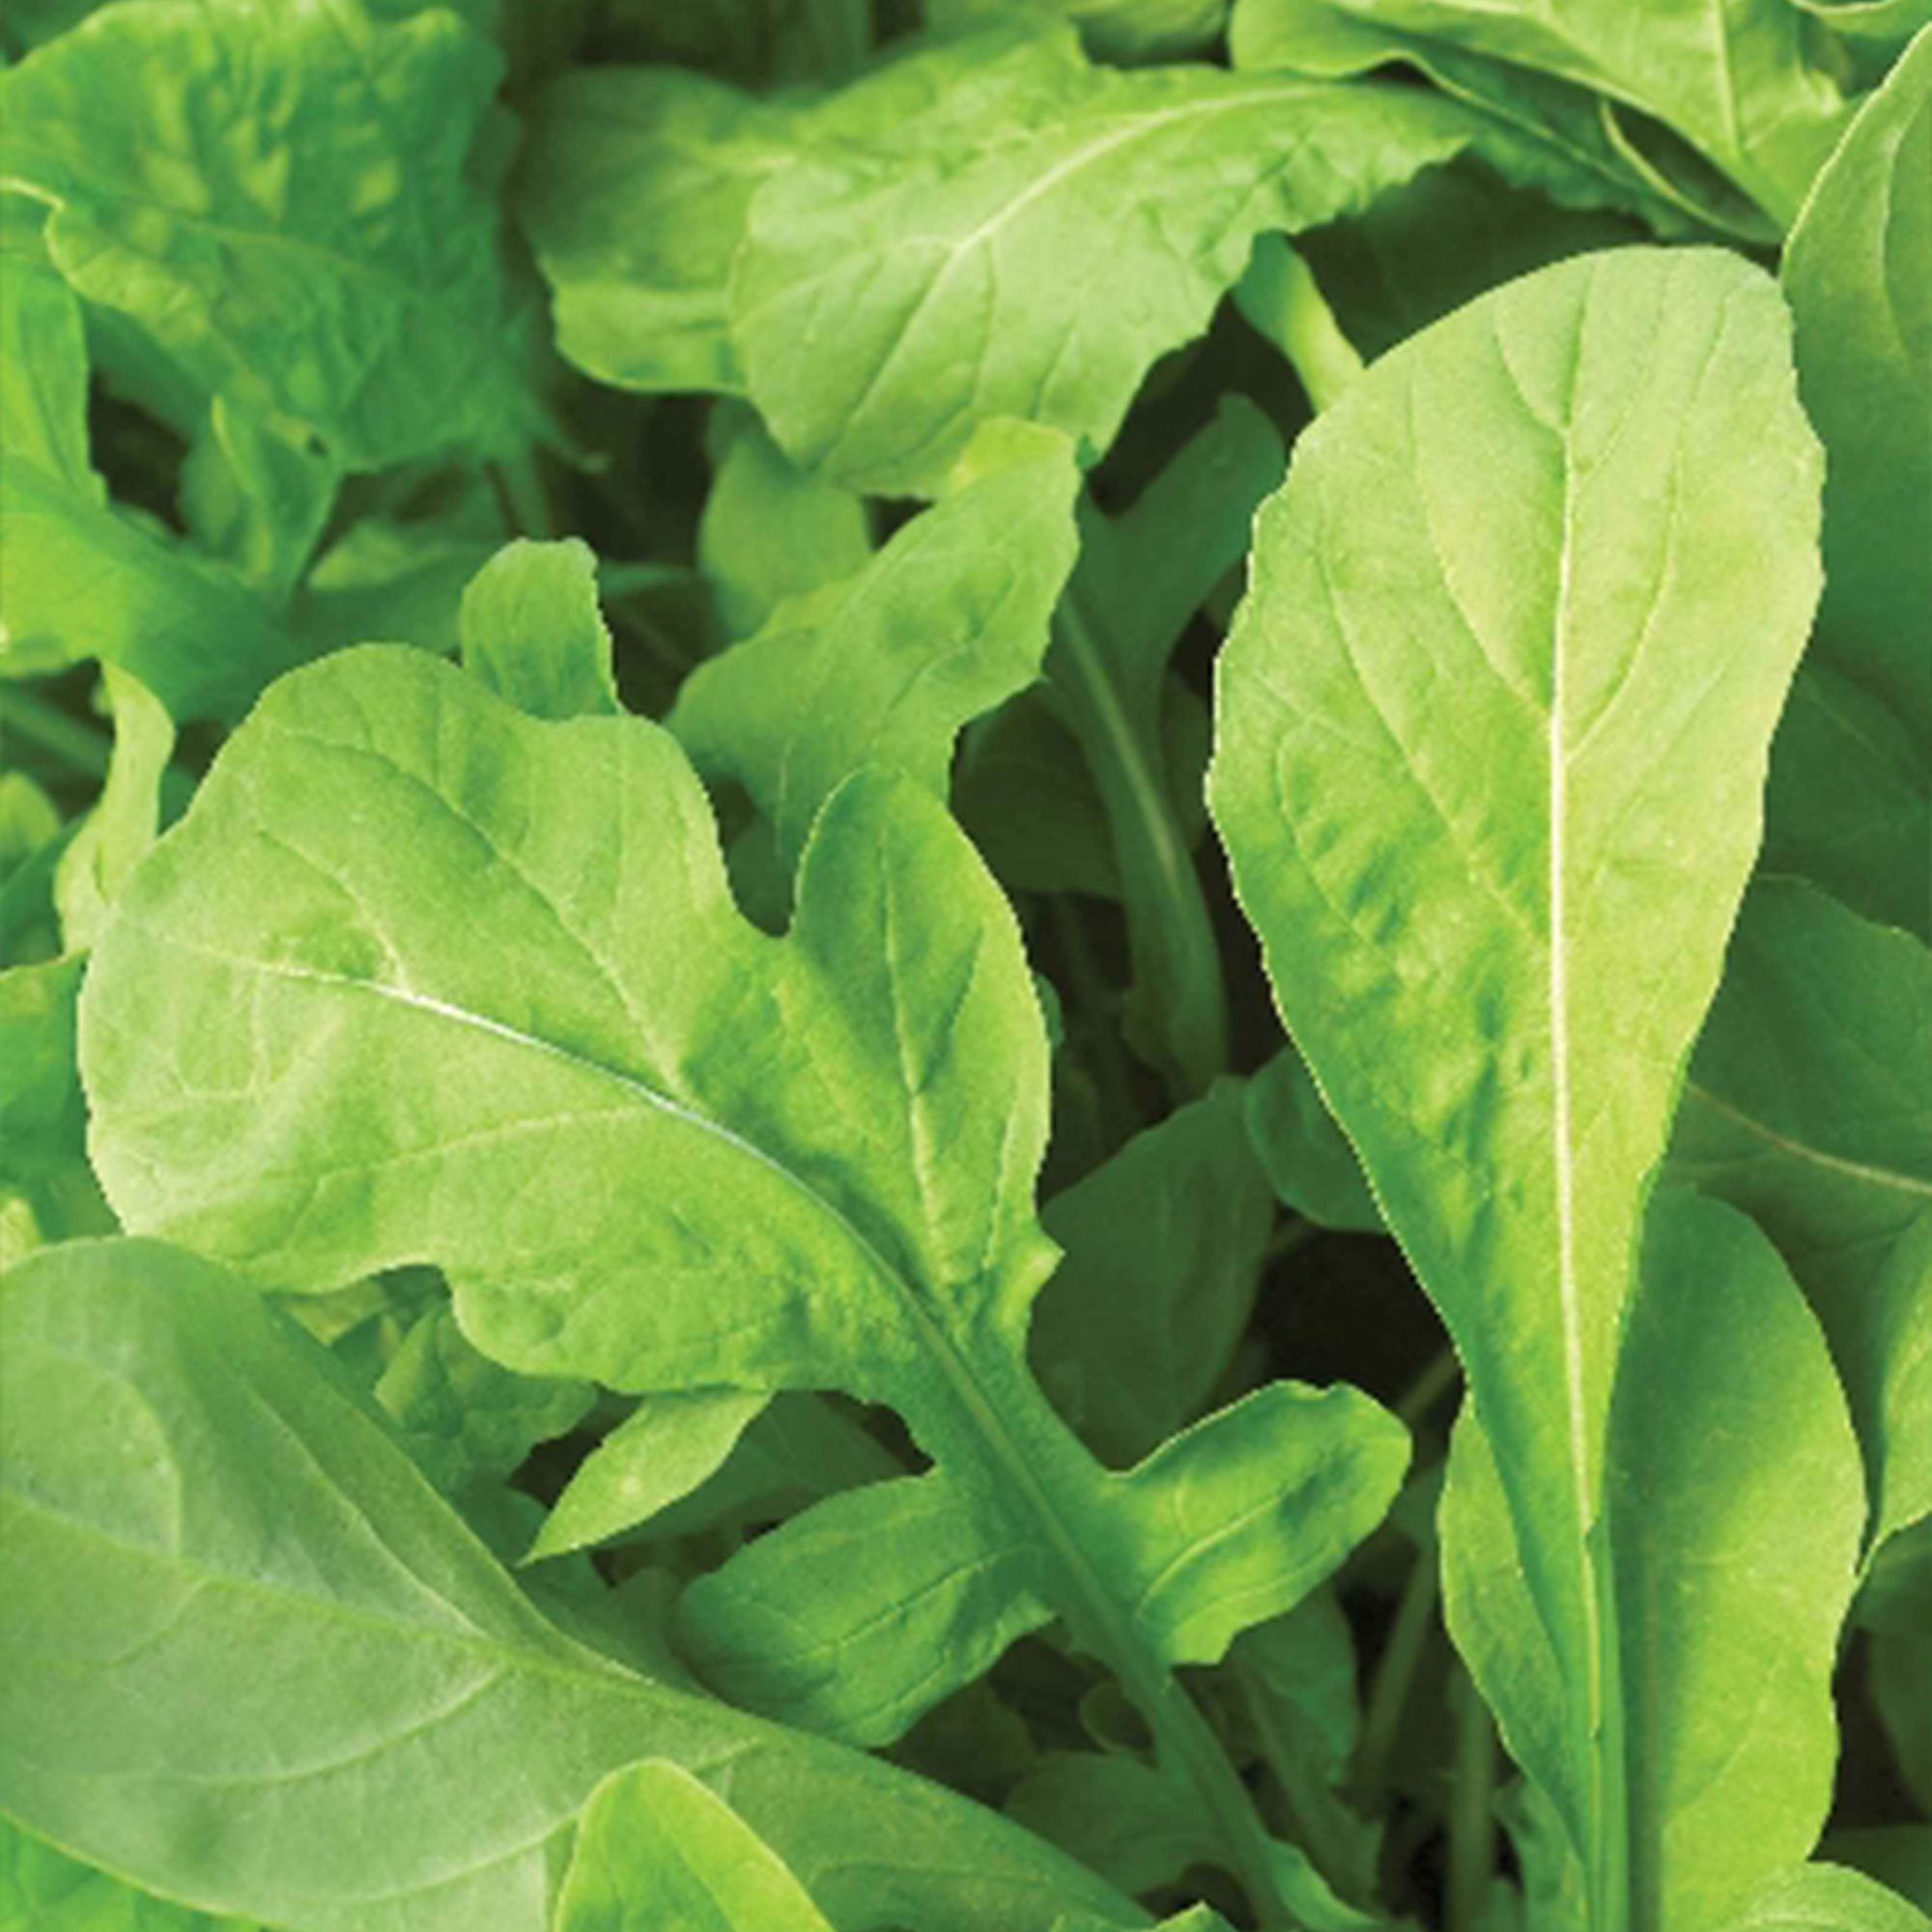
Astro Arugula Seeds. Open pollinated, Heirloom, Non-GMO. Eruca sativa. Maturity: Approx… [More]
So go ahead and give arugula microgreens a try – they’re simple to grow and will add an exciting twist to your favorite dishes!
Carrots
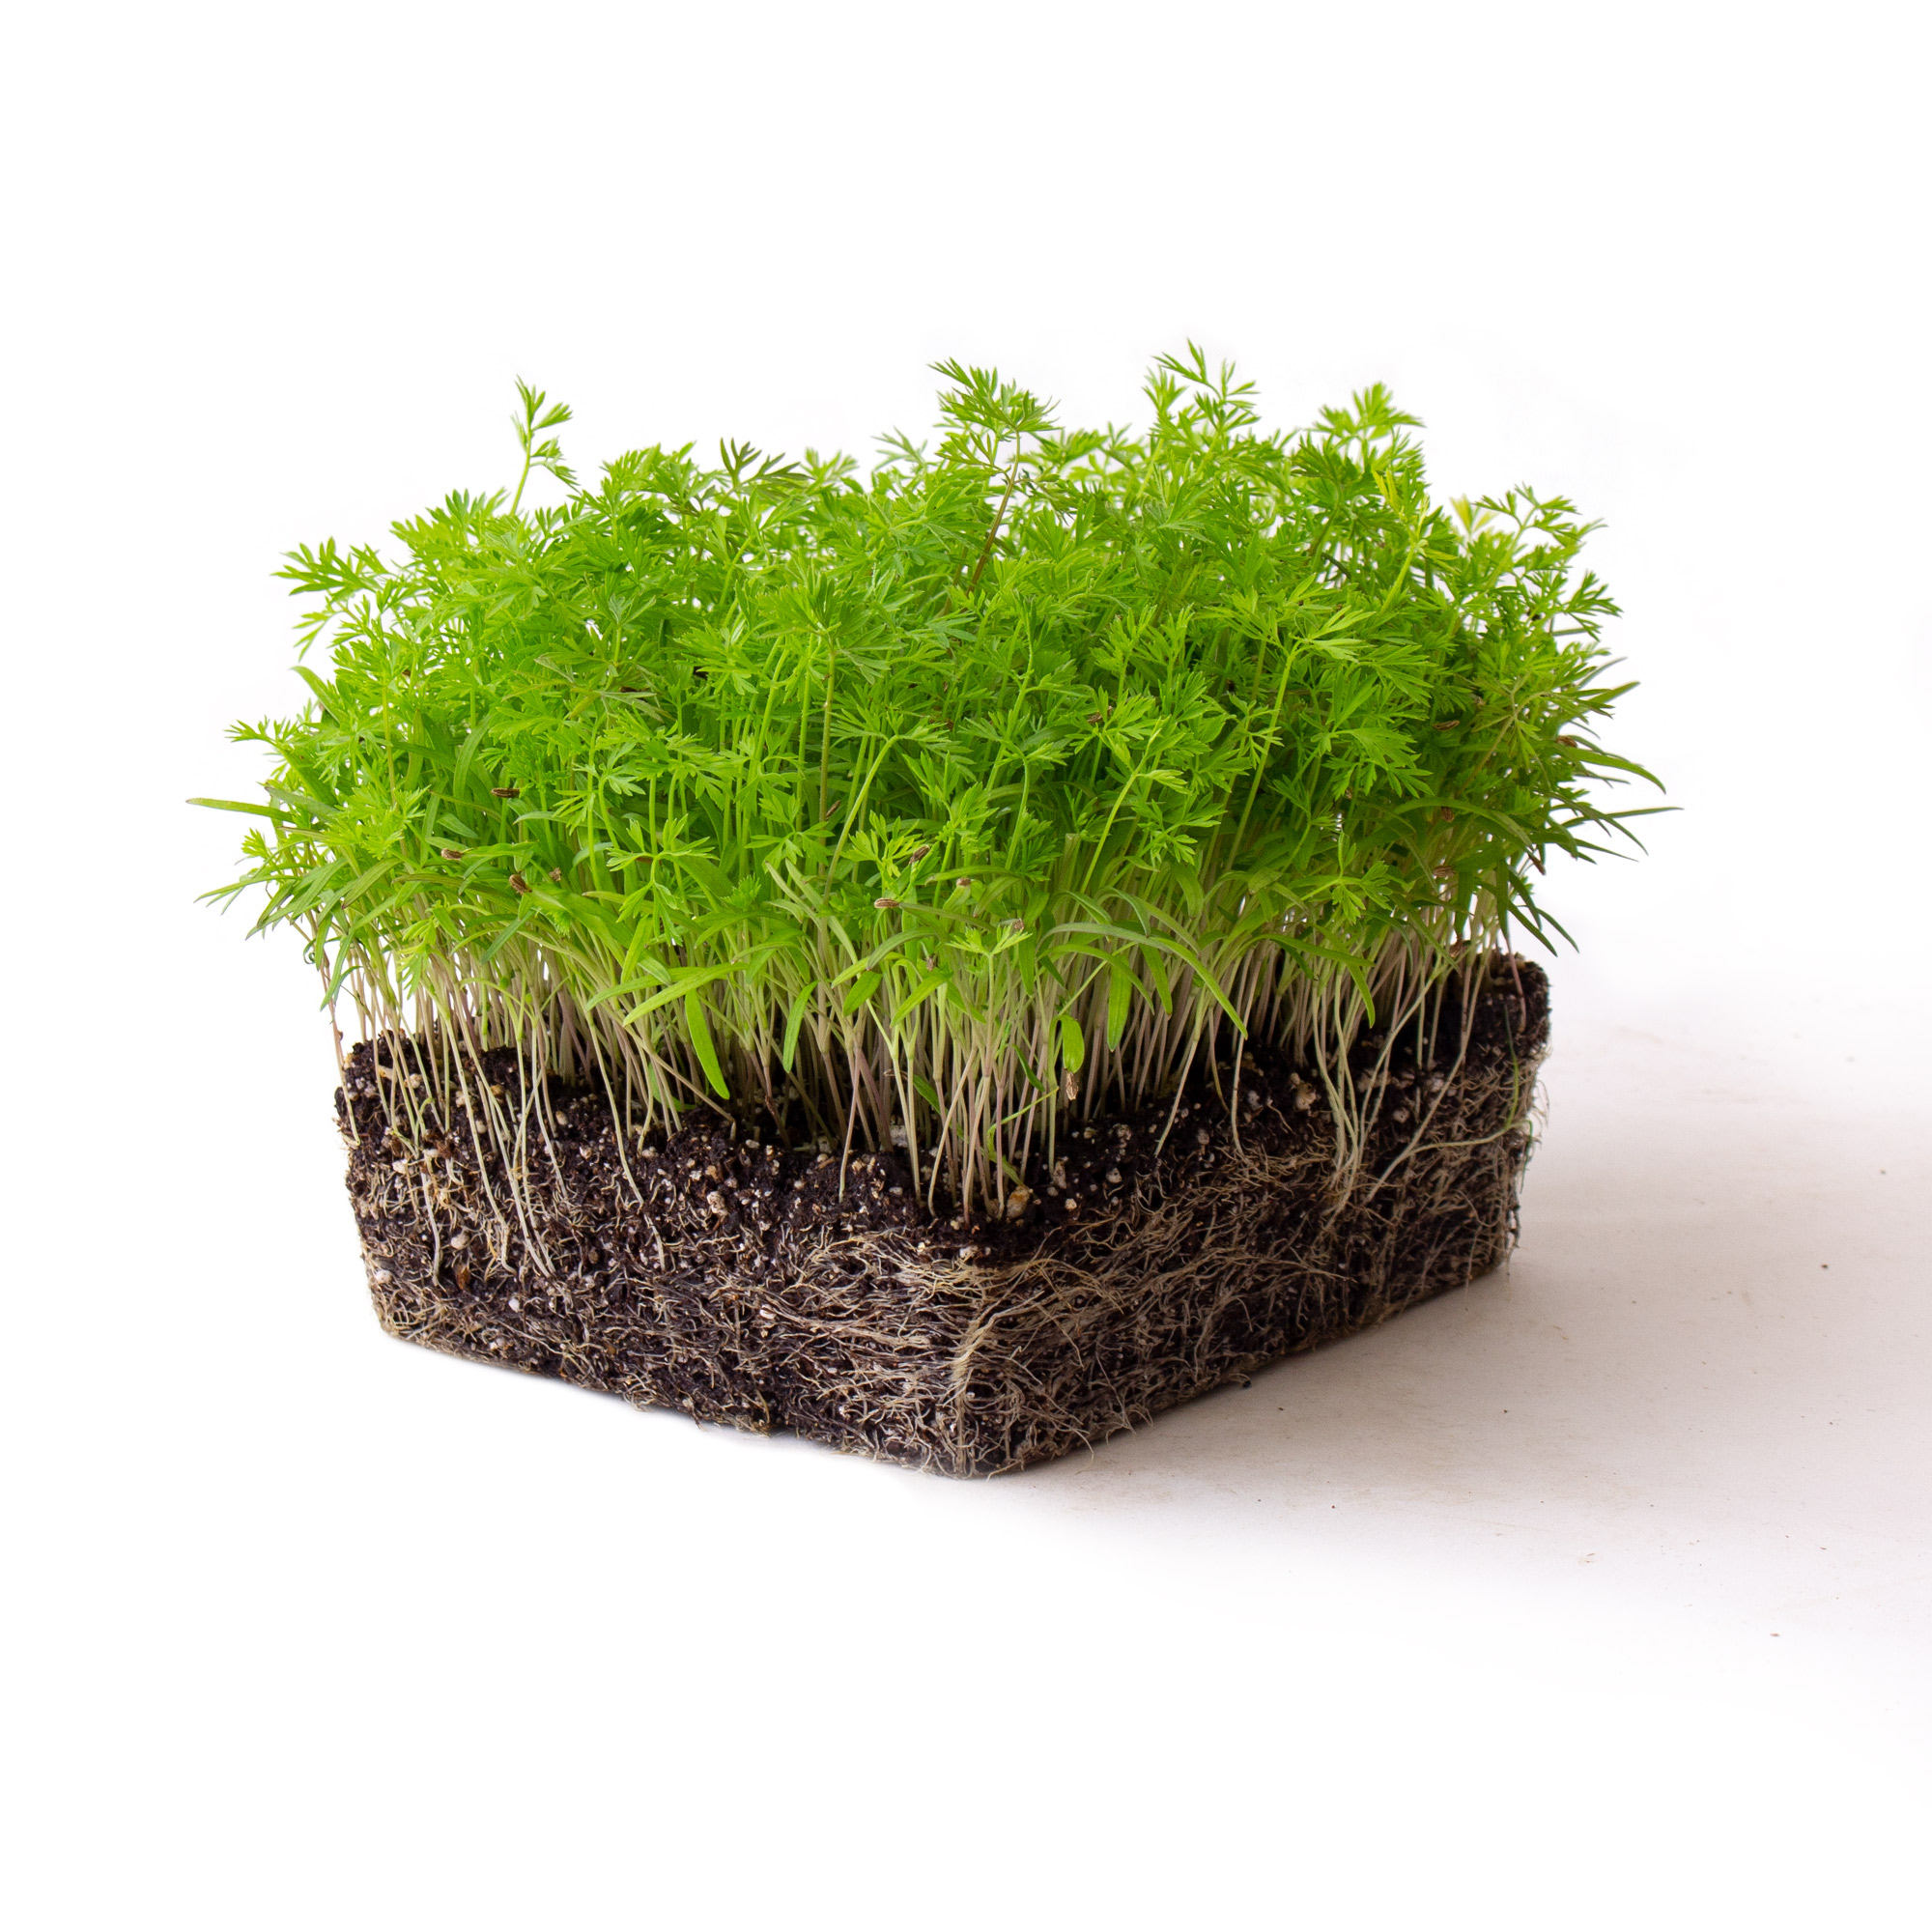
Carrot Microgreens Seeds. Carrots can be grown as microgreens. The green top when in mi… [More]
Carrot microgreens are a delightful addition to any meal, offering all the flavor of mature carrots but with a milder taste. Not only do they add a pop of color and texture to your plate, but they also come packed with nutrients like antioxidants and vitamin A.
In just 18 to 25 days, you can harvest these ferny-topped beauties from your indoor garden. Don’t worry about complicated care – carrot microgreens require no special attention and can be easily grown at home.
Whether you sprinkle them on top of a salad or blend them into a refreshing smoothie, carrot microgreens offer a nutritious and flavorful way to incorporate greens into your diet. So why not give it a try and savor the rewards of growing your own fresh produce?
Peas
Peas are a popular type of microgreen that are not only easy to grow but also offer a ton of health benefits. These crunchy greens can be harvested within just a couple of weeks after planting, making them an excellent choice for those who want quick results.
Pea microgreens are often confused with other types, but they have their own unique characteristics and flavor profile.
One of the great things about pea microgreens is their high nutrient content. They’re packed with beta-carotene, vitamin A, vitamin C, and folate, making them a powerhouse of vitamins and minerals.
Not only do they offer numerous health benefits, but they also add a fresh and vibrant touch to salads, sandwiches, and other culinary creations.
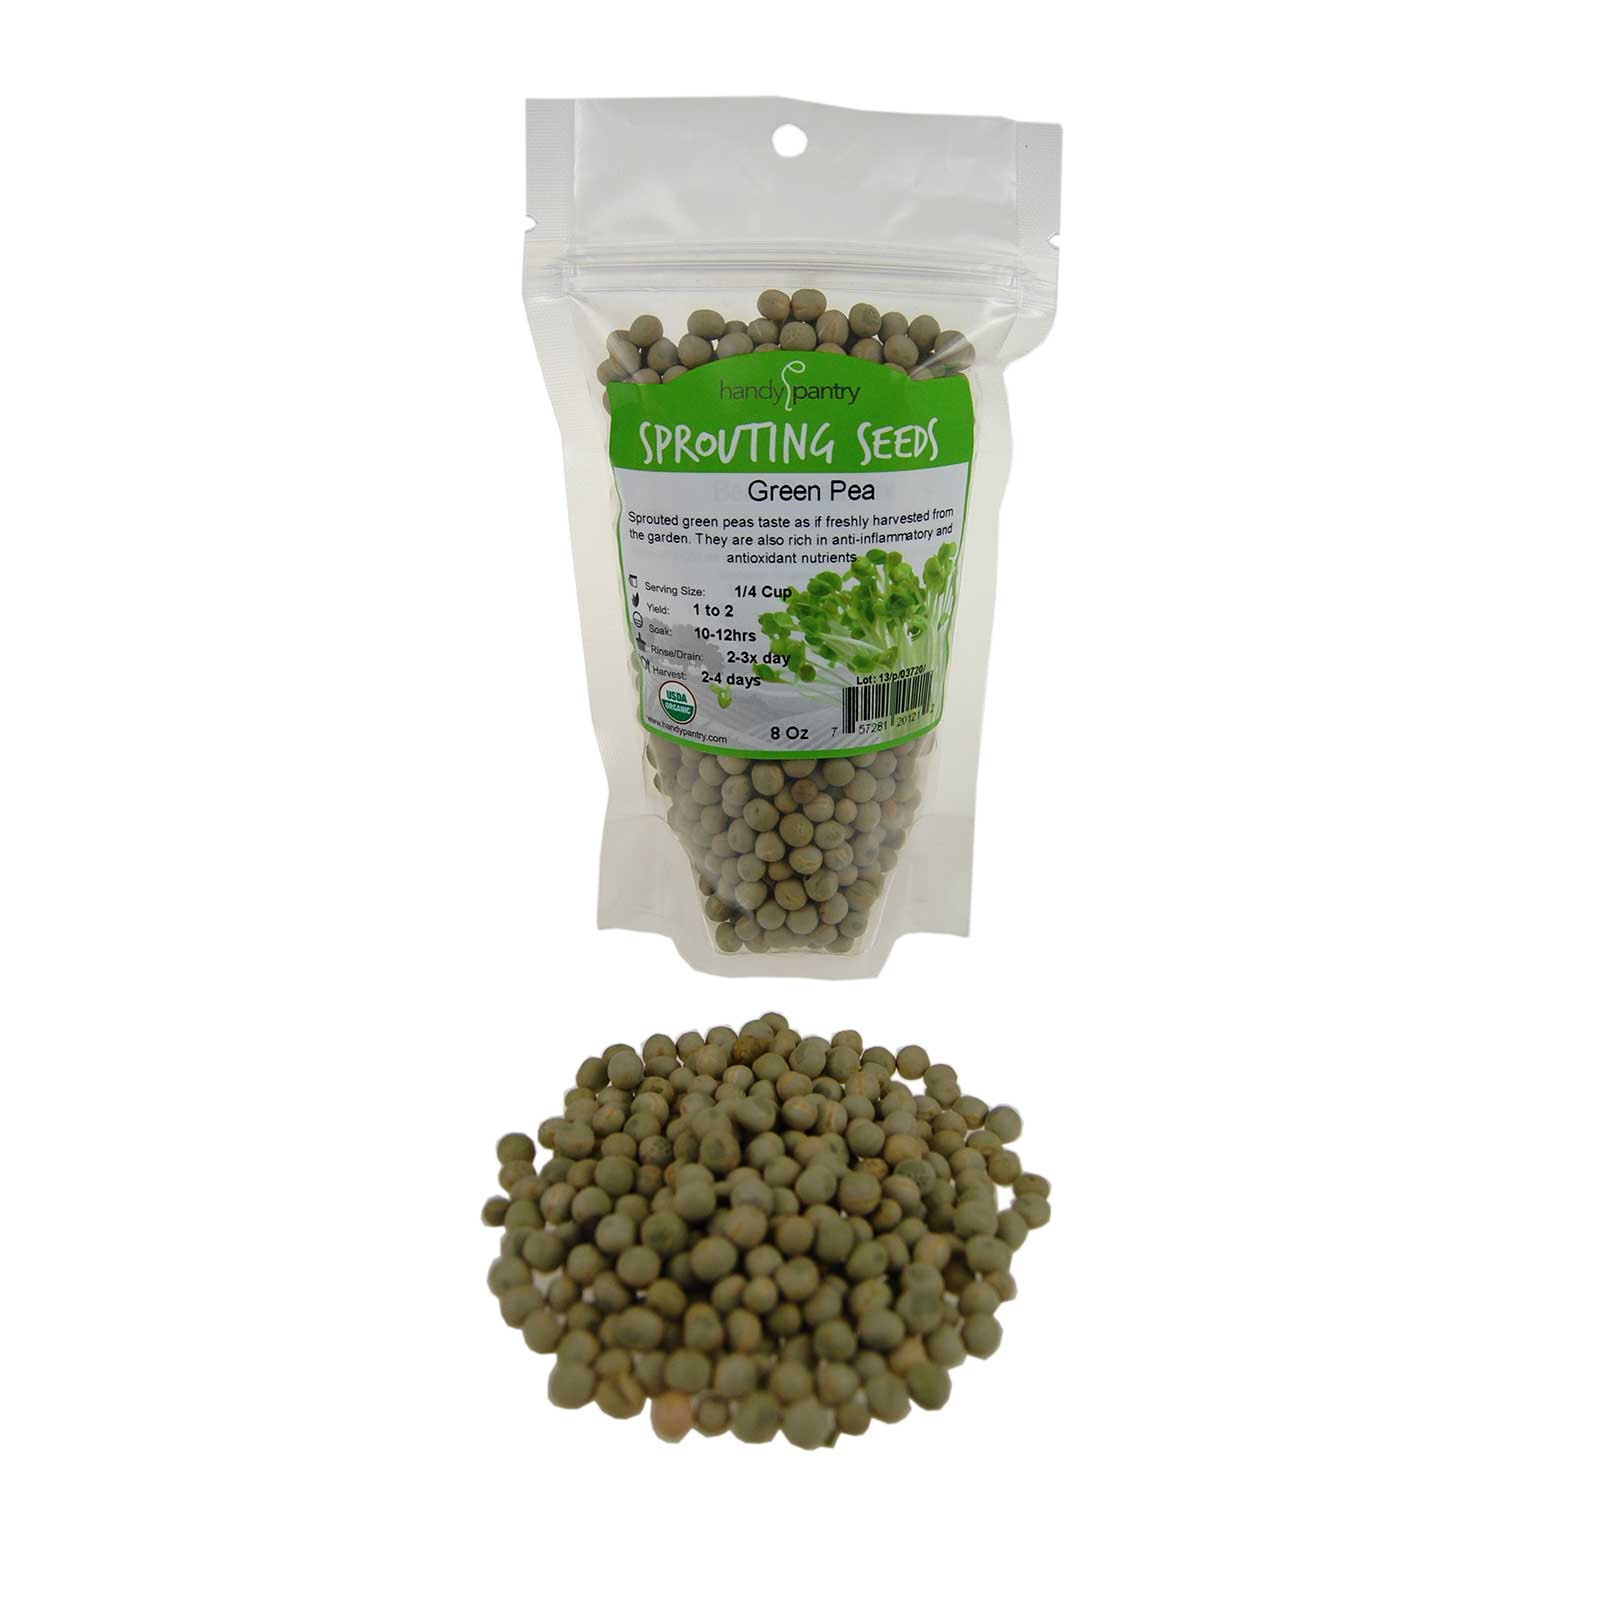
Green Pea Sprouts have a delicious crunchy mildly sweet flavor. These dried green peas… [More]
Growing pea microgreens at home is convenient because they can be grown indoors. All you need is some basic supplies like trays or containers, potting soil or growing medium, and pea seeds.
Sunflower

24 inches. Dwarf sunflower grows only about two feet tall. Has large 8 to 10 inch sin… [More]
Sunflower microgreens are one of the popular types of microgreens available and offer a range of nutritional benefits. These tiny greens pack a punch with approximately 160 calories per quarter cup, making them a nutritious addition to any meal.
They contain about 12 grams of healthy monounsaturated and polyunsaturated fats, perfect for those looking to incorporate more healthy fats into their diet. Sunflower microgreens can be enjoyed both raw or cooked and have a taste similar to sunflower seeds, providing a familiar flavor profile.
What sets these microgreens apart is their enhanced nutrition compared to seeds – they offer even more vitamins, minerals, and antioxidants when consumed in this form.
Growing sunflower microgreens is relatively quick, taking around 7 to 12 days from seed to harvest.
Amaranth
Amaranth microgreens are a popular choice among home gardeners due to their mild and earthy flavor. These nutrient-rich superfoods can be easily grown in small spaces, making them perfect for those with limited garden space.
Unlike some other microgreens, amaranth does not require soaking or rinsing during the growing process, simplifying the cultivation process. With a quick germination period of just 2-3 days, you’ll be able to enjoy these delicious greens in no time.
Harvesting is typically done around ten days after planting when the leaves are tender and vibrant.
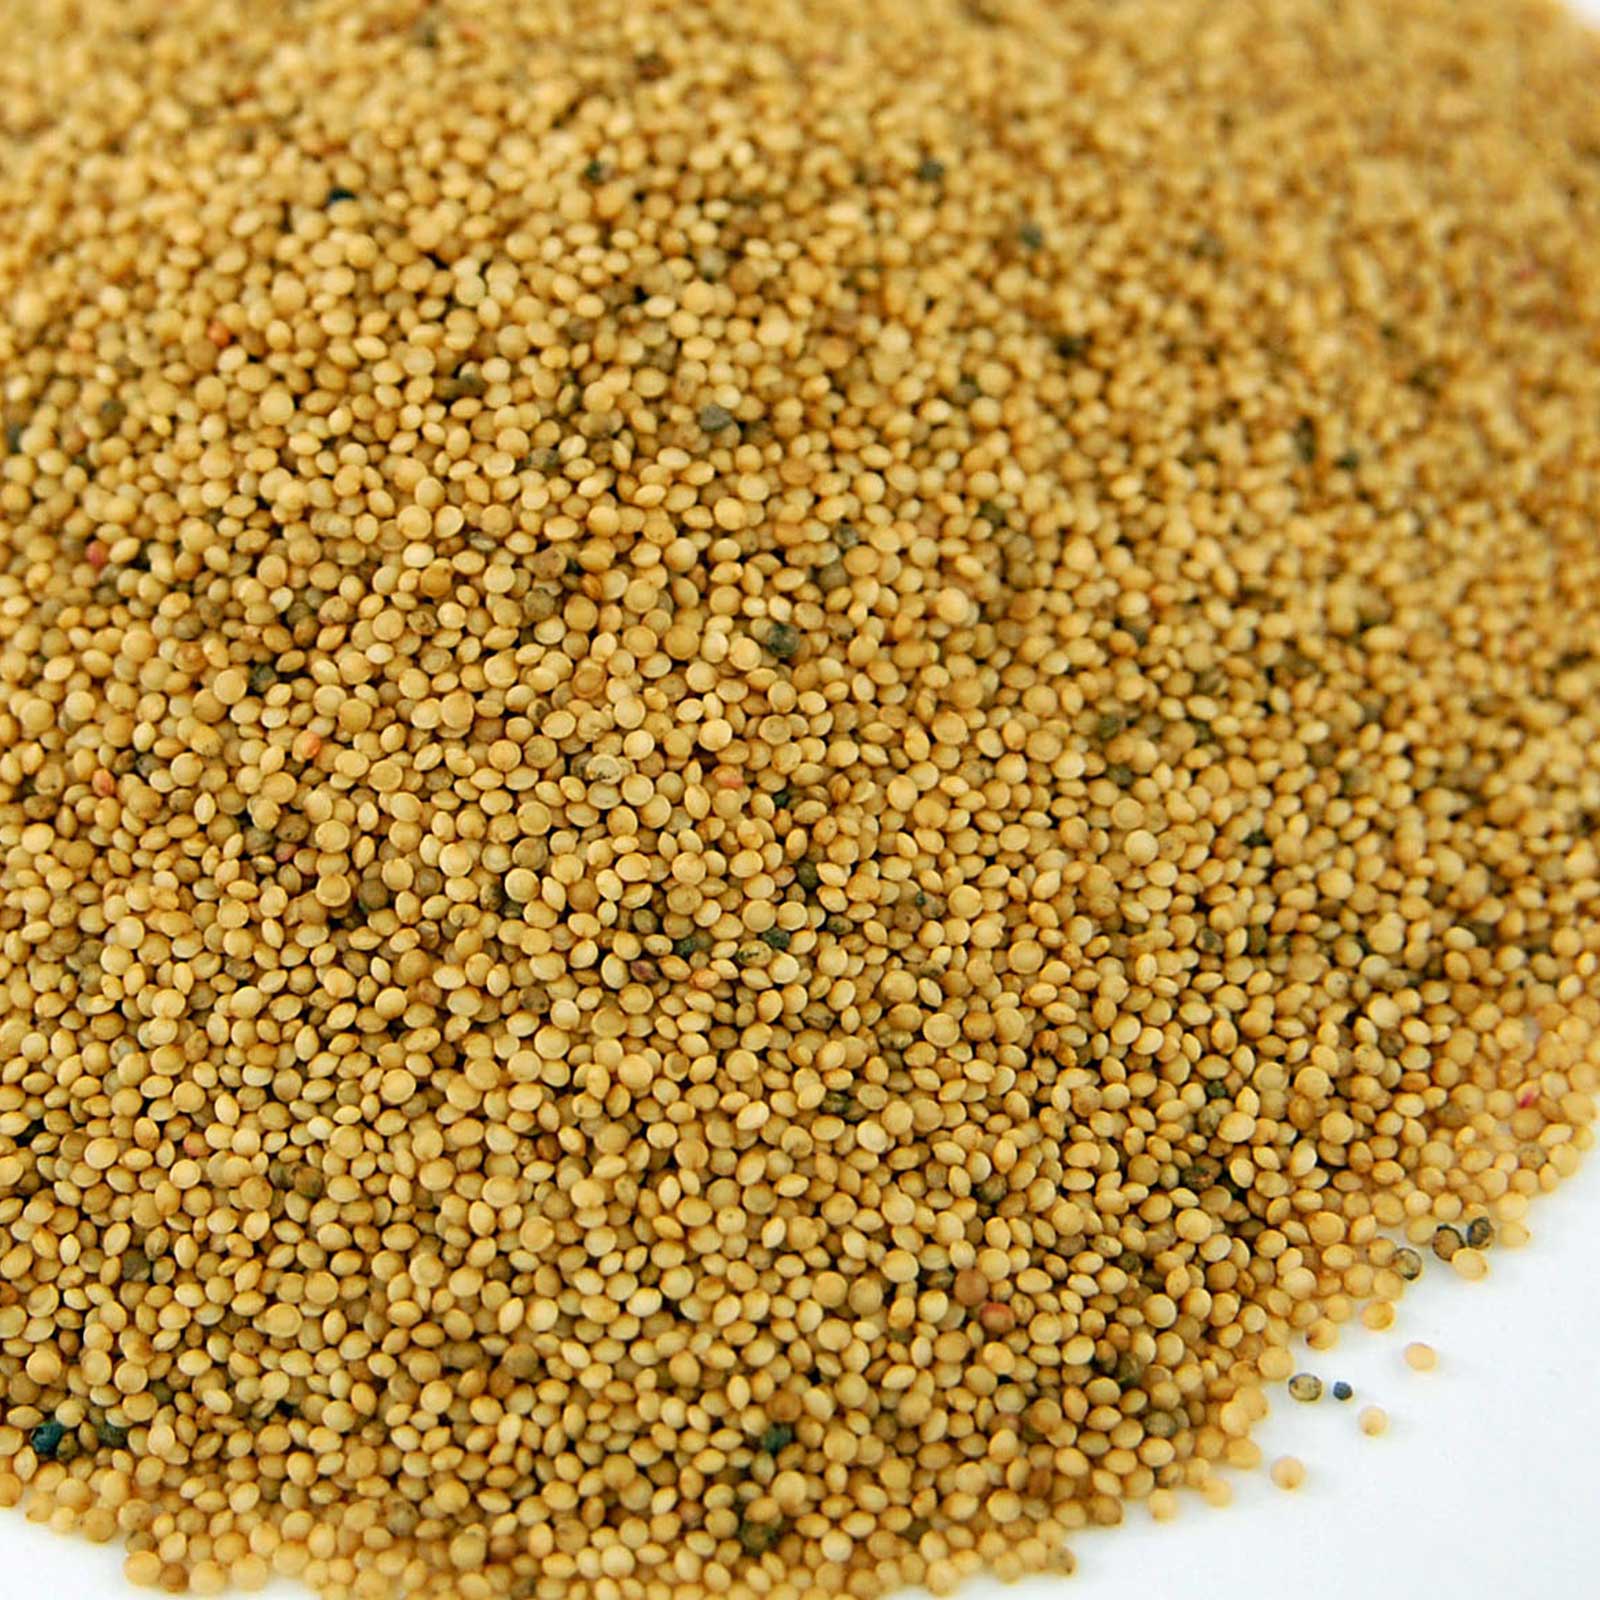
Amaranth is a pseudo grain that can be sprouted, ground into a flour, toasted, made int… [More]
Whether you’re adding them to salads, sandwiches, or as a garnish on your favorite dishes, amaranth microgreens offer numerous health benefits while enhancing the flavors of your meals.
Mustard
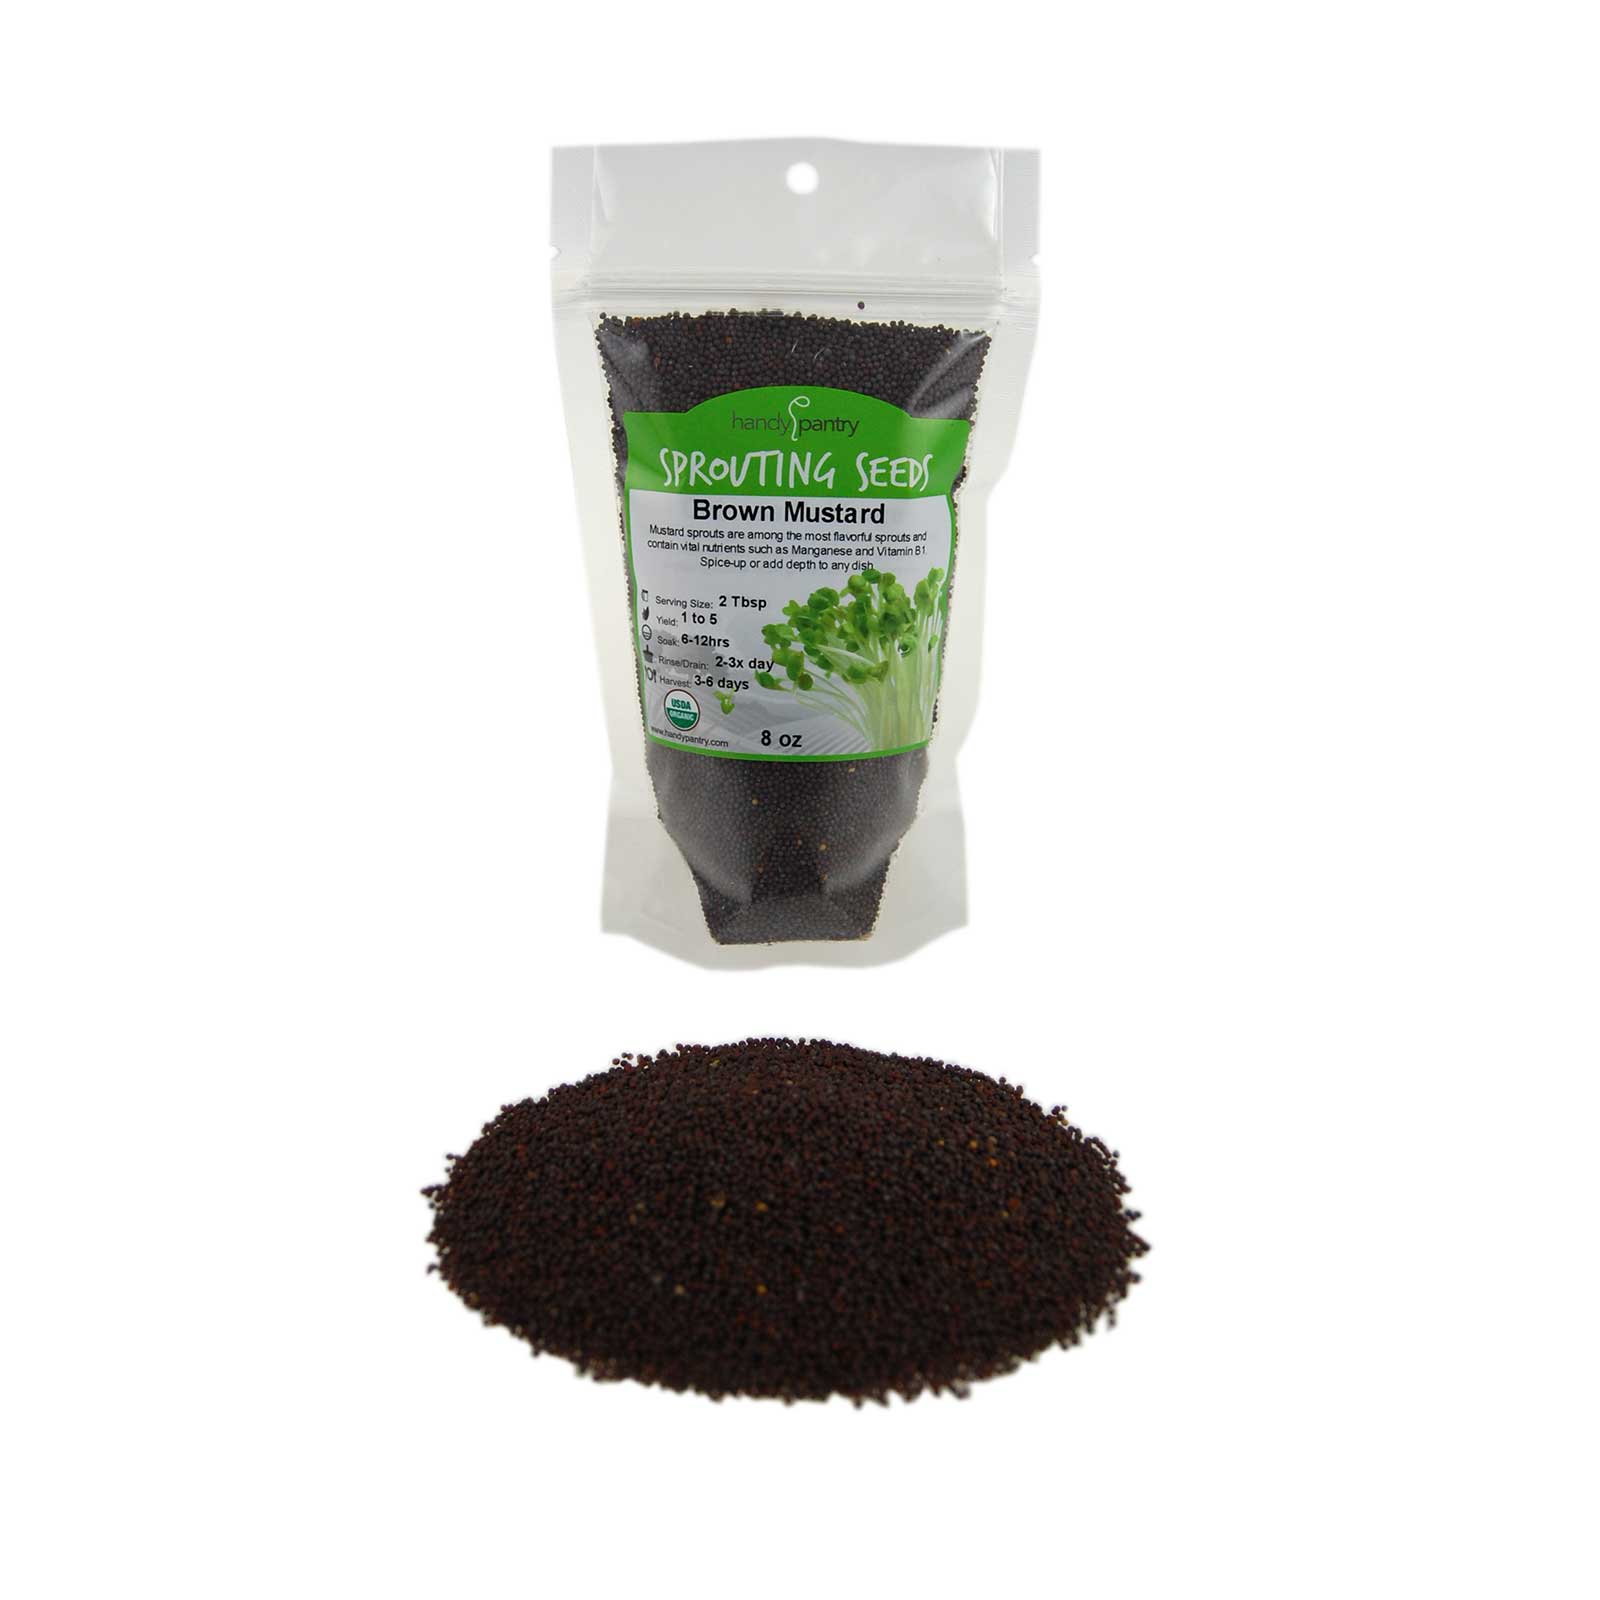
Brown mustard seeds are traditionally used to add spice to cooking. When sprouted the s… [More]
Mustard microgreens are fantastic options to grow at home due to their quick germination and fast growth. Within just 3 to 4 days, you’ll see these sprouts emerge, and in only 10 to 12 days, you can have a bountiful yield of delicious mustard microgreens! The best part is that they are packed with amazing health benefits.
Mustard microgreens are rich in vitamins A, C, E, and K, as well as fiber and antioxidants. You can easily incorporate them into your meals by sprinkling them on salads or sandwiches for an extra burst of flavor and crunch.
They also make a beautiful garnish on different dishes. So why not add some vibrant mustard microgreens to your indoor garden? It’s a rewarding experience that provides you with fresh and nutrient-rich greens all year round!
How to Grow Microgreens at Home
Growing microgreens at home is a simple and rewarding process that anyone can do, regardless of their gardening experience. From preparing the seeds to caring for your plants, our comprehensive guide covers everything you need to know to grow microgreens in your own kitchen successfully.
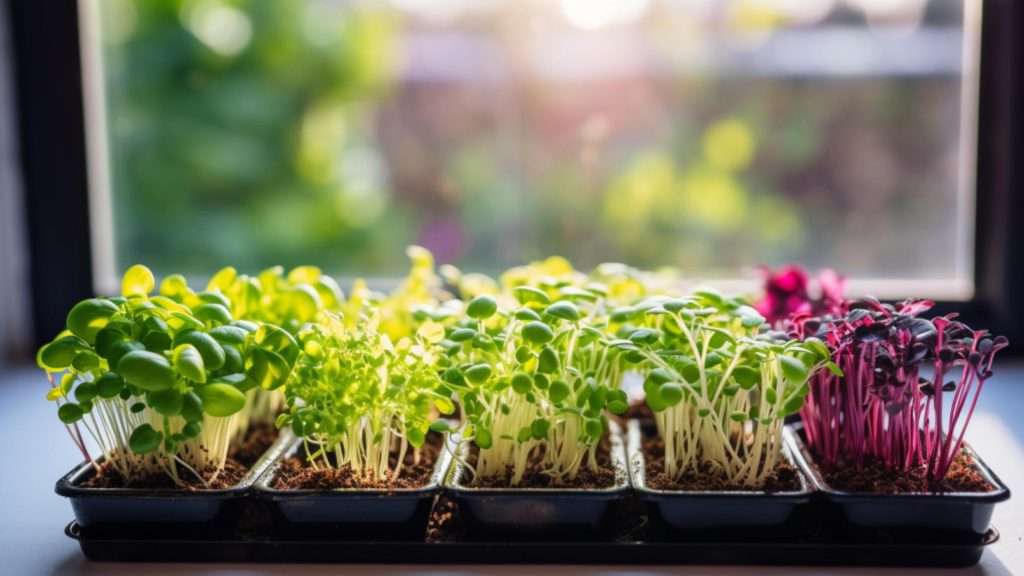
Supplies needed for growing microgreens indoors
To grow microgreens indoors, you’ll need a few basic supplies that are easily accessible to beginners. First, you’ll need containers to hold the soil and seeds for germination. These can be trays, shallow pots, or even repurposed items like plastic clamshell containers from the grocery store.
Next, you’ll need soil to provide the necessary nutrients for the microgreen plants to flourish. There are special mixes available specifically for growing microgreens, or you can use potting soil mixed with compost or vermiculite.
Germinated seeds are crucial for starting the microgreen growing process. You can purchase pre-germinated seed mats or simply sow your own seeds and cover them lightly with more soil.
Preparing the seeds and planting microgreens
To start growing microgreens at home, you’ll need to prepare the seeds and get them ready for planting. First, gather your supplies, which may include trays or containers, seed starting mix or potting soil, a spray bottle for watering, and of course, your microgreen seeds.
Make sure your trays are clean and sterilized before use.
Next, it’s time to plant the microgreen seeds. If using soil or a similar medium like peat moss, spread a thin layer of it evenly in the tray. Then scatter the seeds over the surface rather than burying them deep in the soil like traditional planting techniques.
Press gently on top of the seeds to ensure good contact with the soil.
Once planted, mist water onto the tray with a spray bottle to moisten the soil without disturbing or displacing the seeds. Avoid overwatering, as excessive moisture can lead to mold growth.
Care and maintenance of microgreens
Taking care of microgreens is an essential part of successfully growing them at home. It’s important to provide the right conditions and attention to ensure their healthy growth. First, make sure you have a well-draining growing medium for your microgreens, such as peat moss or coconut coir.
This will prevent waterlogged roots and root rot. Keep the soil consistently moist but not overly wet by misting them with a spray bottle regularly.
Lighting is crucial for microgreen growth, as they require adequate sunlight or artificial light. Place them in a bright area where they can receive 12-16 hours of light per day. If using artificial lights, position them about 2-6 inches above the plants for optimal growth.
As your microgreens grow, it’s important to monitor their moisture levels and avoid overwatering. Check the top layer of soil regularly and only water when it feels dry to the touch.
Proper ventilation is also important for preventing mold or fungal issues that can arise from high humidity levels. Ensure there is sufficient airflow around your growing trays or pots by placing them in a well-ventilated area or using a fan if necessary.
Watering and lighting requirements
When it comes to growing microgreens at home, proper watering and lighting are key to success. Adequate irrigation and illumination are critical components that can make or break your microgreen garden.
Ensuring your sprouting seeds receive the right amount of water and ample bright light is essential for healthy growth.
To provide optimal lighting for your microgreens, consider using a grow light. This artificial light source can mimic natural sunlight, providing the necessary brightness for successful sprouting.
Whether you’re using fluorescent lights or LED panels, make sure they emit enough lumens to support plant growth.
As for watering, it’s important to start once the first seeds begin to sprout. During this stage, the young plants need moisture to thrive. Be careful not to overwater them, as excess moisture can lead to mold or rotting.
A general rule of thumb is to keep the soil slightly damp but not soaked.
Harvesting and Using Microgreens
Harvest microgreens when they have reached the desired size by using clean scissors to snip them just above the soil line. Use harvested microgreens immediately for maximum freshness and flavor enhancement in a variety of dishes, such as salads, sandwiches, soups, and garnishes.

When to harvest microgreens
Microgreens are ready to be harvested when they reach an optimal height of 3-6cm, usually within 7-10 days after planting. Harvesting microgreens at this stage ensures that they are young and tender, packed with maximum flavor and nutrients.
It’s important to keep in mind that different types of microgreens have varying growth rates, so it’s best to refer to specific guidelines for each variety. To harvest, simply use a pair of clean scissors and cut the stems just above the soil level.
This allows for regrowth and multiple harvests from the same tray or container. Enjoy your fresh microgreens in salads, sandwiches, smoothies, or as vibrant garnishes!
Proper harvesting techniques
When it comes to harvesting microgreens, it’s important to use proper techniques to ensure you get the most out of your harvest. One key tip is to harvest the greens right before you plan on cooking with them.
This ensures maximum freshness and flavor. To clean your microgreens, simply submerge them in cold water and gently swish them around to remove any dirt or debris. You can then pat them dry or use a salad spinner for quicker drying.
Harvesting at the seedling stage provides numerous benefits, as the greens are more tender and have a milder taste. To make harvesting easier, you can pick up the mats by hand and use an electric knife or trimmer to cut them at the soil level.
Ideas for using microgreens in meals
One of the best things about microgreens is their versatility in the kitchen. These tiny greens can add a burst of flavor and color to any meal, making them a favorite ingredient among food enthusiasts.
Whether you’re into smoothies, salads, or pasta dishes, microgreens can be used in a variety of delicious ways.
For breakfast, try adding a handful of microgreens to your morning smoothie for an extra nutrient boost. Their fresh and vibrant taste pairs perfectly with fruits like berries or mangoes.
If you prefer savory options, sprinkle some microgreens on top of your omelet or avocado toast for added texture and flavor.
When it comes to lunchtime salads, microgreens make a fantastic addition. Toss them with mixed greens for added depth, or use them as a garnish on top of soups or sandwiches. They provide a delightful crunch and bring out the flavors in your dish.
Tips for Growing Different Microgreen Varieties
Discover expert tips and techniques to successfully grow a variety of microgreens at home. From pre-soaking seeds to understanding difficulty levels, this section will provide you with the knowledge you need for successful cultivation.
Explore the unique flavors and benefits of different microgreen varieties and unlock your green thumb potential! Ready to dive in? Let’s get started!
Difficulty levels of growing different microgreens
Growing microgreens can be a rewarding and fulfilling experience, but it’s important to understand that not all microgreens are created equal when it comes to difficulty levels. Some varieties are easier to grow than others, making them ideal choices for beginners.
For example, broccoli and mesclun microgreens are relatively simple to cultivate with minimal care requirements. On the other hand, more challenging varieties such as amaranth and mustard may require additional attention and expertise.
By understanding the different difficulty levels of growing various microgreens, you can choose the right ones for your skill level and ensure a successful harvest. Remember, experimentation is key to finding what works best for you!
Pre-soaking seeds: which ones to soak and which ones not to
Soaking microgreen seeds before planting can greatly improve their germination rates and overall success. While not all microgreen seeds require soaking, many popular varieties benefit from this practice.
Soaking helps with seed dormancy and softens the protective shell, making it easier for them to sprout. Some seeds that should be soaked include pea shoots and sunflower seeds, which need to be soaked in cold water for 12 to 24 hours.
However, there are certain microgreen seed varieties that do not need to be soaked. It’s always a good idea to consult specific instructions for each type of seed you’re working with.
Benefits of Growing Microgreens
Growing microgreens offers a range of benefits, from enhancing the freshness and flavor of your meals to providing a high nutrient content. Discover the multitude of advantages and start growing your own microgreens today!

Freshness and flavor enhancement
Growing your own microgreens at home not only provides you with a fresh and sustainable source of ingredients but also enhances the flavor of your dishes. These tiny leafy greens offer an intense taste that can add depth and complexity to any culinary creation.
With a variety of flavors, from peppery arugula to earthy beetroot, microgreens provide a burst of freshness that elevates your meals to a whole new level. Not only do they pack a flavorful punch, but they also offer a nutritional boost, packed with vitamins, minerals, and antioxidants.
So why settle for store-bought when you can experience the vibrant freshness and flavor enhancement of homegrown microgreens?
High nutrient content
Microgreens are small, young plants that pack a powerful nutritional punch. They are loaded with essential vitamins, minerals, and antioxidants that can benefit your overall health and well-being.
These nutrient-rich greens are concentrated sources of goodness, providing you with digestive support, concentrated vitamins, essential minerals, and even oxidative stress prevention.
In fact, research has shown that microgreens contain higher amounts of minerals like phosphorus, potassium, magnesium, manganese, and zinc compared to their fully mature counterparts.
Sustainable and cost-effective
One of the key benefits of growing microgreens is that it offers a sustainable and cost-effective way to enjoy fresh, nutrient-dense greens. Unlike large industrial farms that often use pesticides and chemicals, microgreens can be grown using organic farming or sustainable farming practices.
By cultivating these mini vegetables at home through indoor gardening or hydroponics, you can have a steady supply of delicious and nutritious greens without relying on store-bought produce.
Microgreens are not only good for your health but also promote green living by reducing the need for transportation and packaging. Plus, since they grow quickly year-round, you can save money by avoiding high prices at grocery stores and enjoy the satisfaction of homegrown vegetables right at your fingertips.
Common Questions About Growing Microgreens
Do microgreens regrow after cutting?
After cutting, most microgreens do not regrow. The seed of a plant typically contains enough nutrients for just one growth cycle, which means that once the microgreens are harvested, they can’t regrow from the same set of seeds.
However, there is an exception to this rule – pea microgreens have the ability to regrow after being cut. So while most microgreens won’t regrow, you can enjoy multiple crops from a single set of pea microgreen seeds.
Keep in mind that broccoli microgreens don’t regrow after cutting, so it’s important to plan accordingly when growing different types of microgreens at home.
Are microgreens worth growing?
Microgreens are absolutely worth growing! These tiny greens may be small in size, but they pack a powerful nutritional punch. In fact, microgreens have been found to contain higher levels of vitamins and minerals compared to their mature counterparts.
Not only are they packed with nutrients, but they also offer incredible flavor and freshness that can elevate any dish. Plus, growing microgreens is a quick and easy process that can be done indoors all year round.
Whether you’re looking to enhance the nutrition of your meals or even make a profit by selling them, microgreens are definitely worth considering. So why not give it a try and enjoy the benefits of these vibrant and delicious greens?
How long do microgreen plants last?
Microgreen plants typically last for about 2 to 3 weeks from the time they are sown until they are ready to be harvested. These tiny greens have a quick growing cycle, with germination occurring in just a few days and harvest happening within 8 to 21 days.
It’s fascinating how you can watch these vibrant shoots grow and thrive in such a short span of time. Whether you’re growing amaranth, broccoli, radish, or any other type of microgreens, you’ll be able to enjoy their fresh flavors and nutrient-packed goodness in no time at all.
So get your seedling trays ready and embark on this exciting journey of cultivating your own delightful microgreens!
Final Thoughts
Microgreens offer a simple yet nutritious addition to your meals. With their vibrant flavors and abundant health benefits, growing and enjoying microgreens is a rewarding experience.
Whether you’re a beginner or an experienced gardener, this definitive guide provides all the information you need to start cultivating your own mini garden of deliciousness. So why wait? Dive into the world of microgreens and elevate your culinary creations today!
Frequently Asked Questions About Types of Microgreens

Cal Hewitt is the Founder and Lead Cultivator at Microgreens Guru, a website dedicated to empowering individuals to grow, consume, and potentially sell nutrient-dense microgreens. With 5 years of hands-on experience in microgreens cultivation, Cal brings a unique analytical perspective to the world of urban agriculture. He specializes in optimizing growth techniques for various microgreen varieties, while also focusing on sustainable and cost-effective growing methods. Cal’s passion for microgreens, ignited by a personal health journey, drives him to continuously explore and share innovative approaches to microgreens cultivation. His practical experience, combined with his commitment to education through his website and upcoming book, ensures that Microgreens Guru remains a valuable resource for both novice and experienced growers alike.


