AeroGarden Seed Starting System: Which Size Fits Your Garden
Cal HewittPublished Checked
- equipment
- aerogarden
- pod gardens
- growing
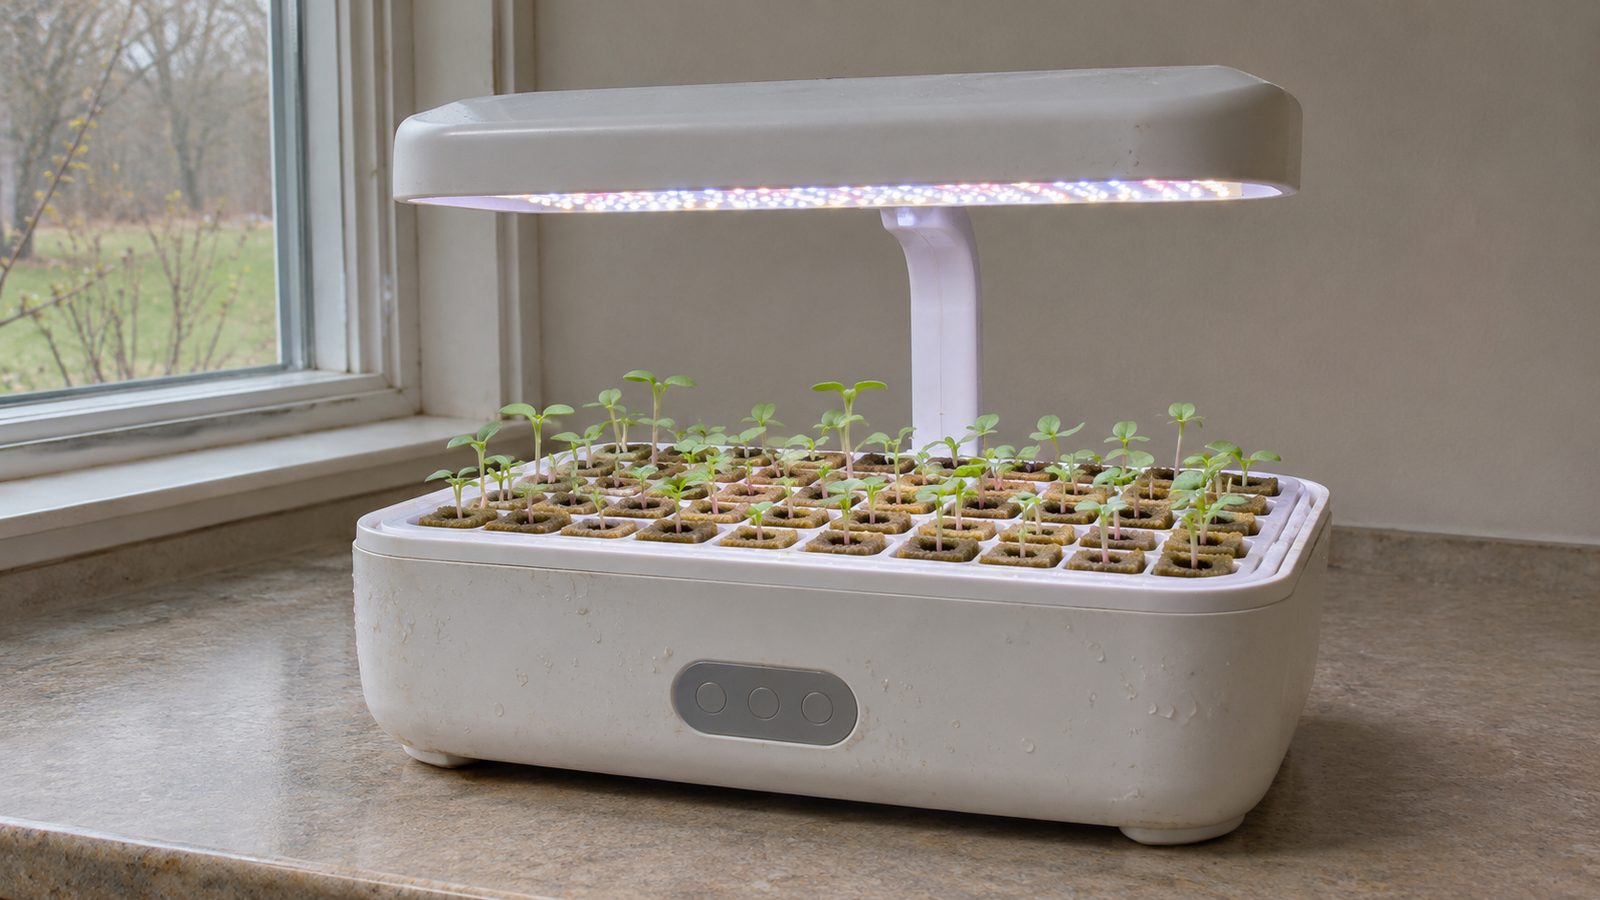
If you own an AeroGarden and want seedlings for the garden outdoors, the seed starting tray is made for that, and each of its four versions fits one family of gardens. The Sprout tray holds 15 cells, the Harvest tray 23, the 2019 Bounty tray 50 and the Farm tray 85.
Read the label on your garden first, then match it to the tray. Price and stock change from one listing to the next, so read the current listing for your tray before you order.
The rest of the work is timing and the move. Each crop has its own start date counted back from your last frost, and the seedlings need about a week of gradual outdoor time before they go into the ground.
Which tray fits which AeroGarden
The tray swaps in for the normal grow deck, so it has to match the garden's layout. AeroGarden's seed starting reference guide lists a layout for each family, and the AeroGarden FAQ names some of the gardens, including the 2020 Sprout and the Farm 24 Ultra and Extra.
Hover or tap a row to highlight it.
| Tray | Cells | Fits | Where the fit is stated |
|---|---|---|---|
| Sprout Seed Starting System | 15 | Sprout-family gardens, including the 2020 Sprout | AeroGarden FAQ and reference guide |
| Harvest Seed Starting System | 23 | All AeroGarden Harvest gardens; the guide lists Harvest, Harvest 360 and Harvest Slim | ScottsMiracle-Gro product page and reference guide |
| Seed Starting System for 2019 Bounty models | 50 | All Bounty models, per the guide; the retailer listing names the 2019 Bounty version | Reference guide and Lowe's listing |
| Farm Seed Starting System | 85 | All AeroGarden Farm models; the FAQ names the Farm 24 Ultra and Extra | Reference guide and AeroGarden FAQ |
A few notes on reading that table. The Harvest page lists a reusable tray, 23 sponges, 3 fl. oz. of plant food and a guide. The Bounty tray in the table is the 2019 version; the Lowe's listing for it said the item was no longer sold when read on November 13, 2026, so check the current listing for the tray that matches your Bounty. When a listing uses model-year wording, match it to your garden label word for word, and confirm compatibility with the seller before you pay.
If you are still deciding which garden to own, the AeroGarden cost post covers prices across the range, the Bounty review and the Farm review cover those two families, and what an AeroGarden is covers the basics. Whether the maker is still selling is covered in is AeroGarden still in business.
What the tray does and how to set it up
With the tray installed, your garden's light and water bowl become a small nursery. The manufacturer's reference guide gives these steps:
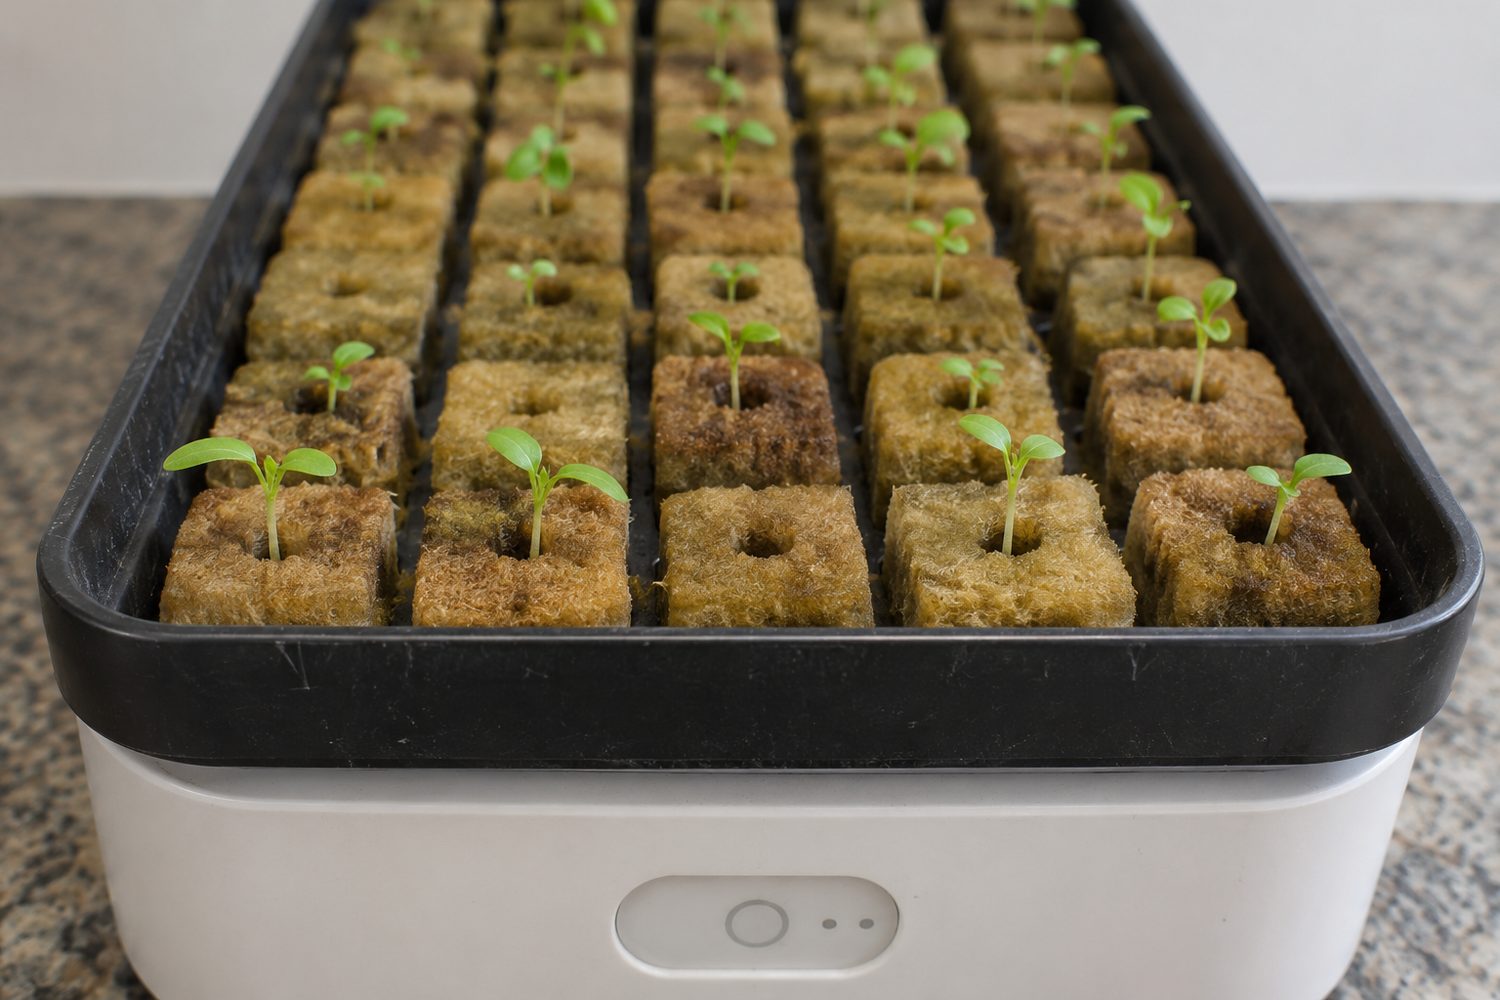
- Remove and store the normal grow deck. On a Farm, remove and store the pump nozzle too.
- Insert the seed-starting tray and the grow sponges.
- Fill the reservoir to the "Fill to Here" line.
- Soak the sponges in water for 24 hours before seeding, for best results.
- Put seeds into the sponge openings with your fingertips or tweezers. For a larger seed, cut a half-inch opening and set in one or two seeds.
- Use half the plant food amount listed on the package at startup and every two weeks.
- Keep the lights 4 to 6 inches above the seedlings, and add water as needed.
The sponges are biodegradable and hold the seedling's roots, which matters later. The guide says, "Sponges are biodegradable. They can go directly into soil." If you want to sow your own seed instead of a packaged kit, using your own seeds in an AeroGarden covers that side.
When to start each crop
Start dates come from your last frost date and the crop, not from the tray. Extension services give these figures for starting seed indoors:
Hover or tap a row to highlight it.
| Crop | Extension figure | Who says it |
|---|---|---|
| Tomatoes | 7 weeks before the last frost | Purdue Extension |
| Tomatoes | About 6 to 8 weeks before transplanting | Rutgers Extension |
| Peppers | 7 weeks before the last frost | Purdue Extension |
| Peppers | 8 to 10 weeks before transplanting | Rutgers Extension |
| Basil | 4 to 6 weeks before the last frost | Herb Society of America |
| Basil | 4 to 6 weeks before the earliest safe planting date | University of Kentucky |
| Head lettuce | 10 weeks before the last frost | Purdue Extension |
| Lettuce | 5 to 6 weeks before transplanting | Rutgers Extension |
| Squash | 4 weeks before the last frost | Purdue Extension |
| Squash | 2 to 3 weeks before planting | Rutgers Extension |
The figures come from Purdue Extension's seed starting publication, Rutgers Cooperative Extension, the Herb Society of America's basil guide and the University of Kentucky basil publication. Rutgers counts back from transplanting, and Purdue counts back from the last frost. The lettuce numbers differ the most, and the difference reflects crop type and regional scheduling.
Squash is the one to hold back. It grows quickly and dislikes having its roots disturbed, so it generally should not be started much earlier than the figures above.
AeroGarden's own guidance sits beside these figures rather than in place of them. The reference guide says seedlings may be ready in about four weeks or sooner, and it suggests backing up about one month from your outdoor planting date for warm-season crops. For tomatoes and peppers, that is shorter than the extension figures. The AeroGarden FAQ also describes a container step, covered under the pot-up heading below.
How big before they come out
Size matters here, and the manufacturer gives two numbers. The reference guide says "4-6 inches tall is big enough," and adds, "Don't let the seedlings get too big before transplanting." The current Harvest product page sets a smaller target of 2 to 3 inches with a strong root system.
Alabama Cooperative Extension's guidance on transplant production for hydroponic and greenhouse seedlings points the same direction as the guide. Oversized seedlings lose more roots when they are lifted and show more shock. For lettuce, it recommends moving at about two weeks, with two to three true leaves. That is general transplant-production advice, not an AeroGarden test, but it points the same way as the guide's warning not to let seedlings get too big.
Moving seedlings into soil
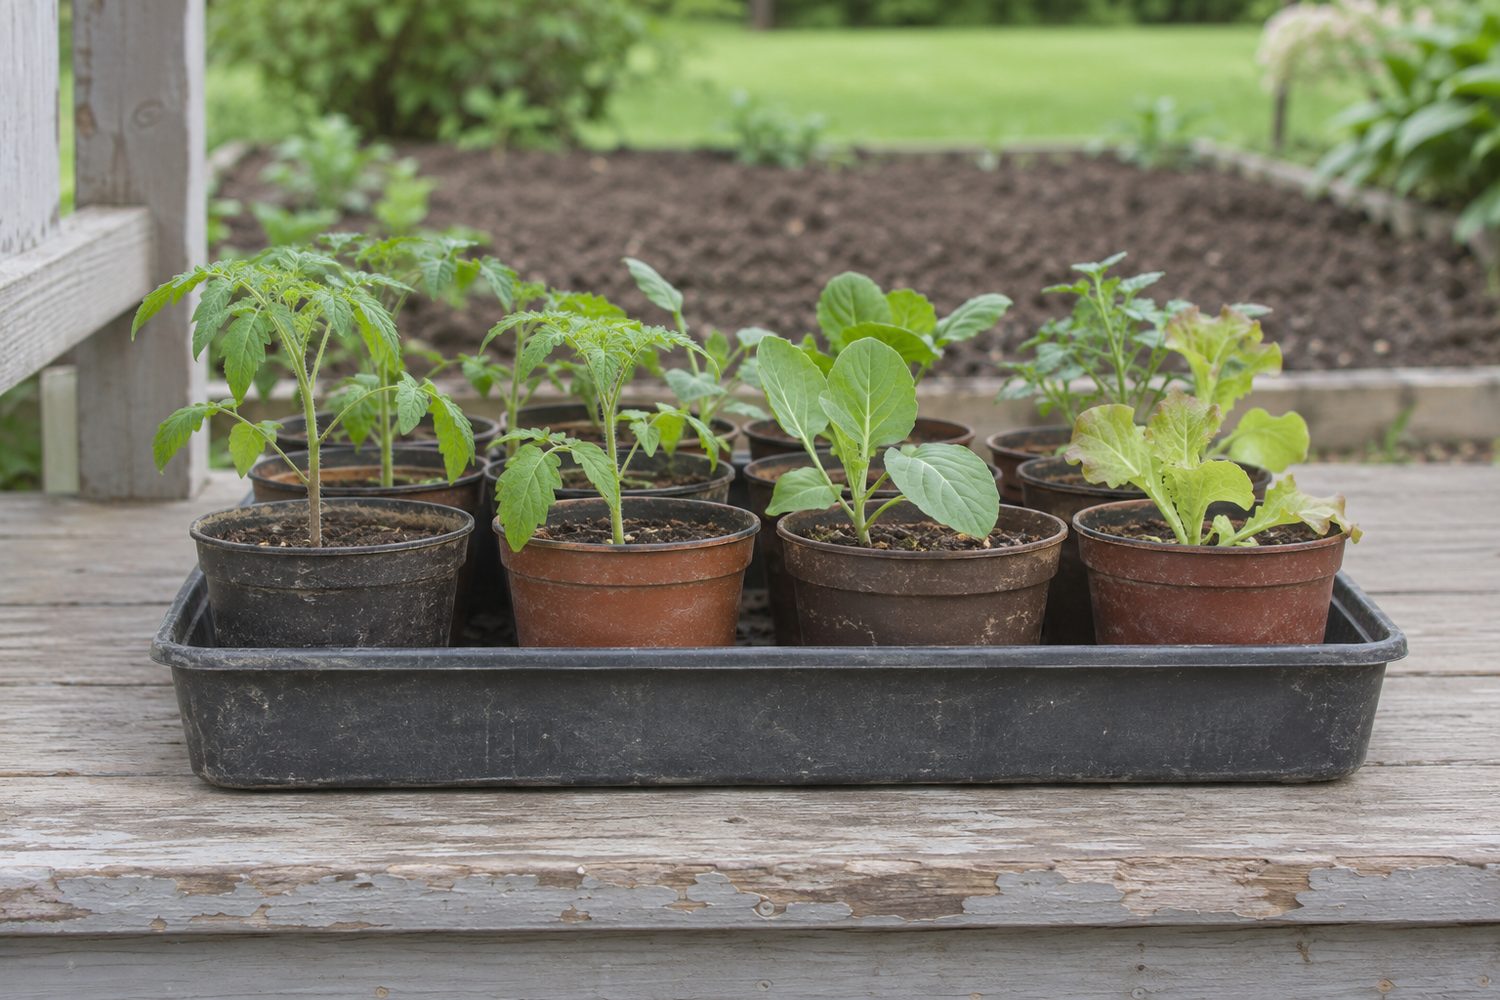
AeroGarden recommends keeping the sponge attached. ScottsMiracle-Gro's outdoor transplanting instructions say to take out the plant with its roots and grow sponge, set it in a prepared hole, and fill in around the roots and lower stem.
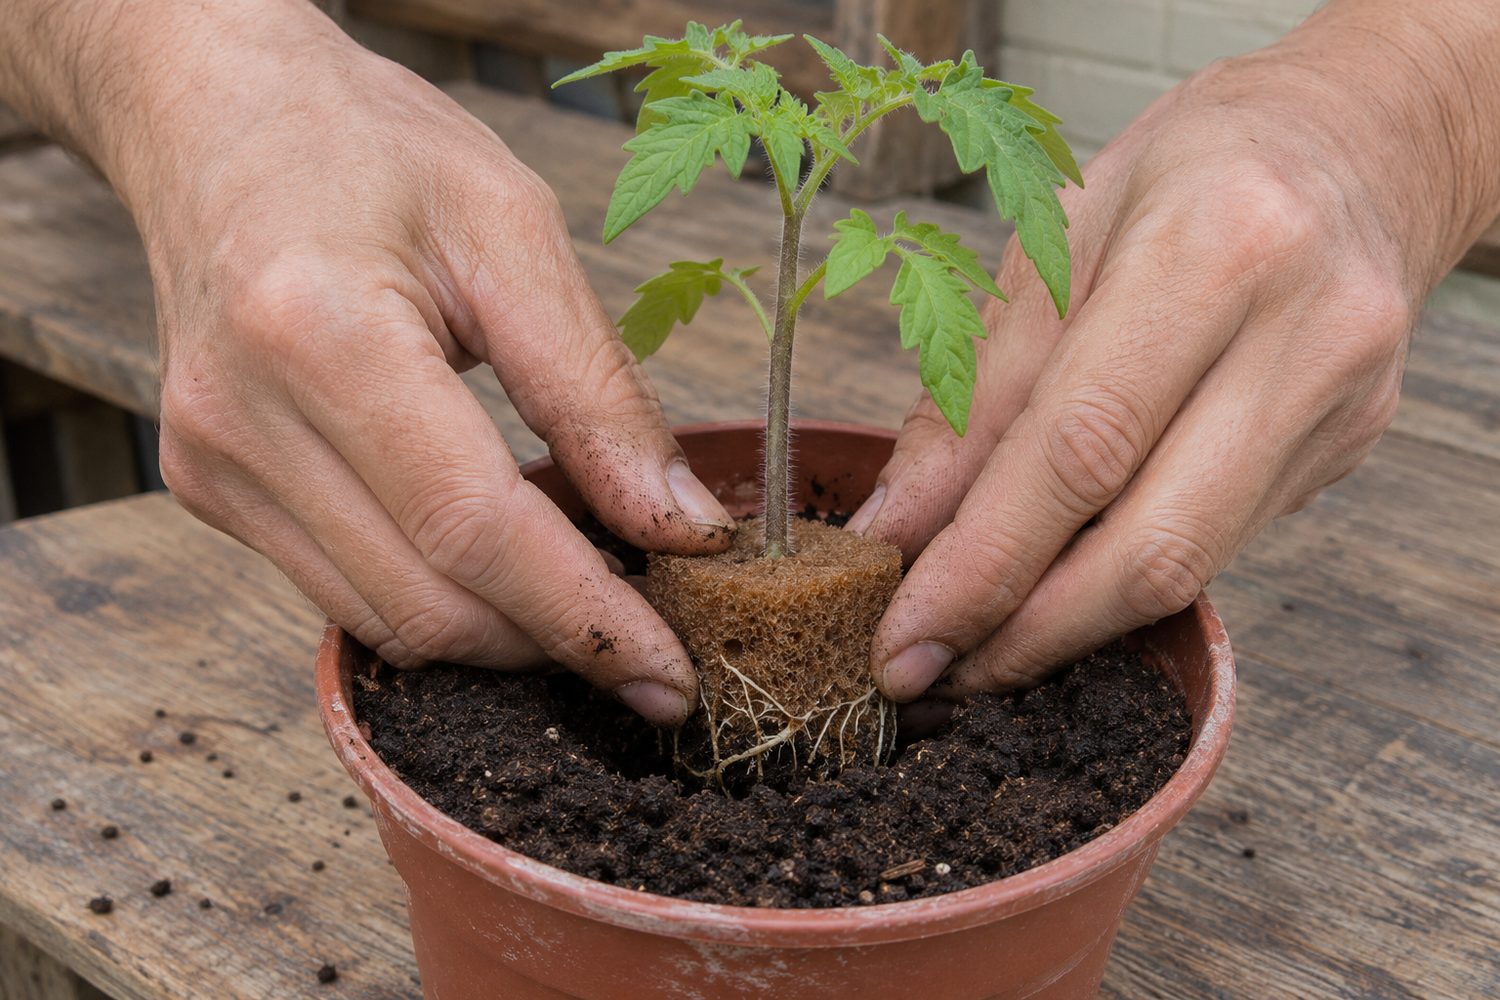
The reference guide then covers the timing and hardening:
- Transplant on a cool, dry day.
- Harden the seedlings for about one week.
- Set the bowl in a shady outdoor spot for a few hours each day.
- Add outdoor time gradually until the plants can stay out for 24 hours without wilting.
- Bring the bowl inside in bad weather or when it drops below 45°F.
- Water the transplanted seedlings every day for the first two weeks, especially in a dry, sunny climate.
Rutgers Extension agrees on the general idea of hardening for a week in a spot protected from wind, with progressively more sun, and it suggests transplanting on a cloudy day and watering right away. Rutgers also mentions reducing watering while hardening. After planting, the manufacturer's instruction is daily watering for two weeks, so keep the soil evenly moist through the first transition.
If you need to pot up first
The AeroGarden FAQ describes a container step for moving a plant from the garden into soil. Moisten potting soil, take the plant out of the garden, and cut the plastic basket lengthwise to free the pod and roots. Put the roots into a 4-inch peat pot and fill around the roots and pod. Then keep the plant in a well-lit spot out of direct sun for seven days with evenly moist soil, before building up light and starting outdoor hardening at one hour a day, increasing gradually.
One Lowe's reviewer on the Bounty tray described a version of this. They got more than 90 percent germination, then moved tomatoes into 4-inch pots when cold weather delayed outdoor planting. That is one owner's experience.
What owners report
Owner results run in a wide range, and none of the reports below is a measured success rate. Treat them as examples of what can happen.
On the good side, one owner on r/aerogarden's "Seed Kits?" thread reported successful transplants of broccoli rabe, bok choy, lettuce, greens, herbs and sunflowers into cups and then raised beds. The same thread has an owner saying peppers and tomatoes did well, and that basil wilted after transplanting but recovered within a week.
On the harder side, an owner in the "When to transplant to soil" thread described excellent germination in the first two to four weeks but a soil transition that took extensive steps. They saw transplant shock and stunted growth, though the plants survived, and another commenter said transplanted plants eventually bounced back. One Lowe's reviewer reported that only 4 of 50 compartments produced healthy seedlings fit to transplant, along with algae and crowding. Another reported "100's of seedlings."
Results depend on the crop, the seedling's age and root damage, soil moisture, light and hardening. Use the table above for each crop's schedule rather than one date for the whole tray.
Your next steps
- Read the label on your garden, then match it to the Sprout, Harvest, Bounty or Farm tray.
- Read the current listing for that tray, including price and stock, and confirm compatibility with the seller before you buy.
- Look up your last frost date, then start each crop on its own schedule from the table.
- Soak the sponges for 24 hours, sow, keep the lights 4 to 6 inches above, and lift seedlings before they get too tall.
- Harden for about a week, plant on a cool, dry day with the sponge attached, and keep the soil evenly moist for the first two weeks.
Frequently asked questions
Do I have to soak the sponges first? The manufacturer's guide says to soak the grow sponges in water for 24 hours before seeding for best results. It also says to use half the plant food amount on the package at startup and every two weeks.
Can the same tray start lettuce? One owner reported moving lettuce from the tray into cups and raised beds. Lettuce is a cool-season crop and its timing differs by type. Purdue gives 10 weeks before the last frost for head lettuce, while Rutgers gives 5 to 6 weeks before transplanting, and Alabama Extension suggests moving lettuce at about two weeks with two to three true leaves.
What if my basil wilts after moving it? One owner reported that basil wilted after transplanting and recovered within a week. Keep the soil evenly moist while it settles; that is one owner's report, not a guarantee.
Should I cut the sponge off the roots? No. The manufacturer says to keep the sponge with the seedling and plant them together, since the sponges are biodegradable and can go directly into soil.
Sources
Prices, stock and specifications are as the linked pages showed them on 2026-11-13.
- seed starting reference guide
- AeroGarden FAQ
- ScottsMiracle-Gro product page
- Lowe's listing
- Purdue Extension's seed starting publication
- Rutgers Cooperative Extension
- Herb Society of America's basil guide
- University of Kentucky basil publication
- guidance on transplant production
- outdoor transplanting instructions
- "Seed Kits?" thread
- "When to transplant to soil" thread
Keep reading
The journal
AeroGarden Plant Food Cost: Doses and Hydroponic Alternatives
Running low on AeroGarden plant food? Hydroponic nutrients such as FloraSeries and MaxiGro have their own rates, so check the label before you switch.
Read AeroGarden Plant Food Cost: Doses and Hydroponic AlternativesThe journal
Can You Grow Microgreens in an AeroGarden? What Owners Do
The AeroGarden MicroGreens Kit is hard to find. Learn how owners still grow microgreens in an AeroGarden with a simple tray beside the light.
Read Can You Grow Microgreens in an AeroGarden? What Owners DoThe journal
AeroGarden Herbs: Which Ones Struggle and How to Prune Them
Which AeroGarden herbs grow well, how to prune basil so slower herbs get light, when and how to cut, and how long each planting keeps producing.
Read AeroGarden Herbs: Which Ones Struggle and How to Prune ThemThe journal
AeroGarden Tomatoes, Peppers and Cucumbers: Which Model Fits
AeroGarden tomatoes call for a tall model, such as Bounty or Farm, plus some help with pollination indoors. Learn which models fit and how to shake flowers.
Read AeroGarden Tomatoes, Peppers and Cucumbers: Which Model Fits