How to Grow Sprouts at Home: Steps, Timing and Safety
Cal HewittPublished Checked
- growing
- food safety
- beginner
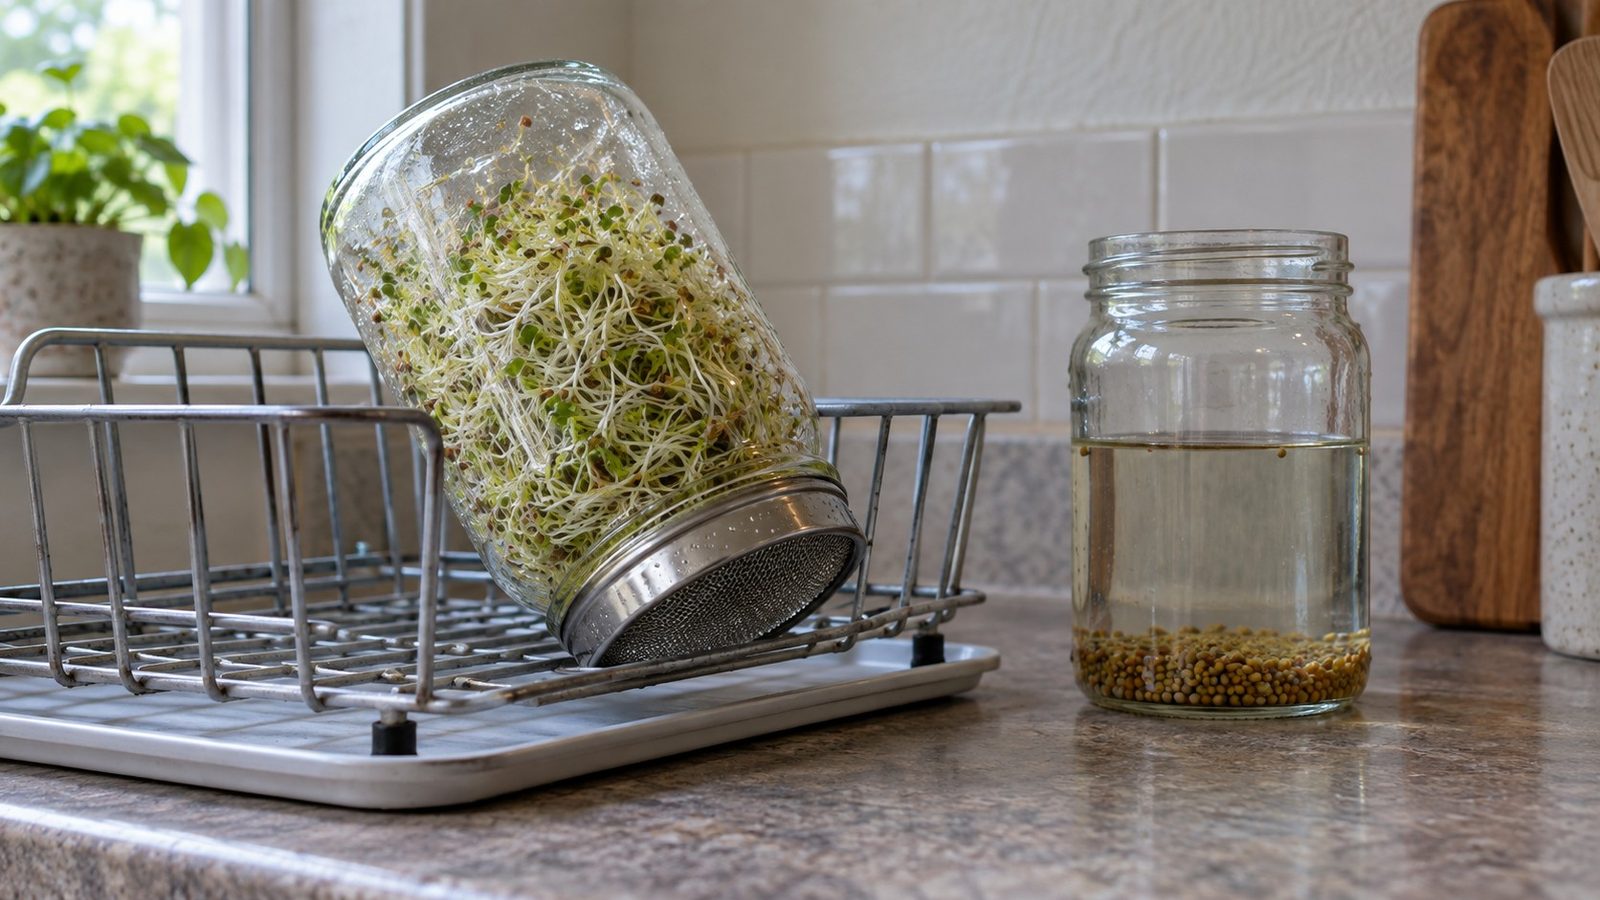
To grow sprouts at home in a jar, sanitize the jar and wash your hands, use seed sold for sprouting, skim off floating seed and debris, soak the seed 12 to 16 hours, drain it, then keep the jar in the dark at 68 to 72°F and rinse and fully drain it 2 to 4 times a day until harvest at 3 to 6 days.
That is the home routine Nebraska Extension publishes. Before you start, know who should not eat the result raw: the FDA, CDC and Health Canada advise children, older adults, pregnant people and people with weakened immunity to avoid raw or lightly cooked sprouts.
No home seed treatment makes raw sprouts safe, so cooking is the step that covers everyone at the table.
Who in your household should skip raw sprouts
Settle this before you buy seed, because it decides how the batch gets eaten. The FDA says people more vulnerable to foodborne illness should avoid raw or lightly cooked sprouts of any kind, and it names four groups: children, older adults, pregnant people and people with weakened immunity. The CDC gives the same advice and tells those groups to cook sprouts thoroughly. Health Canada lists the same groups and says to avoid eating raw or undercooked sprouts.
The reason has to do with how sprouts grow, not with how tidy your kitchen is. The FDA explains that the warm, humid conditions that germinate seed are also ideal for Salmonella, Listeria and E. coli, and that a few bacteria on or in the seed can grow to high levels during home sprouting even under sanitary conditions. Its page for pregnant people applies that directly to home-grown raw sprouts. The FDA counted 52 U.S. outbreaks from 1996 to 2020 and more than 2,700 illnesses linked to sprouts.
If anyone in those groups shares your meals, you can still grow sprouts. Plan to cook their portion until steaming hot, and keep reading for the storage and cooking steps. For how this compares with a tray of microgreens, see whether microgreens are safe to eat raw, and for the wider question of recalls and home growing, see produce recalls and growing your own.
Before the first soak: jar, hands, water and seed
Start with the jar. Kansas State and University of Missouri Extension specify plain unscented bleach at ¾ cup per gallon (3 tablespoons per quart) for at least 5 minutes, followed by a rinse with clean water. If you would rather not use bleach, boil the jar and its mesh lid or cheesecloth for 10 minutes. That bleach solution is for equipment only; it is not a seed treatment. Do this before every batch, and for the wider routine around trays, jars and surfaces, see cleaning and sanitation.
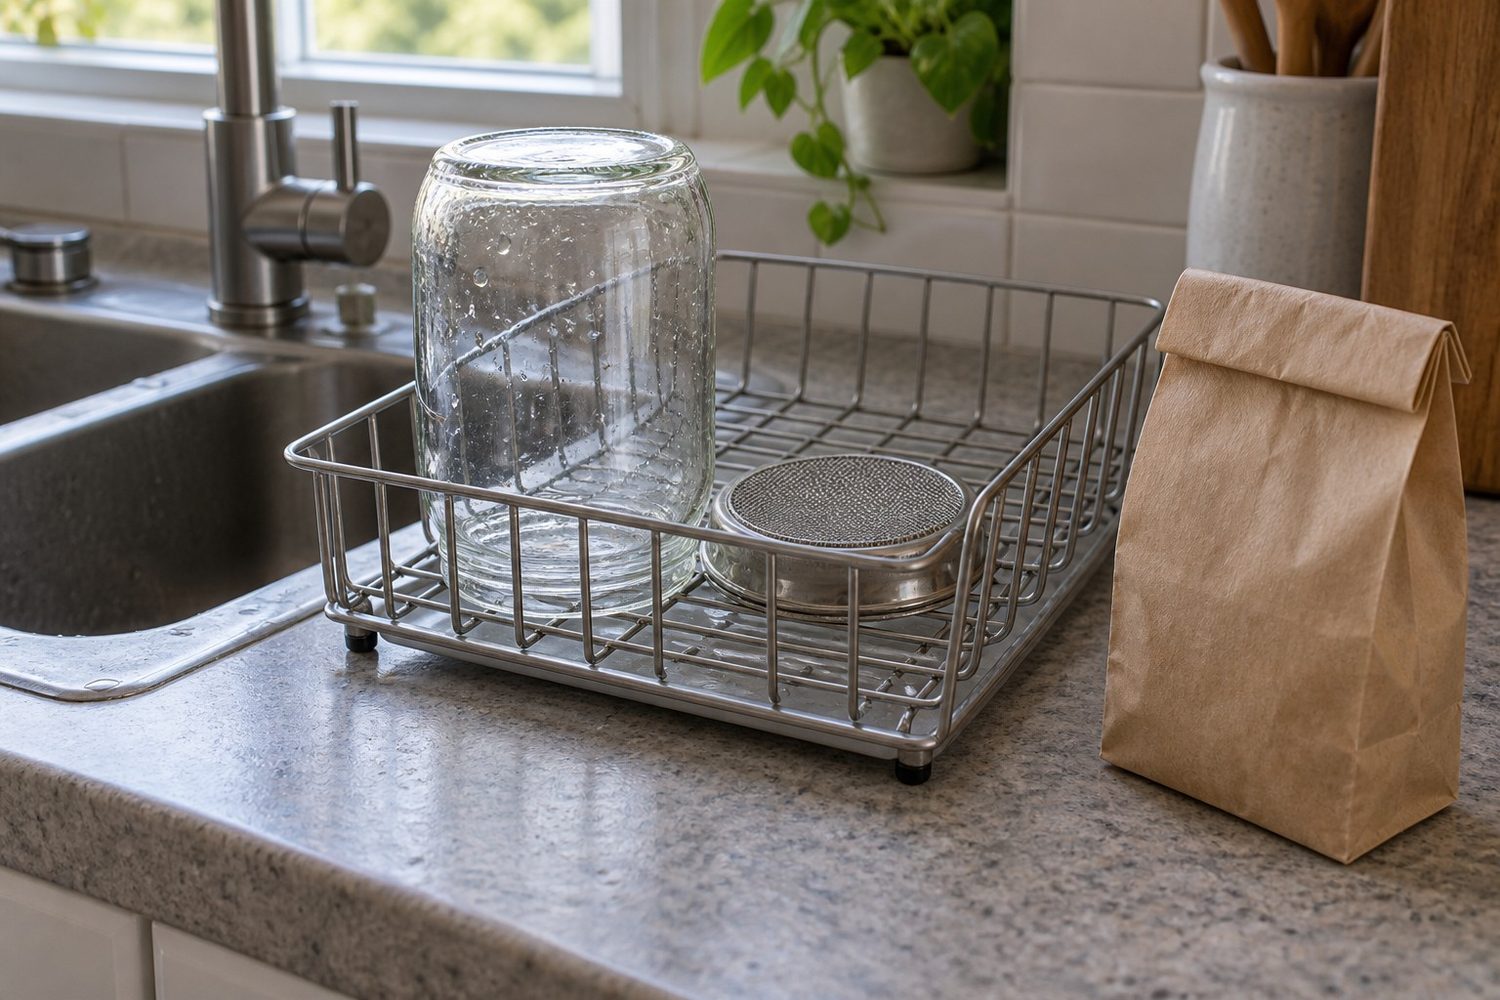
Next come your hands and counter. Virginia Tech lists washing hands before and after handling sprouts, cleaning containers and food-contact surfaces, using clean potable water, avoiding standing water, and keeping sprouts away from raw-food preparation areas and pets. The FDA adds keeping produce you eat raw away from raw meat, poultry and seafood, and washing boards, dishes, utensils and counters with soap and hot water between them. These steps cut cross-contamination, though they cannot remove bacteria already inside the seed.
If your soak and rinse water comes from a private well, get it tested. The CDC says to test at least once a year for total coliforms, nitrates, total dissolved solids and pH, using a state-certified lab. Sprouts sit in contact with that water several times a day, so do not use a source that has tested unsafe.
Then buy the right seed. Virginia Tech points out that vegetable garden seed is often pesticide-treated and advises buying sprouting seed expressly labeled for that purpose, and its sprout safety publication recommends seed pre-tested for pathogenic bacteria from a reputable commercial source. The National Pesticide Information Center is blunt that treated seed should never be eaten. A packet that simply lacks a "treated" warning is not enough to go on: Oregon State says treated seed is usually dyed but may not be.
Look for a label that says the seed is for sprouting or for food use and names the seed. A supplier that states its pathogen testing and lot information gives you more to act on than the words "organic" or "untreated." If you are still setting up a spot for jars, growing in small spaces and jars covers the setup side.
The jar method, step by step
Once the jar is clean and the seed is on the counter, the routine below follows Nebraska Extension in order.
- Sanitize and wash up. Sanitize the jar and lid as described above, wash your hands, and clear a counter away from raw meat.
- Treat the seed, if you choose to. Nebraska's routine offers two options: 5 minutes in 3% hydrogen peroxide heated to 140°F, or 15 minutes in undiluted vinegar. Either way, rinse the seed for 1 minute under running tap water afterward. Virginia Tech repeats the same peroxide method from the University of California and treats it as risk reduction. A treatment lowers the bacteria on the seed somewhat, but it does not make the finished raw sprouts safe; the next section explains why. University of California Agriculture and Natural Resources (UC ANR) notes that household bleach and pool chlorine are not labeled for treating seed and does not recommend chlorine at commercial strength for treating seed at home.
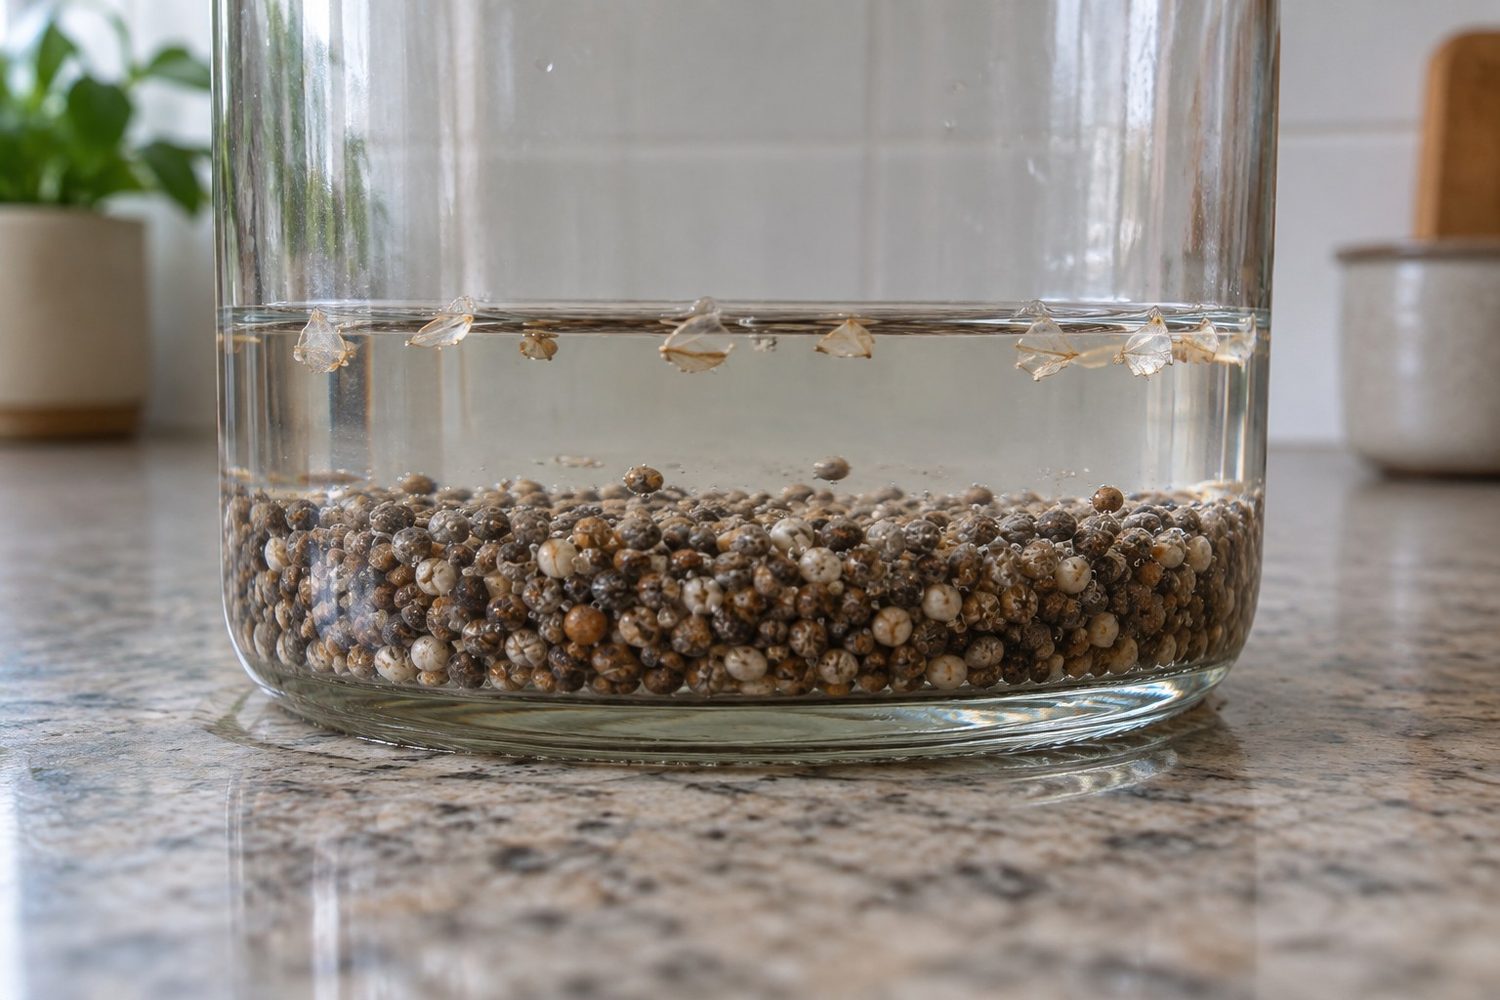
- Skim. Cover the seed with water plus one inch and skim off any floating seed, seed coats and debris. Nebraska says this floating material has been tied to most contamination events, so take the minute to get it all.
- Soak for 12 to 16 hours. Use twice the seed's volume in lukewarm water. NC State Extension gives a shorter 6 to 8 hours or overnight, so an overnight soak fits inside both. There is more on soak times in soaking microgreen seed.
- Drain and move the jar somewhere dark at 68 to 72°F. Oregon State's bean-sprout production guide grows at 70 to 80°F and notes that 80 to 85°F grows slightly faster but gives more elongated sprouts. Pick a steady spot in the 68 to 72°F range and keep the jar there rather than warming it to speed things up.
- Rinse and fully drain 2 to 4 times a day. Nebraska warns that seeds left standing in water will ferment and spoil, so drain completely every time. Other extension routines differ: NC State says 2 to 3 times a day, and Virginia Tech says at least every 12 hours, or every 6 hours if you plan to eat them raw and your kitchen is warm. Pick a schedule you can keep, such as morning, midday and evening, and stick to it.
- Harvest at 3 to 6 days. A long white root tells you the seed grew; it does not tell you the batch is free of bacteria.
How long each seed takes, and how much it makes
Nebraska's 3 to 6 days is a general window. Seed sellers give narrower figures by crop. These come from Johnny's Selected Seeds (chart revised 2018), and they are a seller's planning numbers rather than extension measurements.
Hover or tap a row to highlight it.
| Seed | Days to harvest | Seed amount | Approximate yield |
|---|---|---|---|
| Alfalfa | 3 to 5 | 1 tablespoon | about 1½ cups |
| Broccoli | 5 to 7 | 1 tablespoon | 1 to 1½ cups |
| Fenugreek | 3 to 5 | 1 tablespoon | about 1½ cups |
| Mustard | 4 to 5 | 1 tablespoon | 1 to 1½ cups |
| Radish | 2 to 5 | 1 tablespoon | 1 to 1½ cups |
| Mung bean | 4 to 5 | ¼ cup | 1 cup |
| Lentil | 2 to 3, plus 1 to 2 more for fresh eating | ¼ cup | about ¼ cup |
| Garbanzo | 2 to 3 | ¼ cup | about ¼ cup |
Yield depends on when you harvest and how tightly you pack the cup. Botanical Interests claims 1 tablespoon of alfalfa makes 4½ cups and broccoli makes 1 cup, well apart from the table above. If yield matters to your budget or your meal plan, measure the seed going in, weigh the finished batch on a kitchen scale, write both down and plan the next batch from your own numbers.
What a seed treatment can and cannot do
The peroxide or vinegar step lowers bacteria on the seed. It does not remove them, and the difference matters for anyone in the at-risk groups. Researchers describe results as a "log reduction," where each log is a tenfold drop, so a 3-log reduction cuts a count by 1,000 times and still leaves survivors.
Look at what the studies found on seed that was deliberately contaminated. In a 2022 FDA and Illinois Institute of Technology report, 6% hydrogen peroxide for 10 minutes reduced Salmonella by only 0.6 to 1.9 log across six sprouting seeds, and 10% for a full hour reached 1.0 to 3.3 log while cutting clover yield by about 40%. Those solutions are two or more times the strength of the 3% bottle in a medicine cabinet, and those studies did not test 3% household peroxide or a capful in soak water.
In a 2000 alfalfa study, E. coli O157:H7 counts rose to 10⁷ to 10⁸ CFU/g during sprouting regardless of treatment. Even a strong 16,000-ppm calcium hypochlorite treatment on mung seed, in a USDA study, eliminated neither Salmonella nor E. coli. Canada's food inspection agency states that no treatment can guarantee pathogen-free seed.
That is also why home cooks should leave bleach and chlorine to commercial growers. Covered sprout farms must use a scientifically valid seed treatment under federal rules, and the FDA's guidance notes that its former 20,000-ppm example needs appropriate EPA registration and still only reduces pathogens. That solution is 2% active chlorine, far beyond a capful of bleach, and it depends on concentration, pH, rinsing and handling a kitchen is not set up to control.
Vinegar can also slow the sprouts. Growers on Reddit report weak vinegar soaks giving their slowest and smelliest broccoli batches and 40 to 50% broccoli germination. Those are individual reports, not trials. If germination drops after a vinegar soak, try peroxide next time, and whichever you use, count on cooking rather than the treatment to protect at-risk eaters.
Root hairs or mold?
Around day two, many growers see white fuzz and wonder whether to throw the jar out. Seller guidance from Sydney Sprouts describes root hairs as fine white fuzz growing outward from the root that disappears when misted with water. Mold is described as thicker and cottony, spreading across seeds and sprouts, sometimes gray or black, with a musty smell.
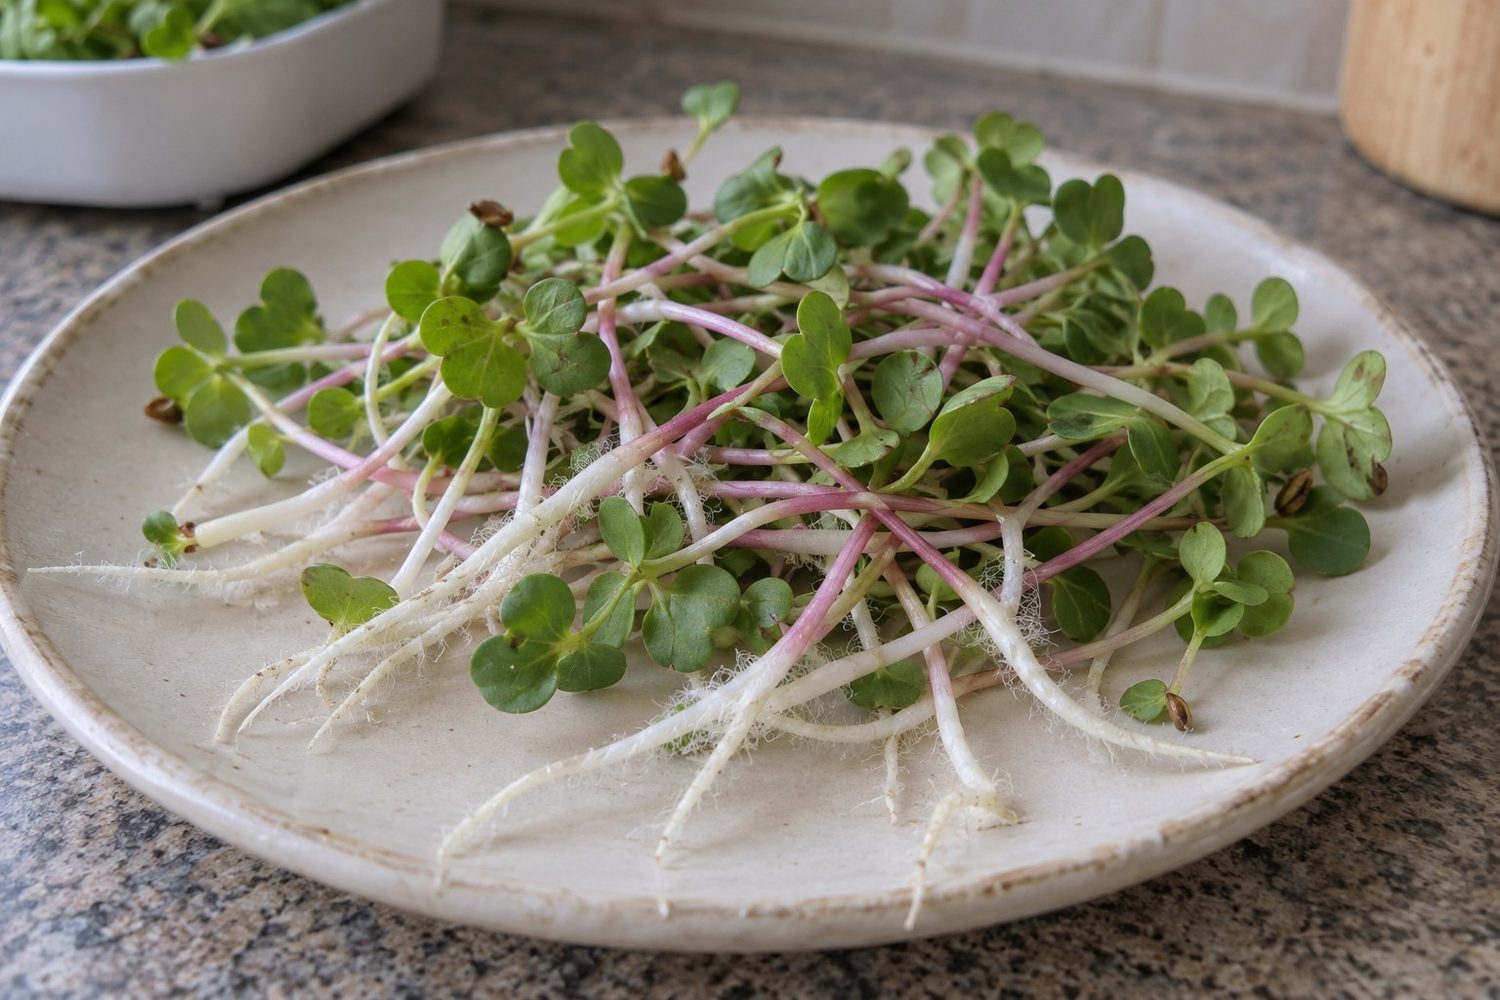
Mist the fuzz and watch it. If it collapses and stays tied to the root tips, it is most likely root hairs. Keep in mind that no visual check can tell you whether harmful bacteria are present. Health Canada tells consumers to discard sprouts that are dark, musty or not crisp, so if a batch is slimy, smells off, or you cannot tell which kind of growth you are looking at, throw it out and start over with a freshly sanitized jar.
Storing and cooking your sprouts
At harvest, give the sprouts a final rinse, drain them and let them dry before they go in the fridge. Virginia Tech says to store them in a clean container at 40°F (4.4°C) or below and eat them within 4 to 6 days. Nebraska's page mentions 1 to 2 weeks and Johnny's up to a week, but those are quality estimates; use the shorter 4 to 6 days. Discard anything that smells off or turns slimy, dark or limp before then.
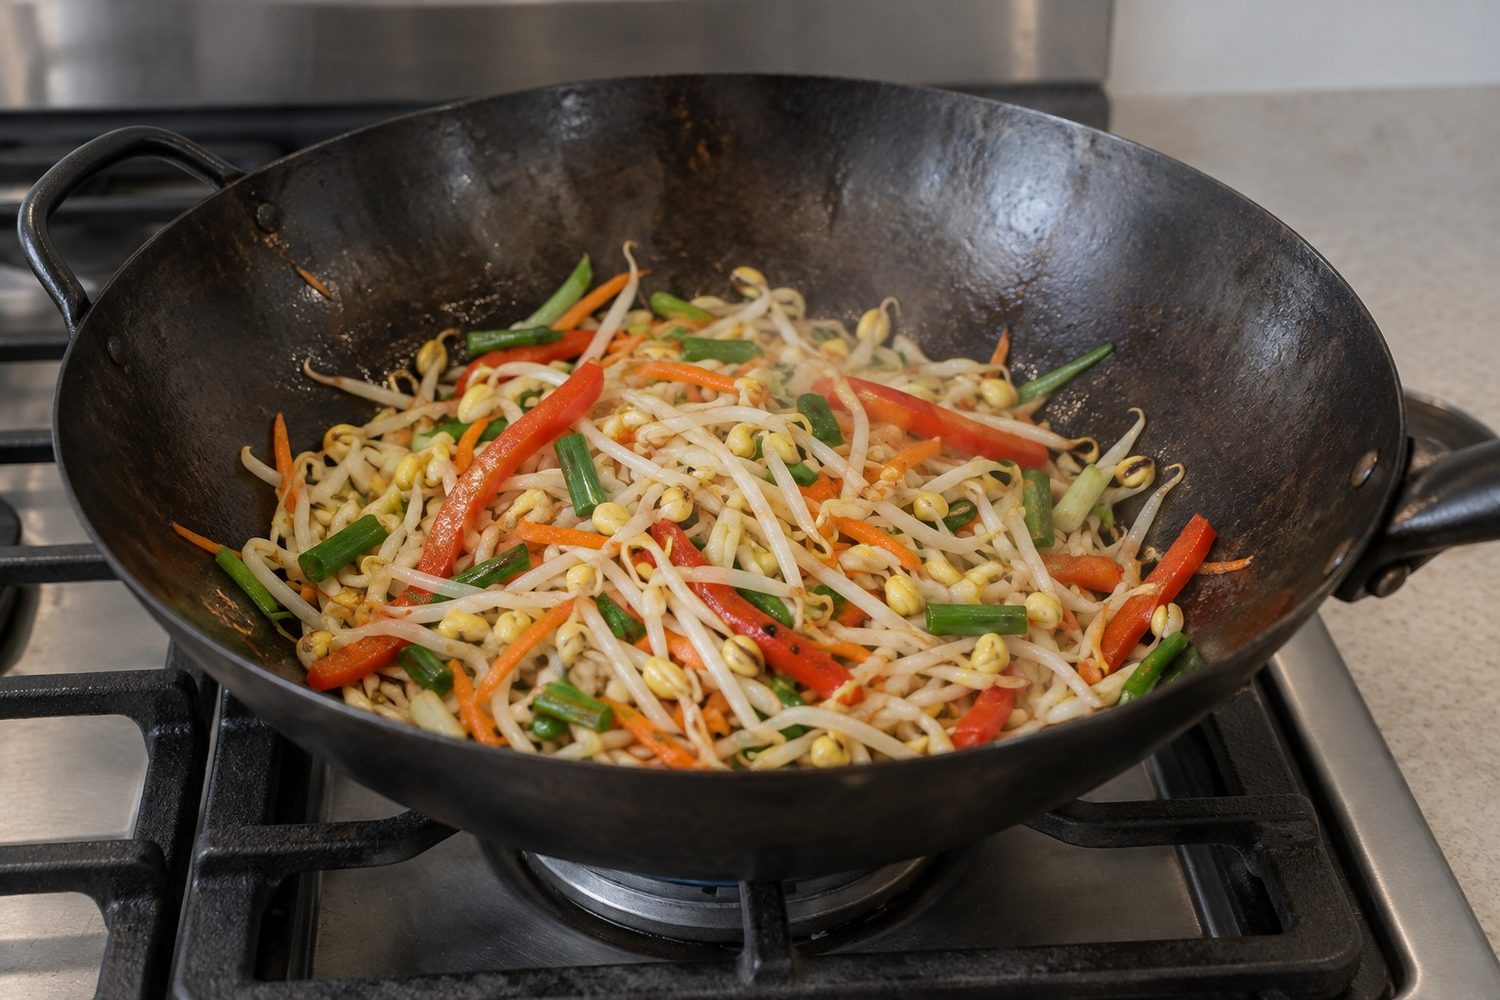
Cooking is the step that removes the risk raw sprouts carry. The CDC says thoroughly cooking sprouts kills the harmful bacteria, and its safer food choices table lists sprouts cooked until steaming hot as the safer choice. UC ANR says cooked sprouts can be eaten if heated to steaming hot or above 165°F (74°C). Health Canada likewise says high heat kills most harmful bacteria and reduces the risk. For a household with children, an older relative, a pregnant person or someone with weakened immunity, add their share to a hot dish and heat it through rather than scattering it raw on top.
Common questions about growing sprouts
Do sprouts need light to grow?
No. Oregon State says germination does not require light and treats green leaves on bean sprouts as a quality defect. Nebraska Extension allows a few hours in a sunny window at the end to green up leafy sprouts, but warns that longer sun makes them tough and bitter.
Can I sprout the dry kidney beans in my pantry?
Leave kidney beans out of the jar. The FDA says raw or undercooked kidney beans contain phytohemagglutinin, which can cause nausea, severe vomiting and diarrhea, and its safe preparation is a soak of at least 5 hours followed by boiling in fresh water for at least 30 minutes. Stick to seed sold for sprouting.
Is growing sprouts cheaper than buying them?
It can be, depending on your seed price and yield. On 2026-09-12, Sproutpeople listed alfalfa seed at $15.51 per pound with a claimed 7:1 yield, which works out to $2.22 per pound of sprouts in seed cost alone, while a Fresh Thyme listing on Instacart showed $3.59 for 4 ounces, or $14.36 per pound. Your own seed price, actual yield and any batches you discard will change that math, so track a few batches before you count on the savings.
How are sprouts different from microgreens?
A sprout is the whole germinated seed, root and shoot, usually harvested before true leaves appear, typically 3 to 5 days from soaking. A microgreen grows longer and is cut above the root once it has its seed leaves and usually its first true leaves, according to a 2022 review. There is a fuller side-by-side in microgreens vs sprouts.
Your first batch
Clean the jar, buy seed sold for sprouting, skim, soak 12 to 16 hours, then keep the jar dark at 68 to 72°F and rinse and drain it 2 to 4 times a day until harvest at 3 to 6 days. Dry the sprouts, refrigerate them at 40°F or below, and eat them within 4 to 6 days. If anyone at your table is a child, an older adult, pregnant or living with weakened immunity, cook their sprouts steaming hot, because no treatment you can do at home makes the raw batch safe for them.
Sources
Prices, stock and specifications are as the linked pages showed them on 2026-09-12.
- Nebraska Extension
- FDA
- CDC
- Health Canada
- page for pregnant people
- counted 52 U.S. outbreaks from 1996 to 2020 and more than 2,700 illnesses
- Kansas State and University of Missouri Extension
- Virginia Tech
- CDC
- Virginia Tech
- National Pesticide Information Center
- Oregon State
- University of California Agriculture and Natural Resources (UC ANR)
- NC State Extension
- Johnny's Selected Seeds
- Botanical Interests
- 2022 FDA and Illinois Institute of Technology report
- 2000 alfalfa study
- USDA study
- Canada's food inspection agency
- federal rules
- FDA's guidance
- slowest and smelliest broccoli batches
- 40 to 50% broccoli germination
- Sydney Sprouts
- safer food choices table
- FDA
- Sproutpeople
- Fresh Thyme listing on Instacart
- 2022 review
Keep reading
The journal
Is Homegrown Safer? What the Produce Recalls Actually Change
Partly, and not for the reason people think. Growing your own does not remove contamination risk, it moves it onto seed, substrate and water, which are three things you can act on. And one tray is one to two days of one adult's vegetables, not a replacement.
Read Is Homegrown Safer? What the Produce Recalls Actually ChangeThe journal
Growing Microgreens Without a Grow Light on a Windowsill
A sunny windowsill can grow microgreens without a grow light for many crops, though stems run longer and paler. Learn which window and crops work best.
Read Growing Microgreens Without a Grow Light on a WindowsillThe journal
Microgreen Seeding Rate Chart: Grams Per 1020 Tray
Find grams per 1020 tray for common crops in this microgreen seeding rate chart, plus why rates differ and how to set your own rate from a first tray.
Read Microgreen Seeding Rate Chart: Grams Per 1020 TrayThe journal
Microgreens vs Baby Greens: Same Seed, Same Tray, and the Only Difference Is When You Cut
These are harvest stages of one plant, not three foods. USDA and Maryland disagree on where microgreens end, 17 of 61 crops with a published harvest window break the day counts, and the yield result everyone cites is a density experiment.
Read Microgreens vs Baby Greens: Same Seed, Same Tray, and the Only Difference Is When You Cut